

Quickstart
Install a production PNeX server in one command
PNeX installs with a single command on a Raspberry Pi (4 or 5, 64-bit OS) or on any Debian / Ubuntu machine (amd64 or arm64). The installer brings Docker if needed, generates every secret, sets up TLS everywhere and starts the stack.
Prerequisites
| Minimum | Recommended | |
|---|---|---|
| Board / CPU | Raspberry Pi 4 (4 GB), any amd64/arm64 | Raspberry Pi 5 (8 GB) or a small x86 box |
| OS | Raspberry Pi OS Lite 64-bit, Debian 12/13, Ubuntu 22.04+ | Debian 13 / Pi OS trixie |
| Disk | 16 GB free | an SSD rather than the SD card |
| Network | LAN with mDNS, or a DNS name | a DHCP reservation for the server |
Install
This page covers the one-line installer. Windows (WSL 2), Kubernetes and the other targets are in Installation.
On your local network (served on https://<hostname>.local with a private
certificate authority generated on the server):
curl -fsSL https://raw.githubusercontent.com/Pnex/pnex-deploy/main/install.sh \
  | sudo bash -s -- --admin-user [email protected] --admin-password 'choose-a-strong-one'
On a public server with a Let's Encrypt certificate (needs a public DNS name and ports 80/443 open):
curl -fsSL https://raw.githubusercontent.com/Pnex/pnex-deploy/main/install.sh \
  | sudo bash -s -- --domain pnex.example.com --tls cloud \
      --acme-email [email protected] \
      --admin-user [email protected] --admin-password 'choose-a-strong-one'
Every other flag (--profile raspi|server, --storage fs|s3, SMTP, ports…) is
optional; see the pnex-deploy README or
install.sh --help.
Trust the server
In local TLS mode, each client device trusts the server's certificate authority once. On Ubuntu, one command sets it up (and the USB serial access used for browser flashing):
curl -fsSL https://raw.githubusercontent.com/Pnex/pnex-deploy/main/client/setup-ubuntu.sh \
  | bash -s -- --server pnex.local
Other systems download the CA from https://<server>/api/v1/meta/ca; the
pnex-deploy README has the steps for Windows, macOS and Android.
First login
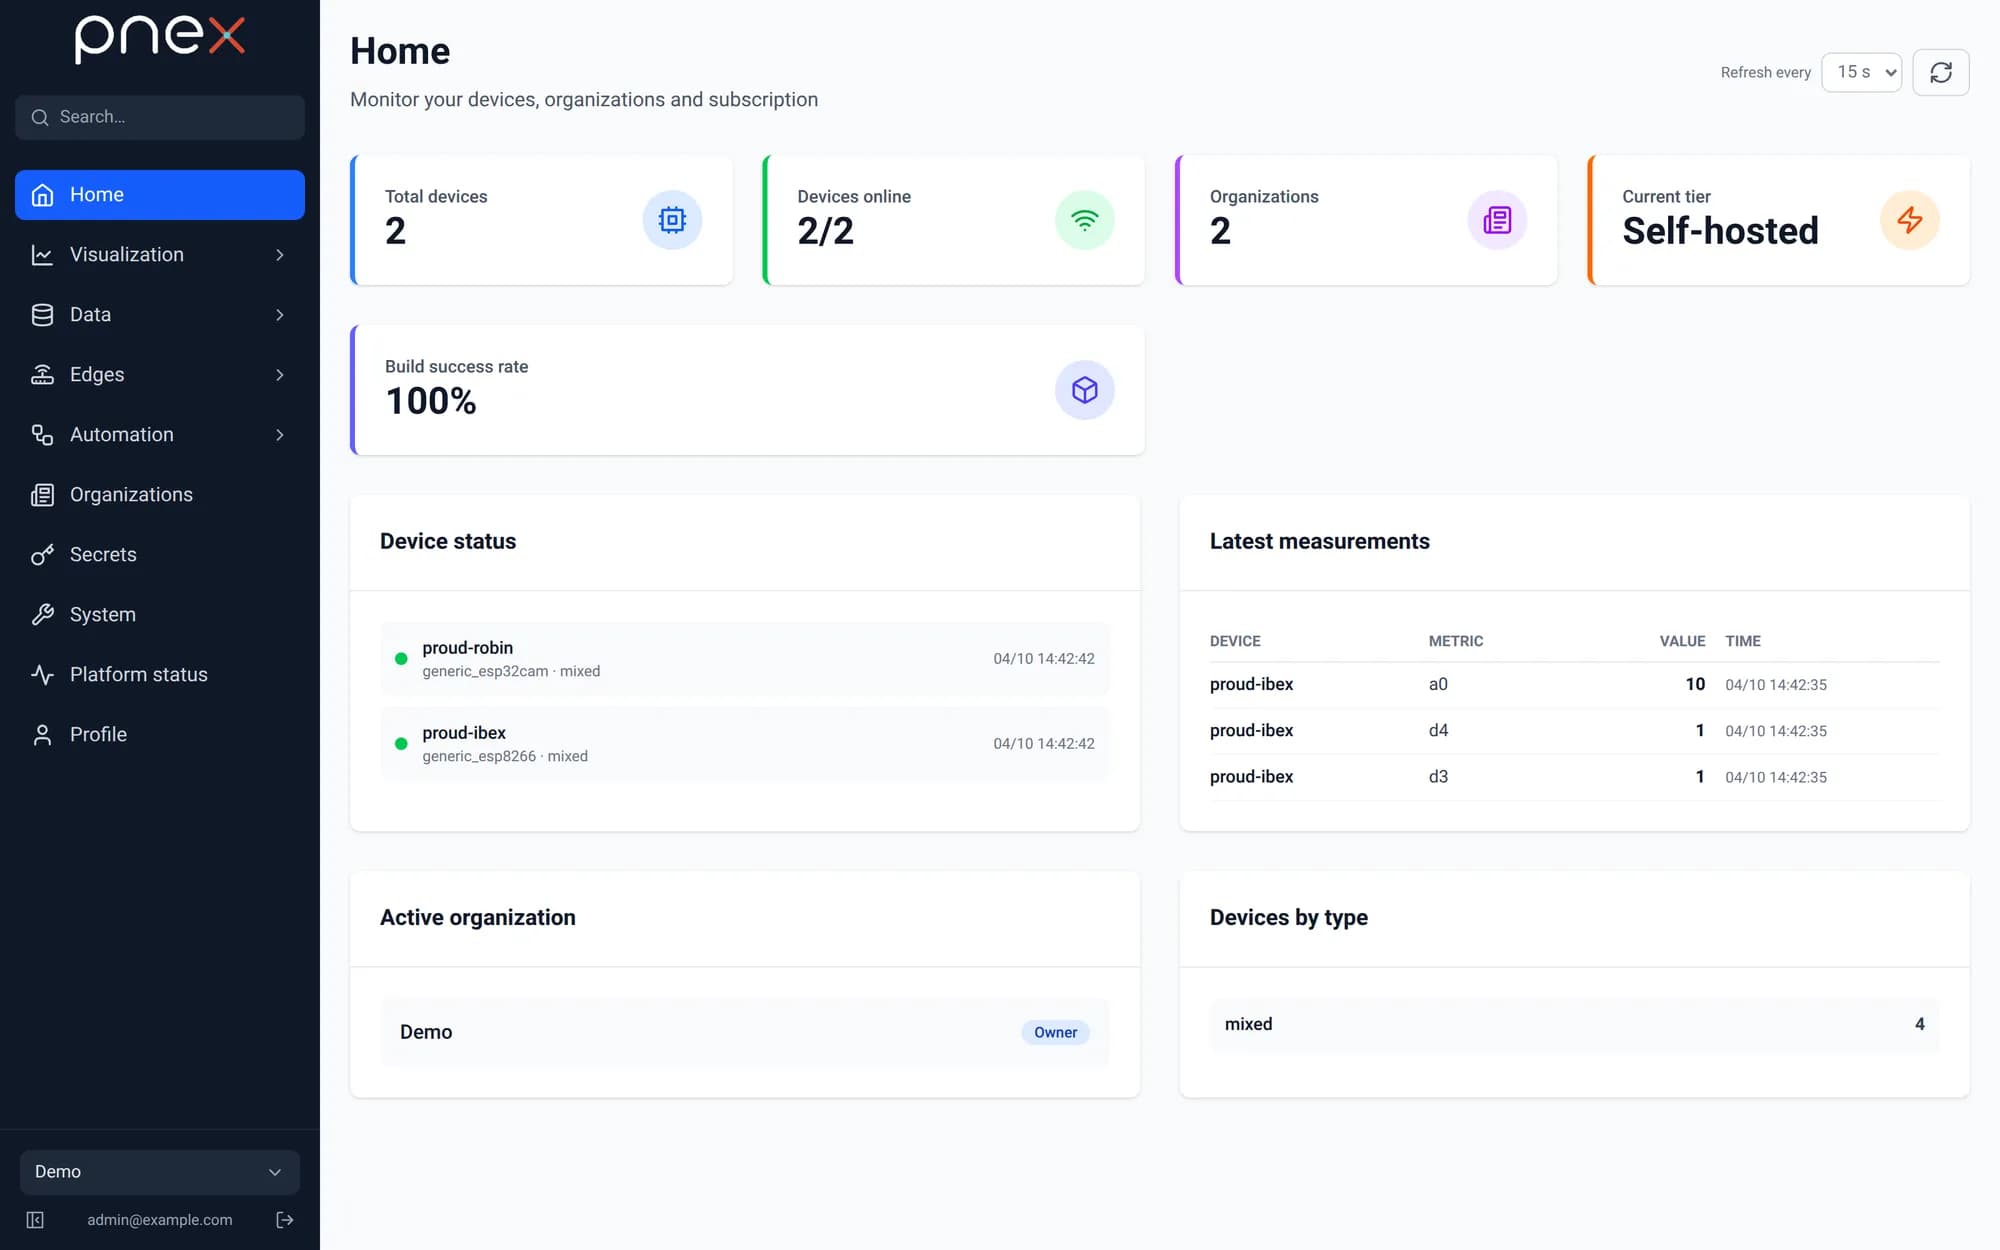
Open PNeX in a browser, or in one of the native apps, and sign in with the admin account. Your first login provisions your profile and a personal organization automatically.
| Client | Download | Flash a board over USB |
|---|---|---|
| Web app | Nothing to install: Chrome or Edge, any OS | Yes, through Web Serial |
| Desktop app | Linux x86_64 · Linux ARM64 · Windows x86_64 | Yes, with an embedded esptool |
| Android app | APK, ARM64 (sideload) | No |
Every client is built from the same Rust code and talks to the same server. The
native apps are rebuilt on every green build of pnex-rs and published on its
nightly release (the
links above); each published version (0.1.0-beta.1 … beta.5) has its own
release on the releases page, to
pair with a server installed with --version. Check
downloads against SHA256SUMS. The Windows build is checked to start on a real Windows machine but has
not been used day to day yet; the Android APK is debug-signed (sideload only) until
store distribution.
Operate
sudo pnexctl status     # containers, versions, endpoint health, certificate expiry
sudo pnexctl upgrade    # latest recipe and images, secrets kept
sudo pnexctl upgrade --version 0.1.0-beta.5   # move to a given release
sudo pnexctl backup     # pg_dump + .env + CA into /var/backups/pnex/
Re-running the installer upgrades in place; database migrations run when the server starts.
Next steps
- Register your first device from the Catalog and flash it from the browser.
- Wire a first flow in the Flows editor.
- Watch the data land on the Visualisation page.
Head to Architecture to understand how the pieces fit together. Contributors run the development stack from the pnex-rs repository instead.