

Raspberry Pi
Install PNeX on a Raspberry Pi 4 or 5 in one command
Requirements
| Minimum | Recommended | |
|---|---|---|
| Board | Raspberry Pi 4 (4 GB) | Raspberry Pi 5 (8 GB) |
| OS | Raspberry Pi OS Lite 64-bit (bookworm or trixie) | Pi OS trixie |
| Disk | 16 GB free | a USB 3 or NVMe SSD rather than the SD card |
| Network | a LAN with mDNS | a DHCP reservation for the Pi |
32-bit Raspberry Pi OS is not supported.
Install
Name the Pi pnex (Raspberry Pi Imager, hostname), boot it, then:
curl -fsSL https://raw.githubusercontent.com/Pnex/pnex-deploy/main/install.sh \
  | sudo bash -s -- --admin-user [email protected] --admin-password 'choose-a-strong-one'
The installer brings Docker, generates every secret, creates a private
certificate authority and starts the stack. The raspi profile is picked
automatically: small PostgreSQL buffers, capped OpenObserve caches, one 360°
stitching job at a time, error-only and size-capped logs to spare the SD card.
Open https://pnex.local/ and trust the server's certificate authority once per
client device (the Quickstart shows how).
Walkthrough: a fresh Pi, from install to sign-in
Recorded on the official Raspberry Pi OS Lite 64-bit image (trixie,
2026-09-15), booted in QEMU as an emulated arm64 board: the 0.1.0-beta.2
arm64 images, the raspi profile, mDNS and the local CA are the real ones.
Emulation is several times slower than a Pi: the install took 40 minutes there
(a few minutes on a Pi 4 or 5), hence --timeout 1800 in the recording; on a
real Pi the default is enough. Playback is sped up and the admin password
masked.
Admin password and certificate authority
The generated admin password is printed once at the end of the install, and
kept in the install's .env. The server certificate is signed by a CA created
on the Pi: note its SHA-256 fingerprint, the apps ask you to confirm it.
sudo grep PNEX_ADMIN_PASSWORD /opt/pnex/.env
sudo openssl x509 -in /opt/pnex/state/pki/ca.pem -noout -fingerprint -sha256
sudo pnexctl trust-help # how to trust the CA, per systemTrust the CA on each client
Until the CA is trusted, browsers show a certificate warning
(NET::ERR_CERT_AUTHORITY_INVALID) on https://pnex.local/. Trust it once per
client device. The CA is served on https://pnex.local/api/v1/meta/ca (accept
the warning once to download it) and stays on the Pi in
/opt/pnex/state/pki/ca.pem.
| Client | How |
|---|---|
| Ubuntu / Debian desktop | curl -fsSL https://raw.githubusercontent.com/Pnex/pnex-deploy/main/client/setup-ubuntu.sh | bash -s -- --server pnex.local (system store, Chrome/Chromium, Firefox, USB serial access) |
| Windows | double-click pnex-ca.crt → Install Certificate → Local Machine → Trusted Root Certification Authorities, then restart the browser |
| macOS | sudo security add-trusted-cert -d -r trustRoot -k /Library/Keychains/System.keychain pnex-ca.crt |
| Android | Settings → Security → Encryption & credentials → Install a certificate → CA certificate. The PNeX app pins the CA on first connect. |
| iOS | open the .crt in Safari → Profile Downloaded → Install, then General → About → Certificate Trust Settings |
| Firefox | its own store: Settings → Privacy & Security → Certificates → View → Authorities → Import |
Sign in from a browser
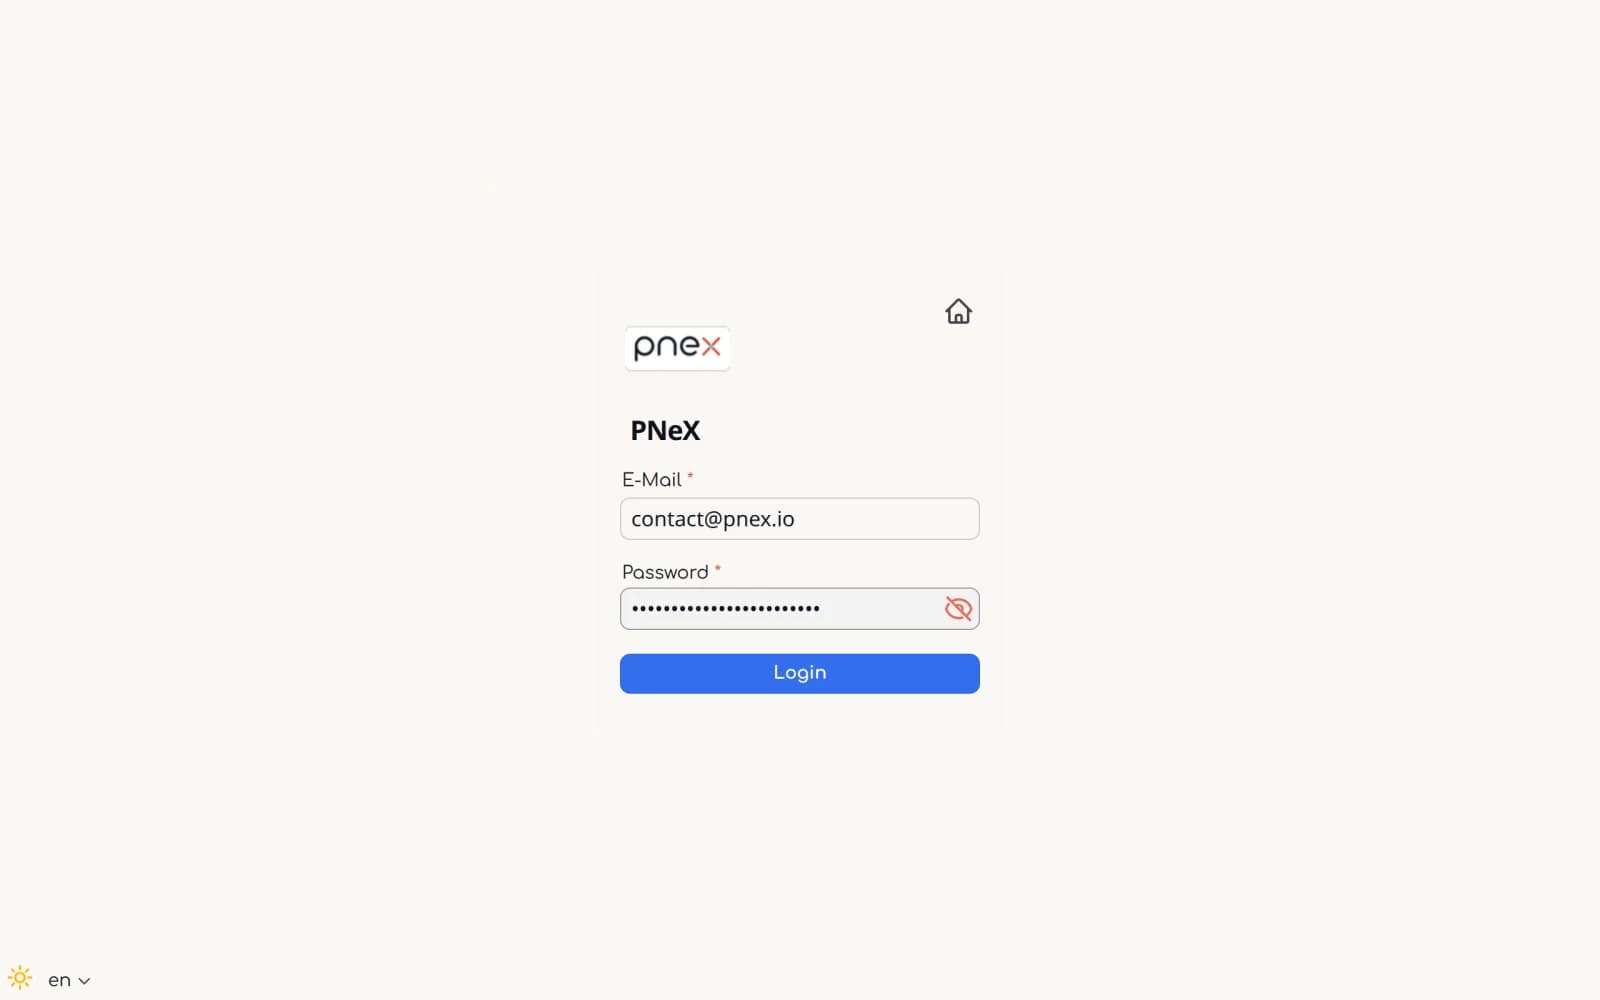
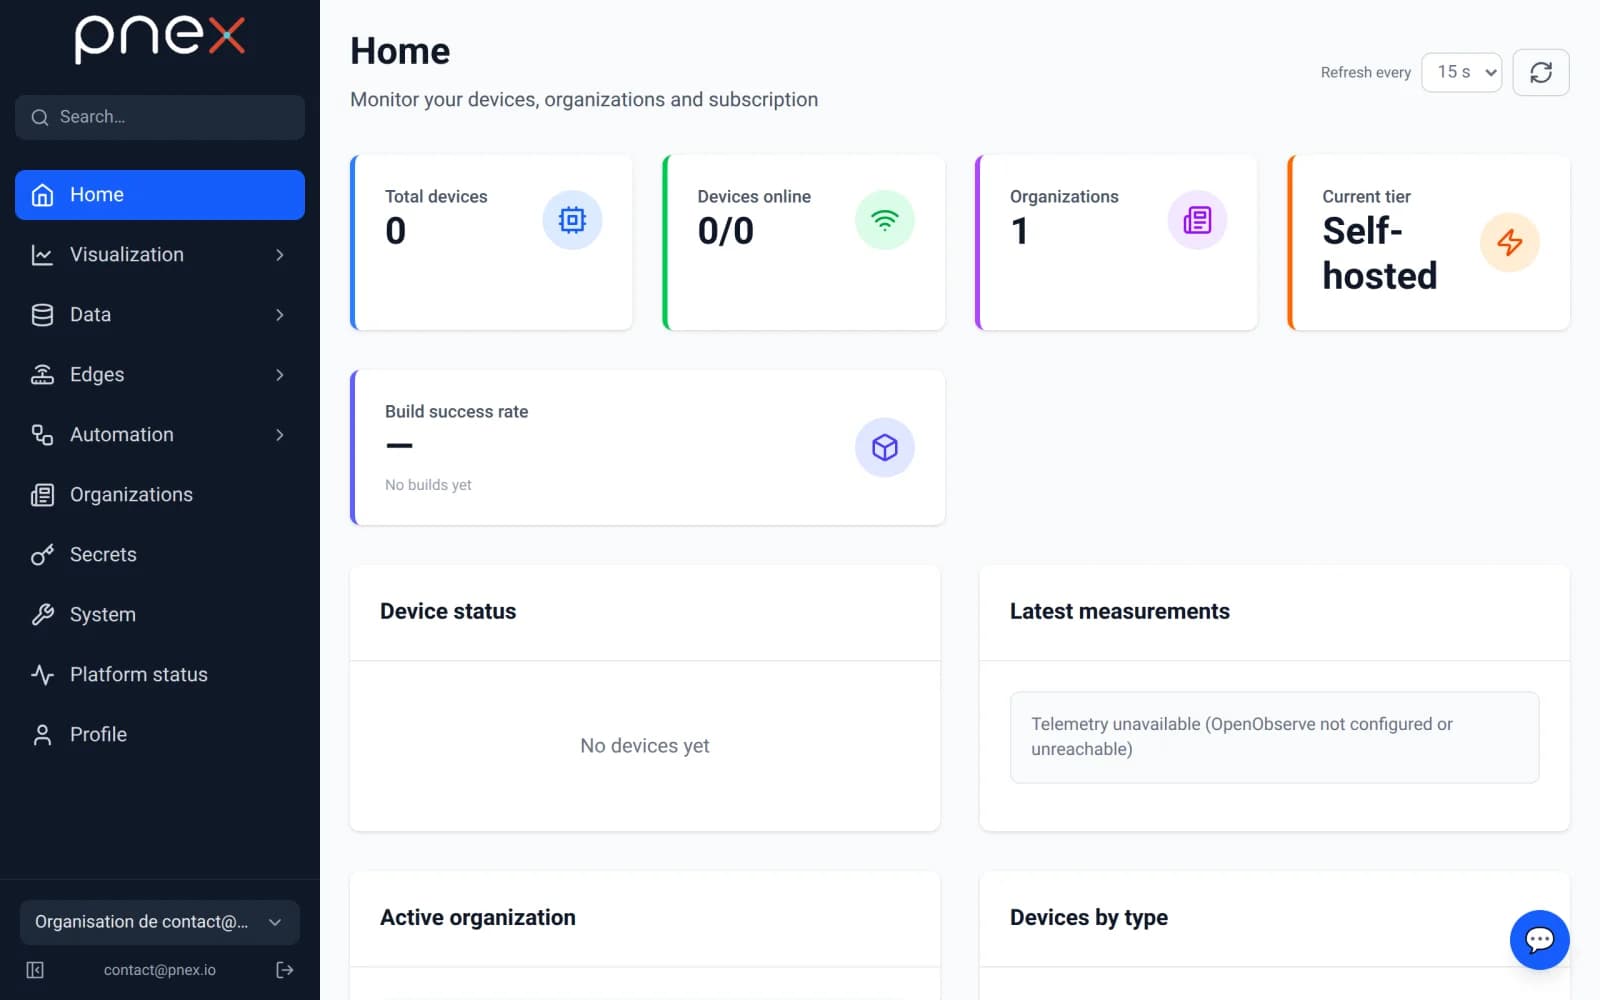
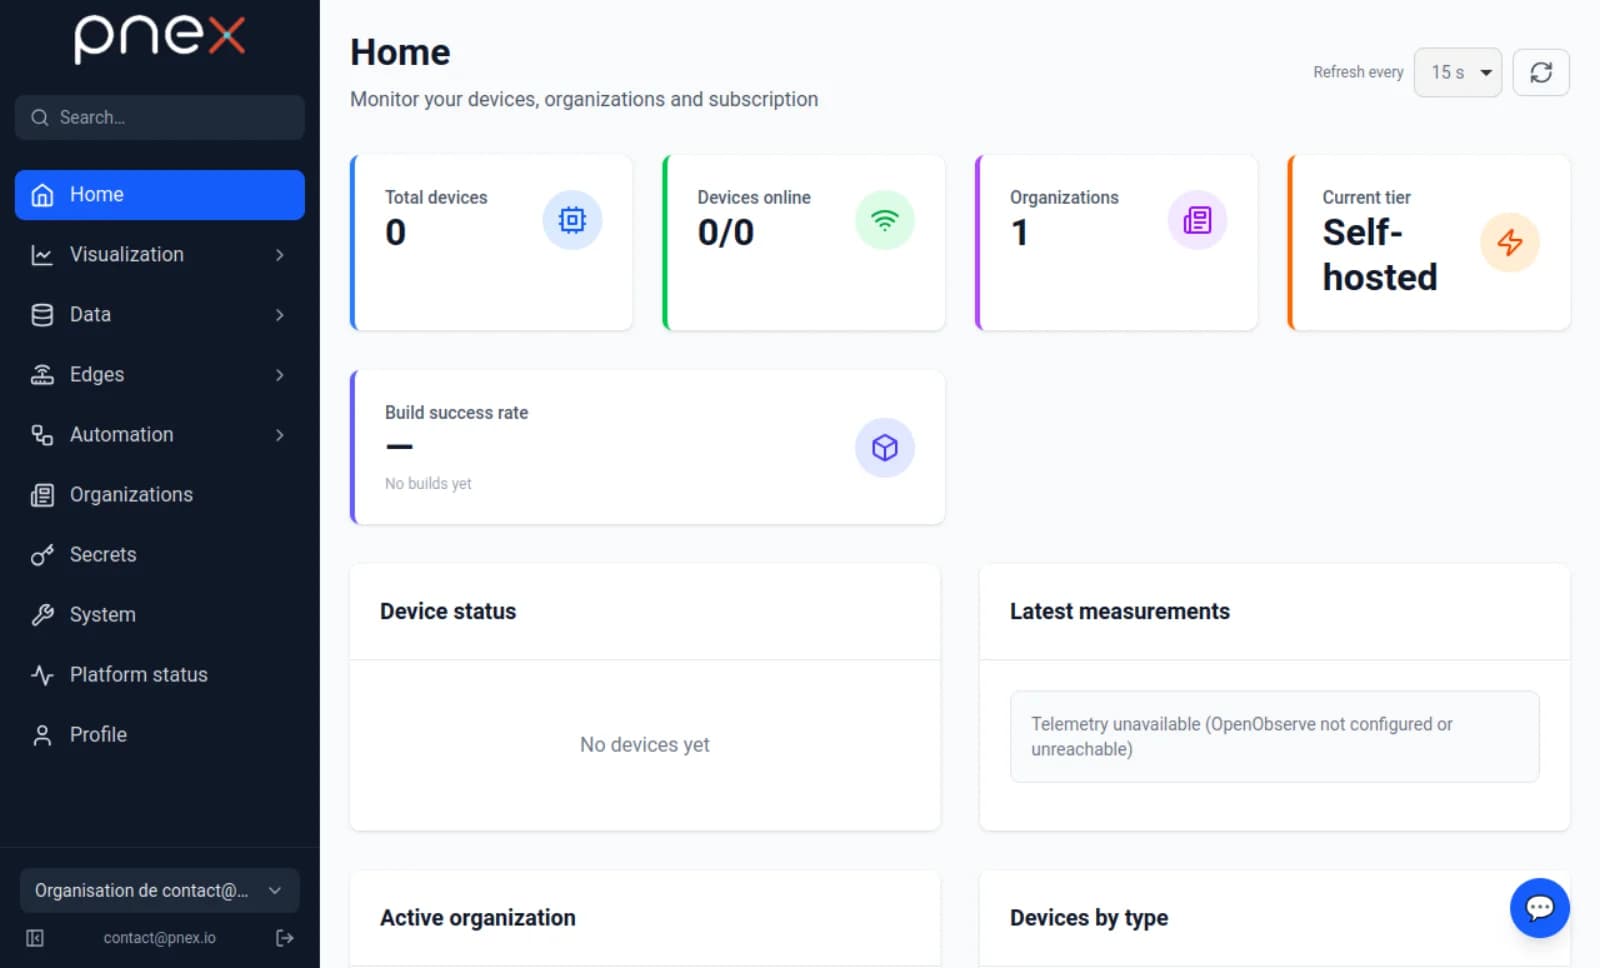
Open https://pnex.local/ and sign in with the admin email and password: the
first sign-in provisions your profile and a personal organization.

Find the server with the desktop app (LAN scan)
The desktop and Android apps can find the server without typing its address.
On the first launch, enter the network range (192.168.1. on most home
networks) and press Scan: every PNeX server of the range is listed with its
version.

With the 0.1 betas, type https://pnex.local in the address field and
press Connect to this server instead of using the scan result's Connect
(sign-in is refused on the IP address). The app then shows the CA fingerprint:
check that it matches the one printed on the Pi.

Trust and connect pins the CA in the app, then Sign in to PNeX opens the sign-in page in your browser; the app is signed in when you come back.
When pnex.local does not resolve
Android before 12 and browsers using DNS-over-HTTPS ignore mDNS. Give the Pi a DHCP reservation and re-run the installer with a name your router's DNS serves, or with the IP address (passkeys are then unavailable):
curl -fsSL https://raw.githubusercontent.com/Pnex/pnex-deploy/main/install.sh \
  | sudo bash -s -- --domain pnex.home
Other options are in Names and TLS.
Devices flashed for the previous name must be re-flashed.
Tips
- SSD: the database and the telemetry write continuously; boot the Pi from a
USB SSD, or at least use a high-endurance card and take regular
sudo pnexctl backups. - Raspberry Pi 5 page size: if a container crash-loops with Unsupported
system page size, add
kernel=kernel8.imgto/boot/firmware/config.txtand reboot. - Upgrades:
sudo pnexctl upgrade(secrets are kept).