

Switch a lamp from your phone
Home automation end to end — mobile dashboard, home card, flow and device, from one button press to a real LED
This tutorial follows one button press all the way: a Light card on a phone dashboard, the control it declares, the flow that listens to it, and the device pin that finally lights up. It uses a NodeMCU (ESP8266) whose on-board LED sits on D4; any registered device with a digital output works the same way.
You need owner, admin or member rights in the organization.
Make D4 an output
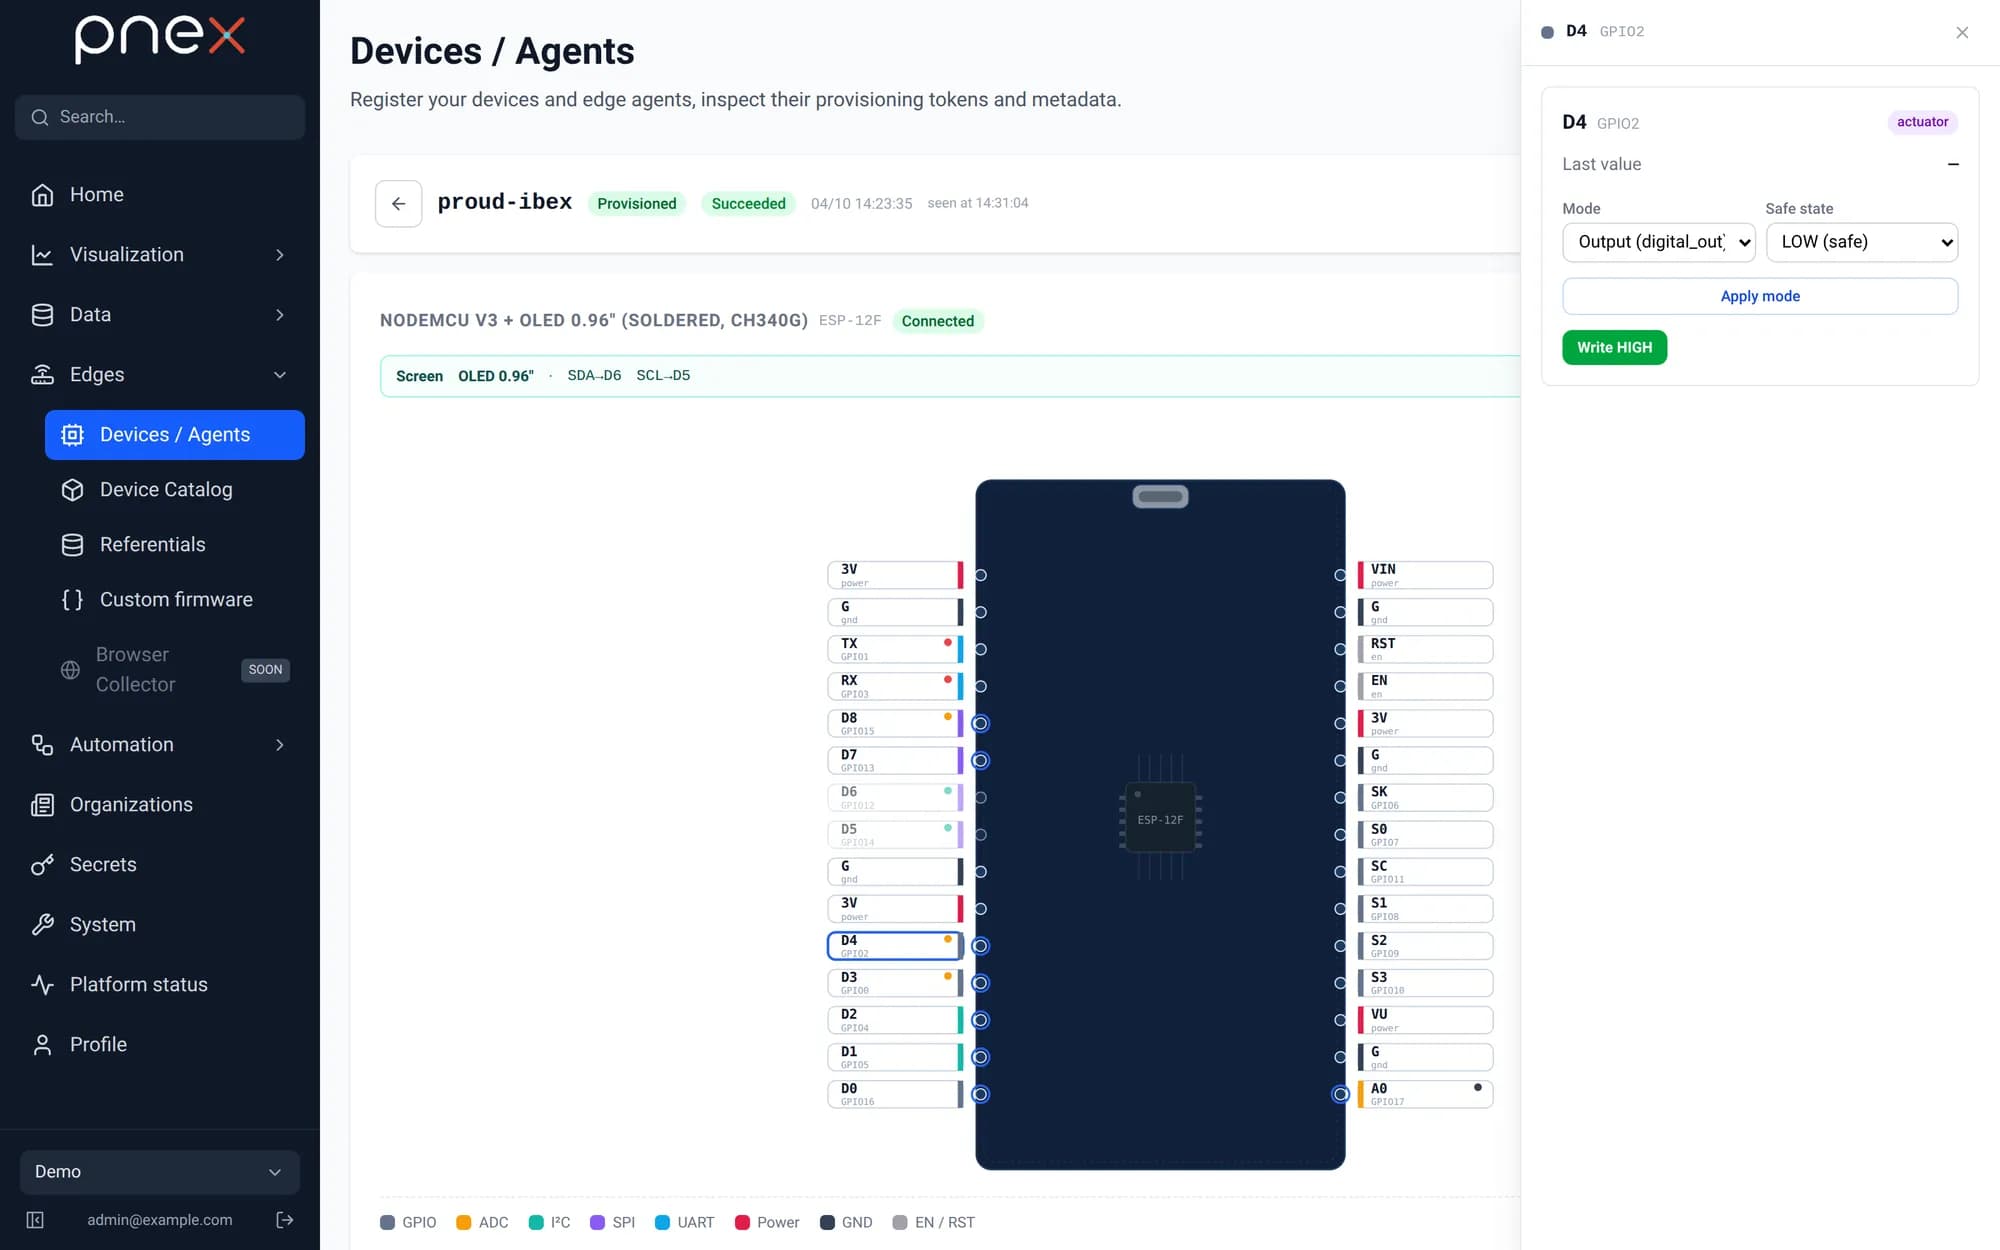
Open Devices / Agents, pick the board, and in the pinout click D4: set the mode to digital_out. The pin now accepts writes — but only from one place at a time, and in this tutorial that place will be a flow.
Create a mobile dashboard
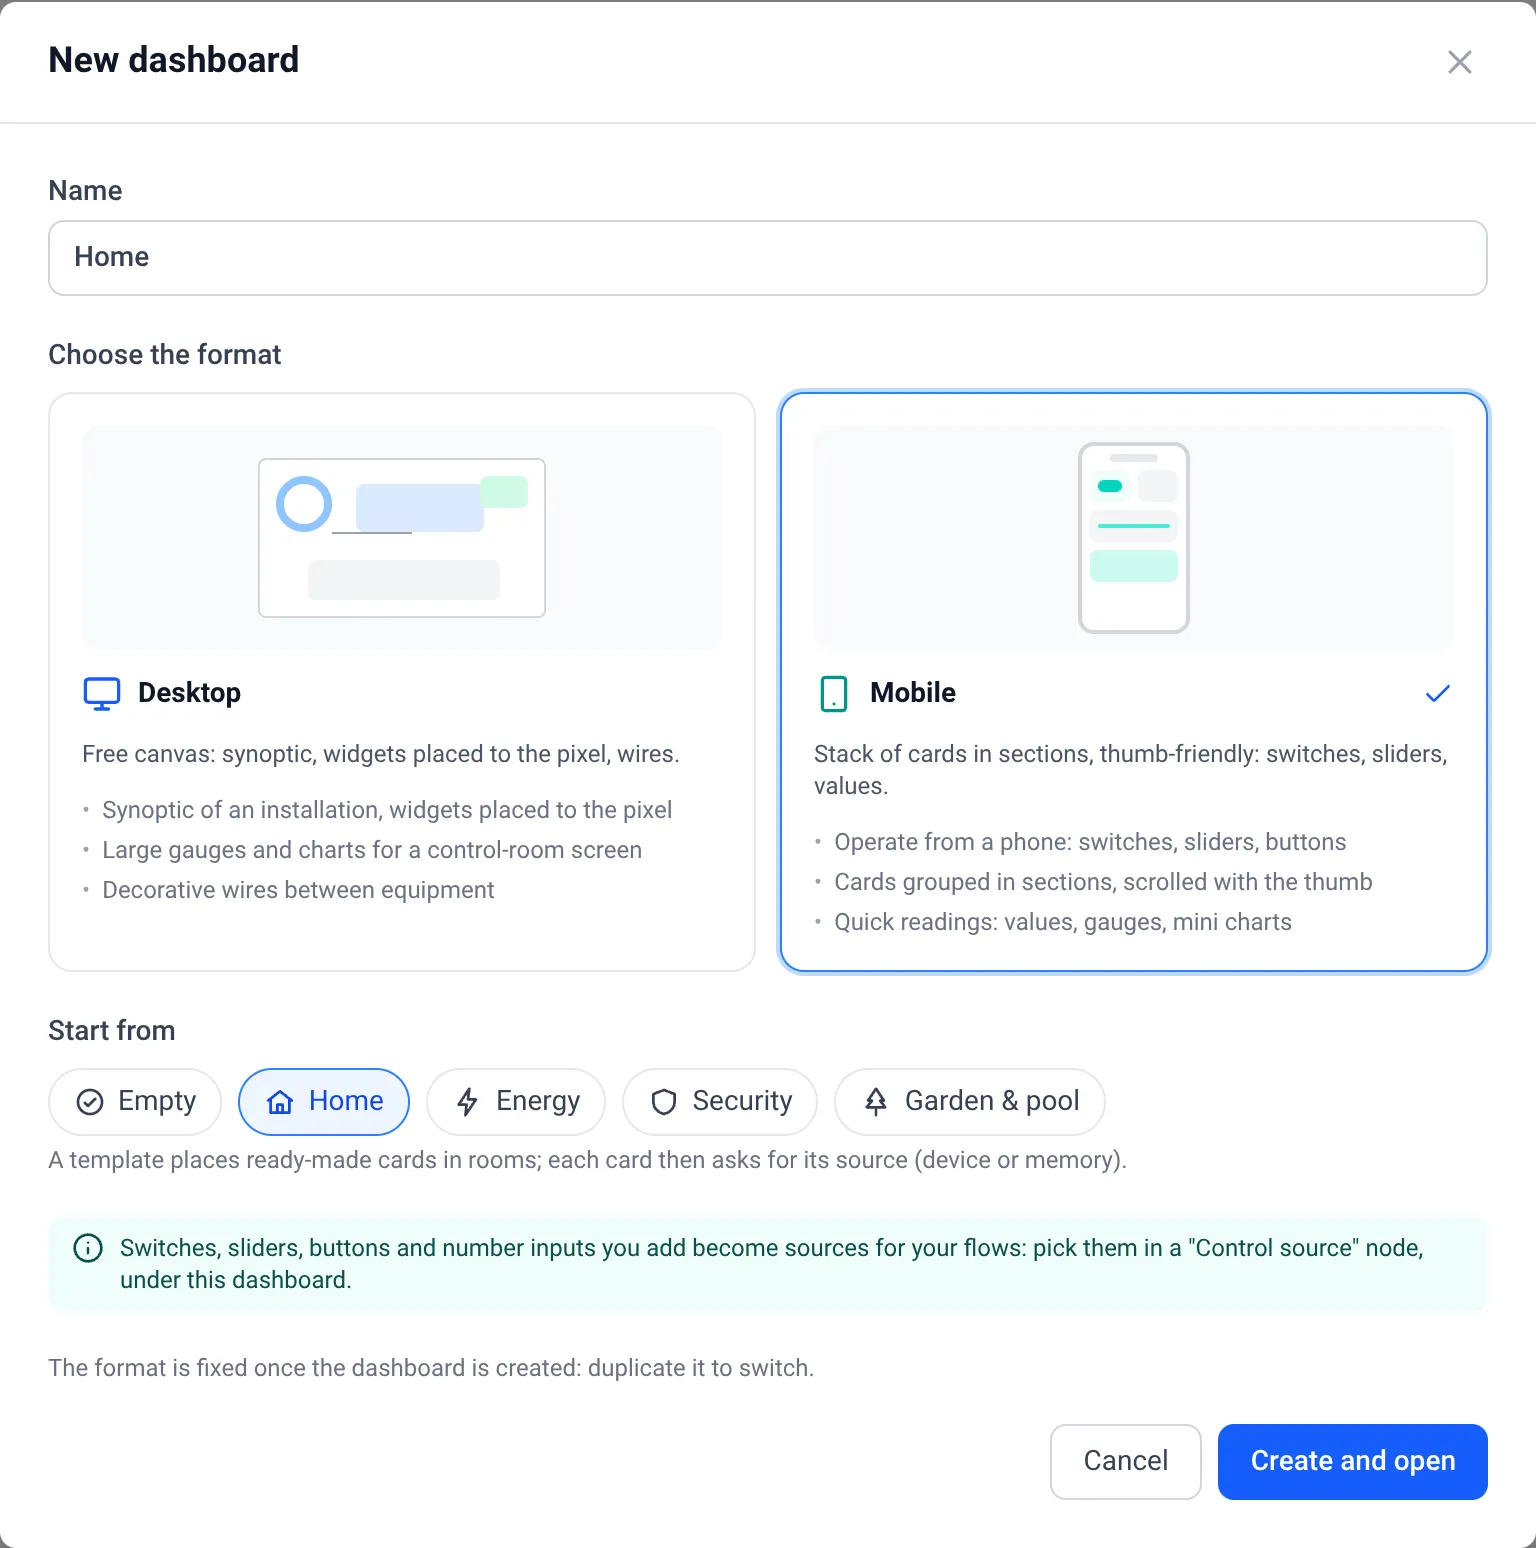
Visualization → Dashboards → New dashboard. Name it Home, choose Mobile, and either keep Empty or Start from the Home template, which lays out a weather chip row, Living room, Kitchen and Bedroom rooms, and a Scenes section. Then Create and open.
Add a Light card
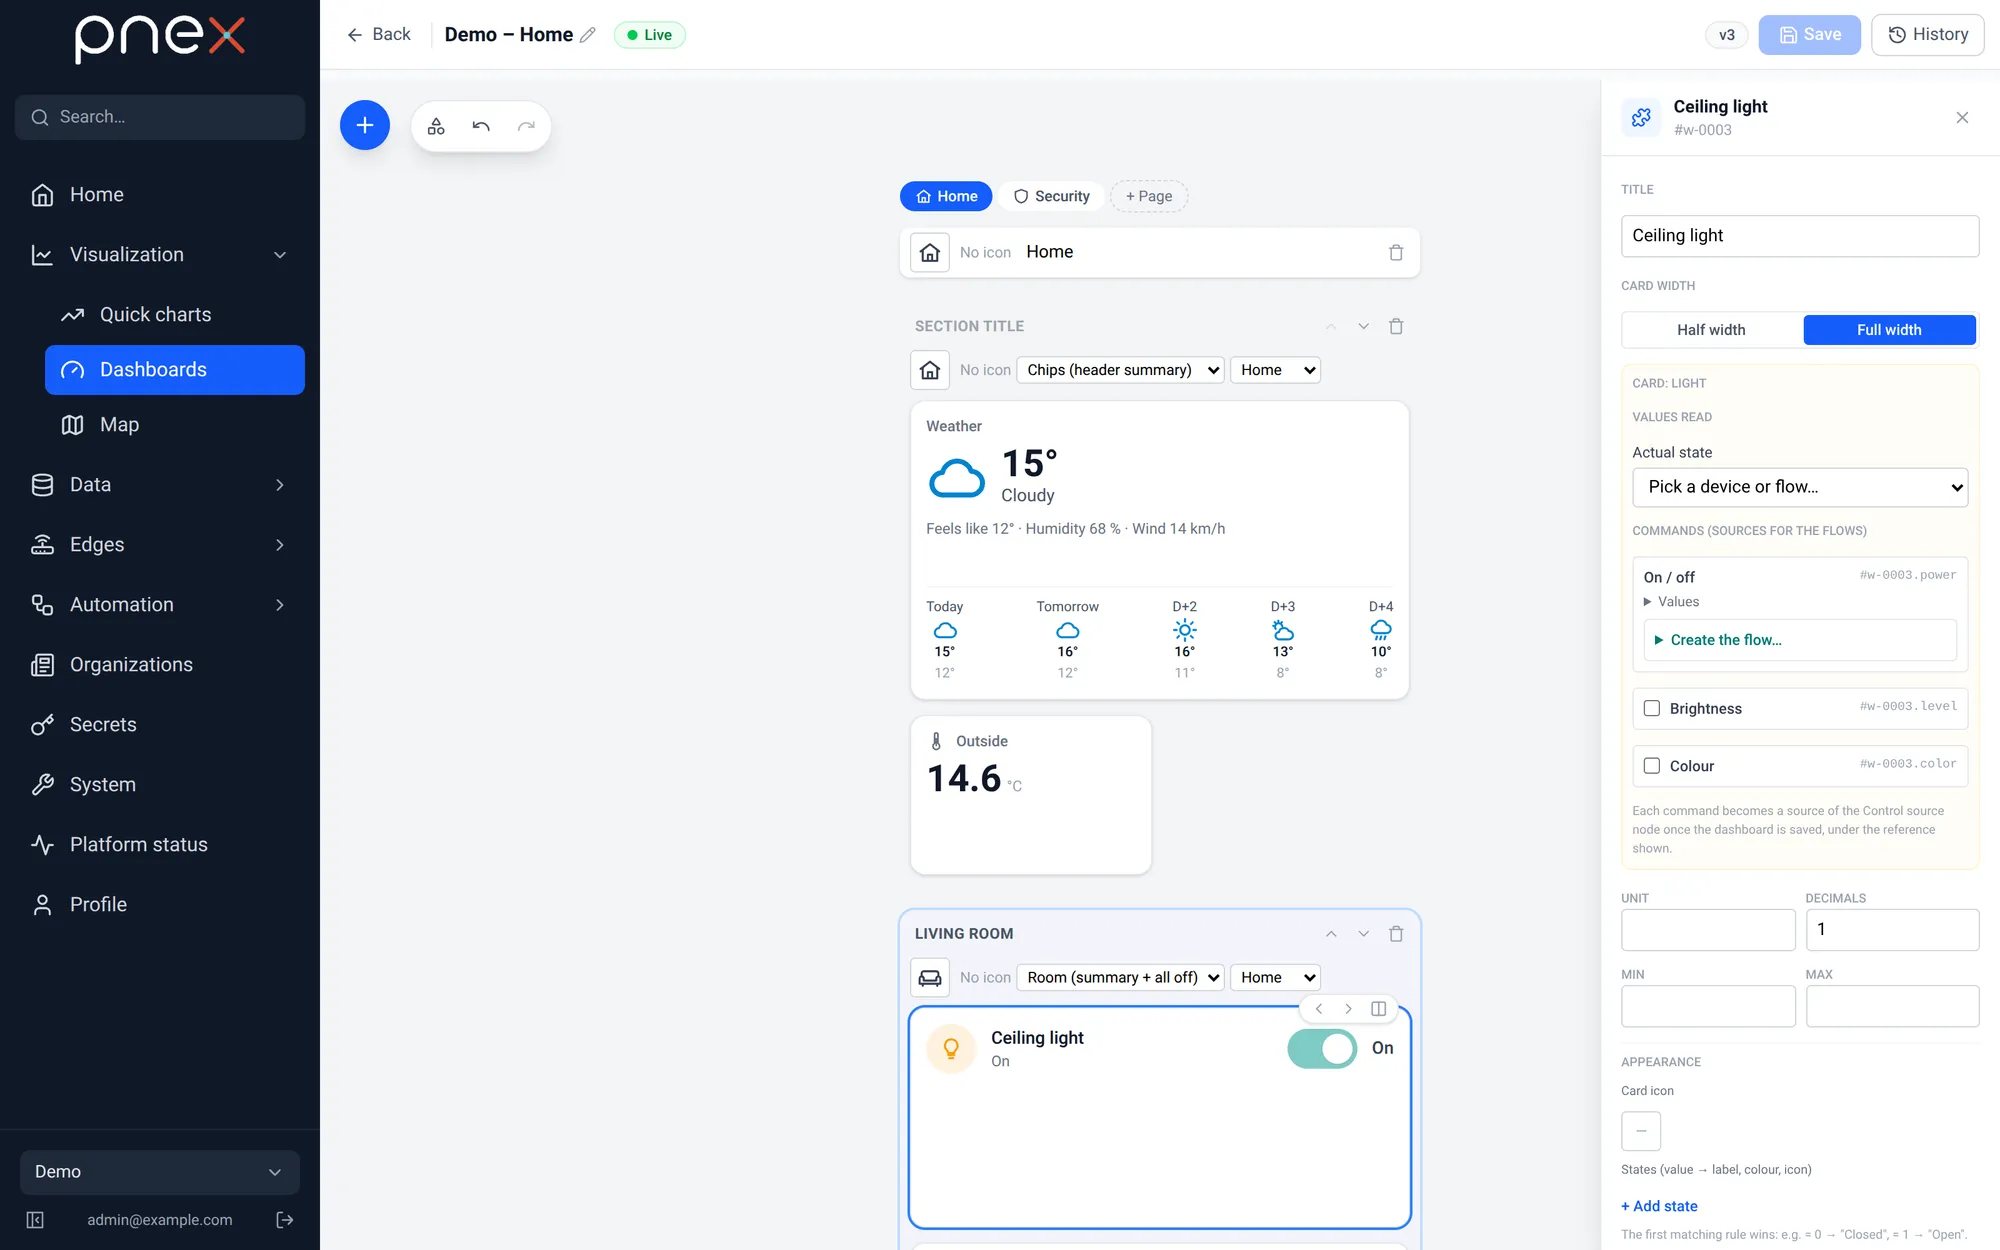
In the editor, select the Living room section (or + Add a section and give it the style Room (summary + all off)), open the palette and click Home → Light.
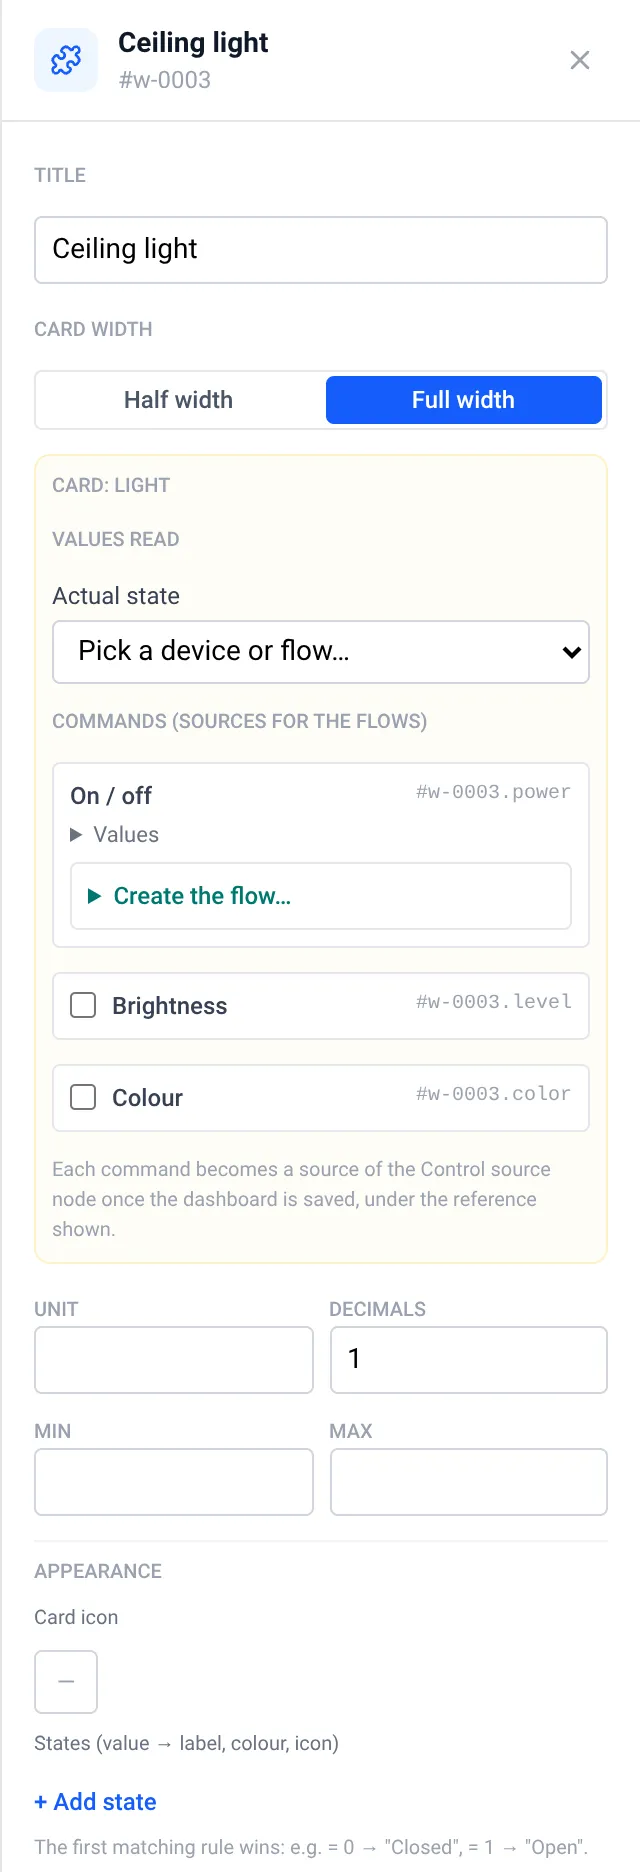
In the inspector (Card: Light):
- Values read → Actual state (optional): a device metric that reports what the lamp really does. Without it, the card mirrors its own switch.
- Commands (sources for the flows): On / off is always there; tick Brightness for a PWM pin or Colour for an RGB strip.
- Appearance: a lamp icon, and Stale after (seconds) if you want the card to grey out when the board goes quiet.
The on-board LED of a NodeMCU is active-low: writing 0 lights it. Swap the
values of the On / off command (Values → On value 0, Off value 1) in the
inspector — the flow then stays a plain wire, and All off sends the right value too.
Leave Actual state empty here: the raw pin reads the other way round.
Save: the card declares its control
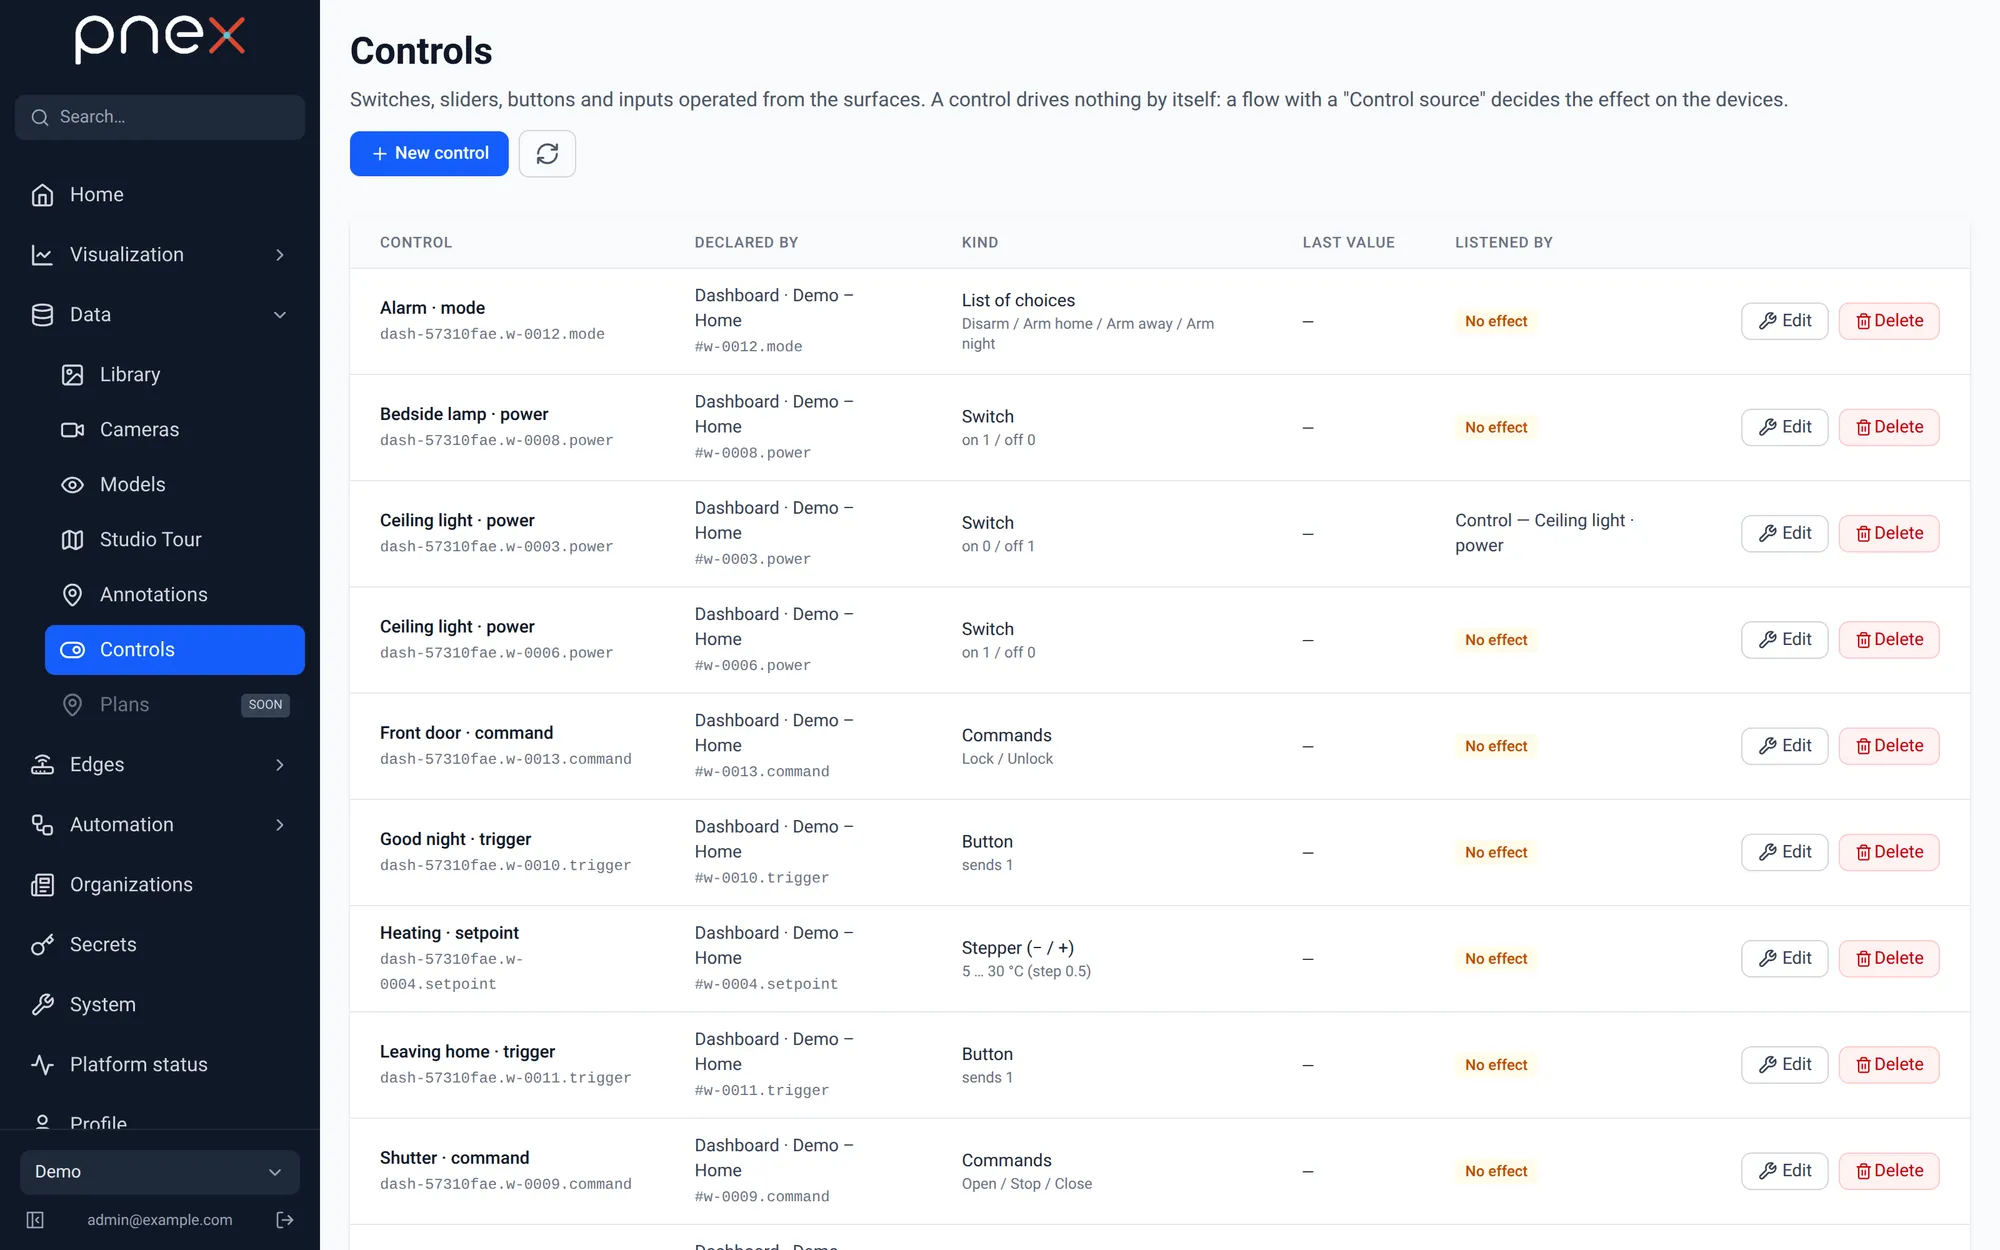
Click Save. The On / off command now has a reference, #w-0001.power, and the
control appears in Data → Controls, declared by your dashboard — with a No effect
badge, because no deployed flow listens to it yet. Pressing the card at this stage
records the value and nothing else.
Create the flow
Still in the card inspector, open Create the flow… under the On / off command: Target device… → your board, Output pin… → D4, then Create and open the flow. PNeX drafts Control — Ceiling light · power with two nodes, Control source → Device (write), and opens it in the flow editor.
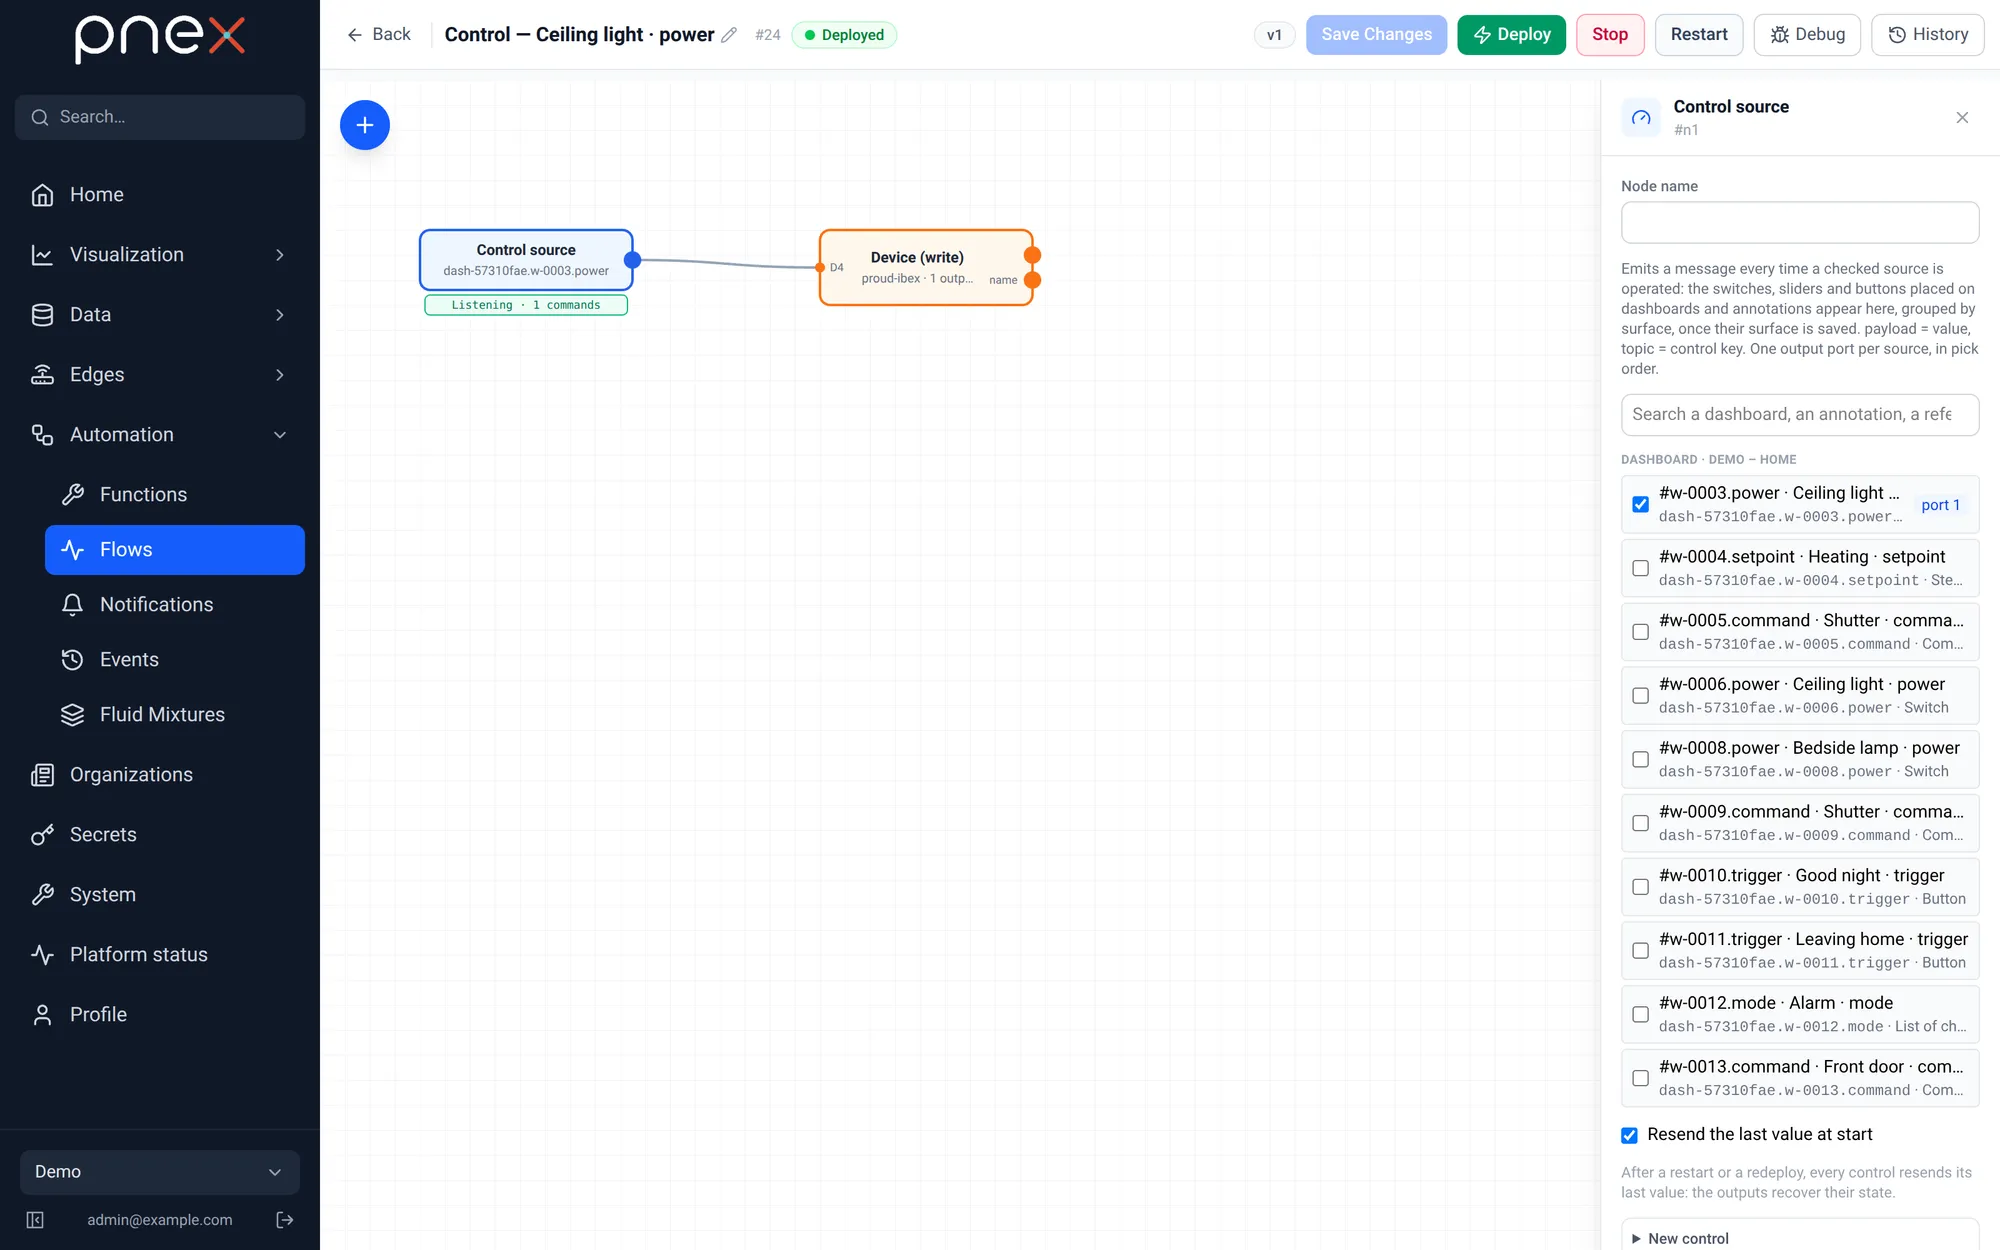
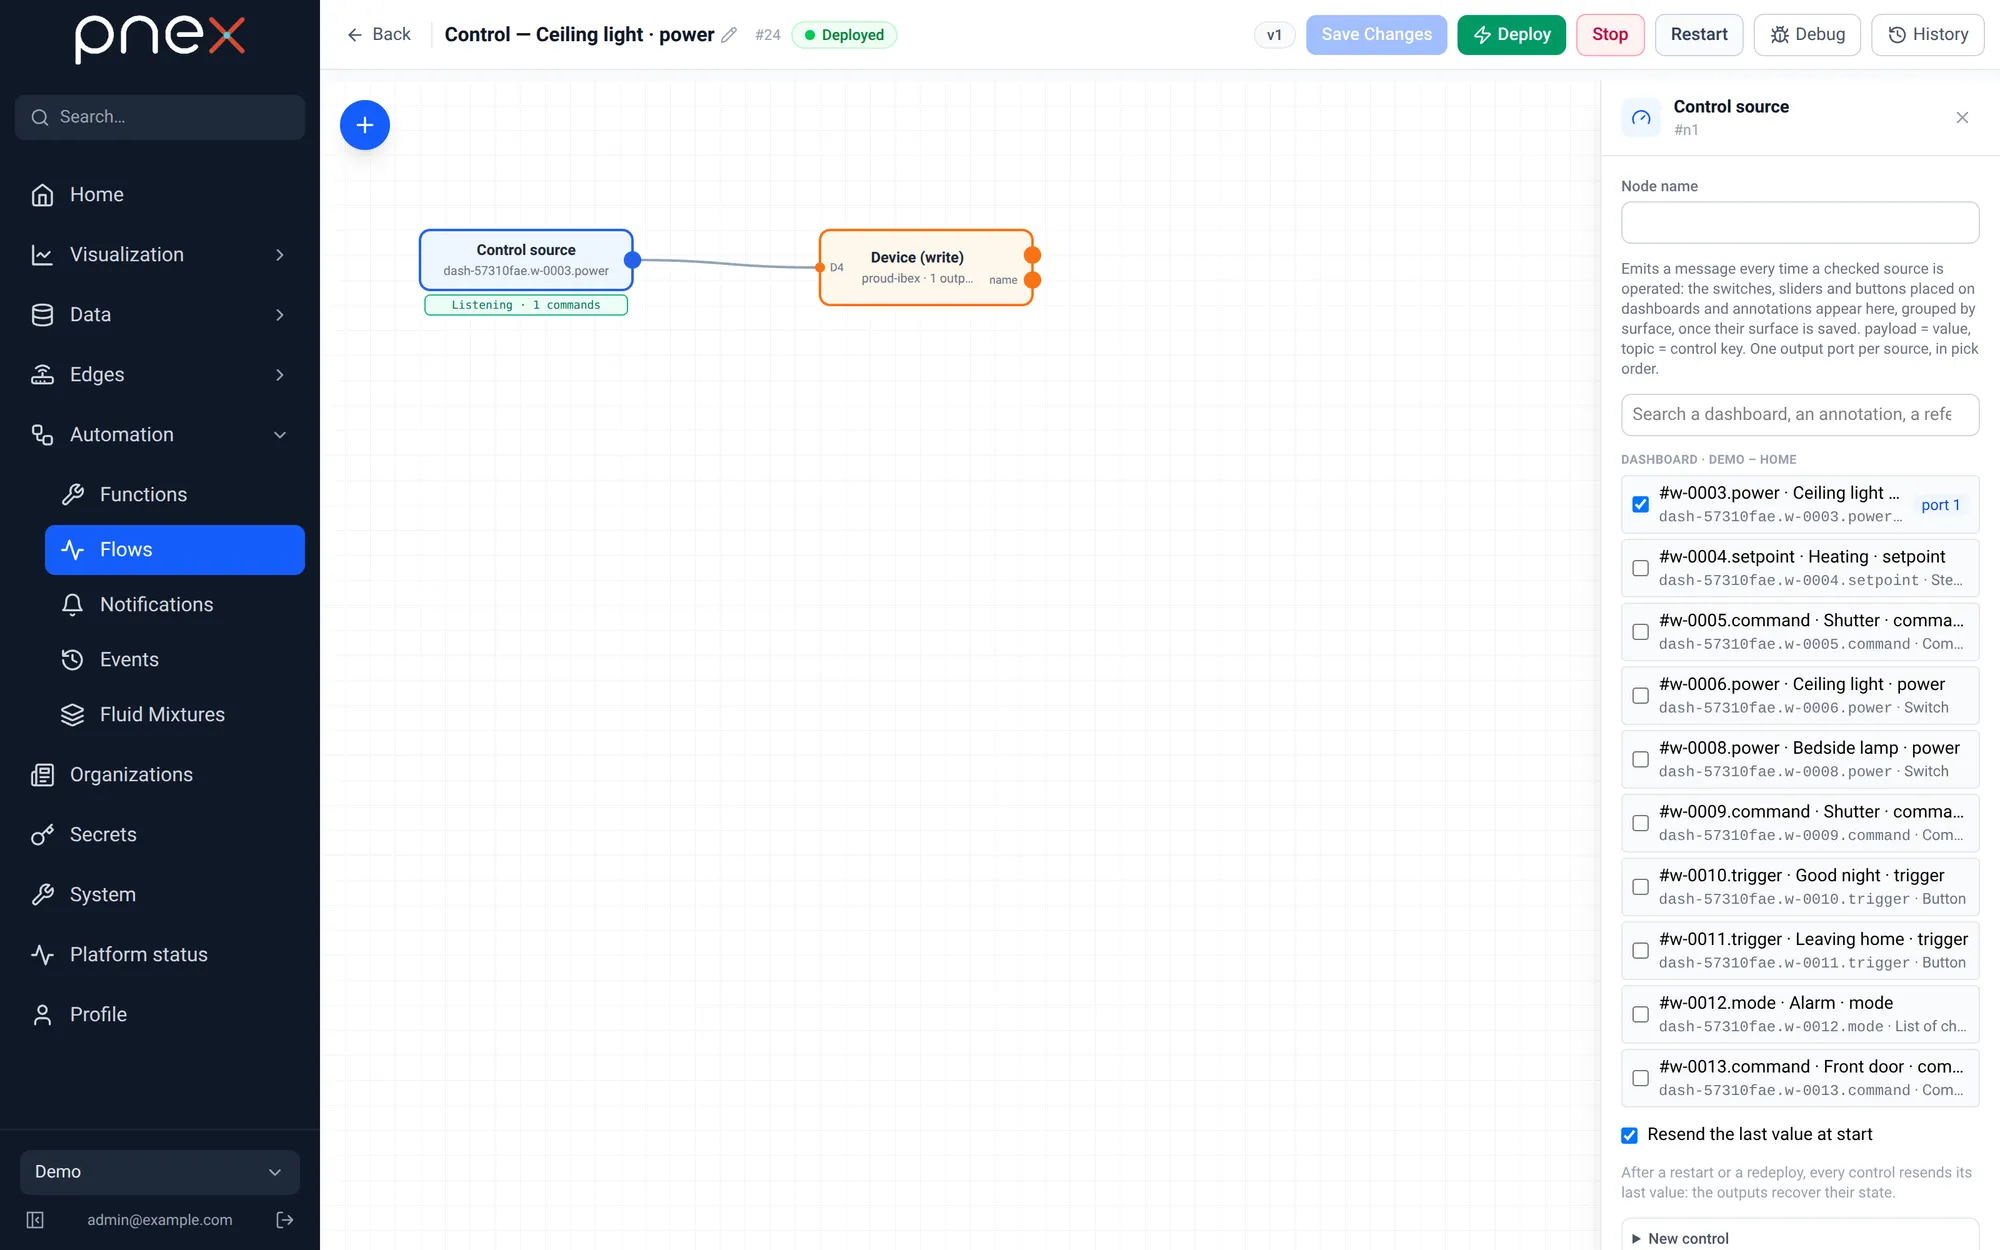
The draft is not running. Read it, add what you like (a Debug node to watch the presses, a Notification when the light stays on after midnight…), then Save and Deploy.
Use it on the phone
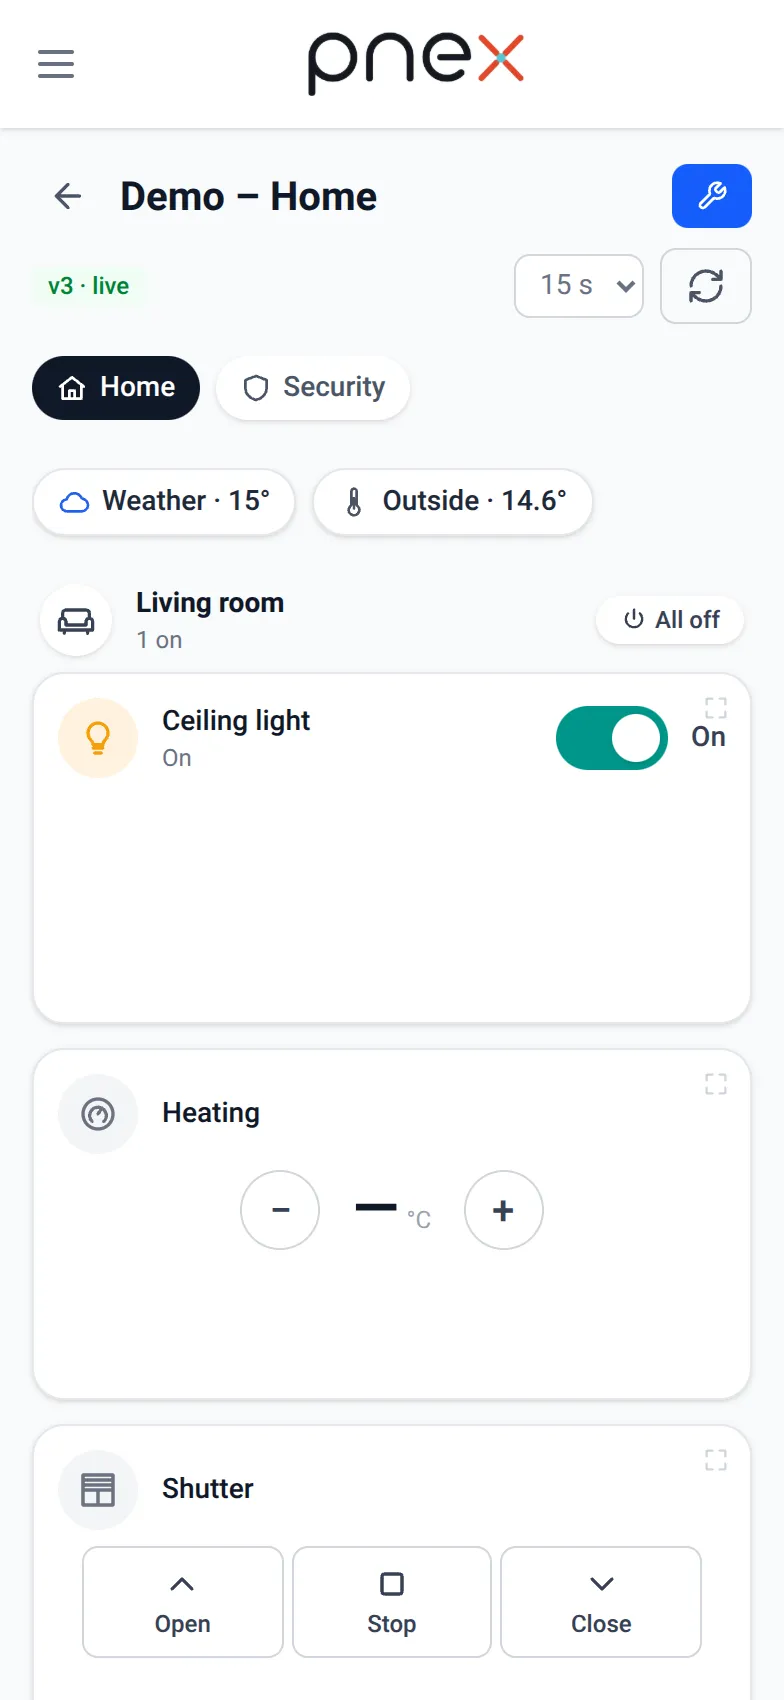
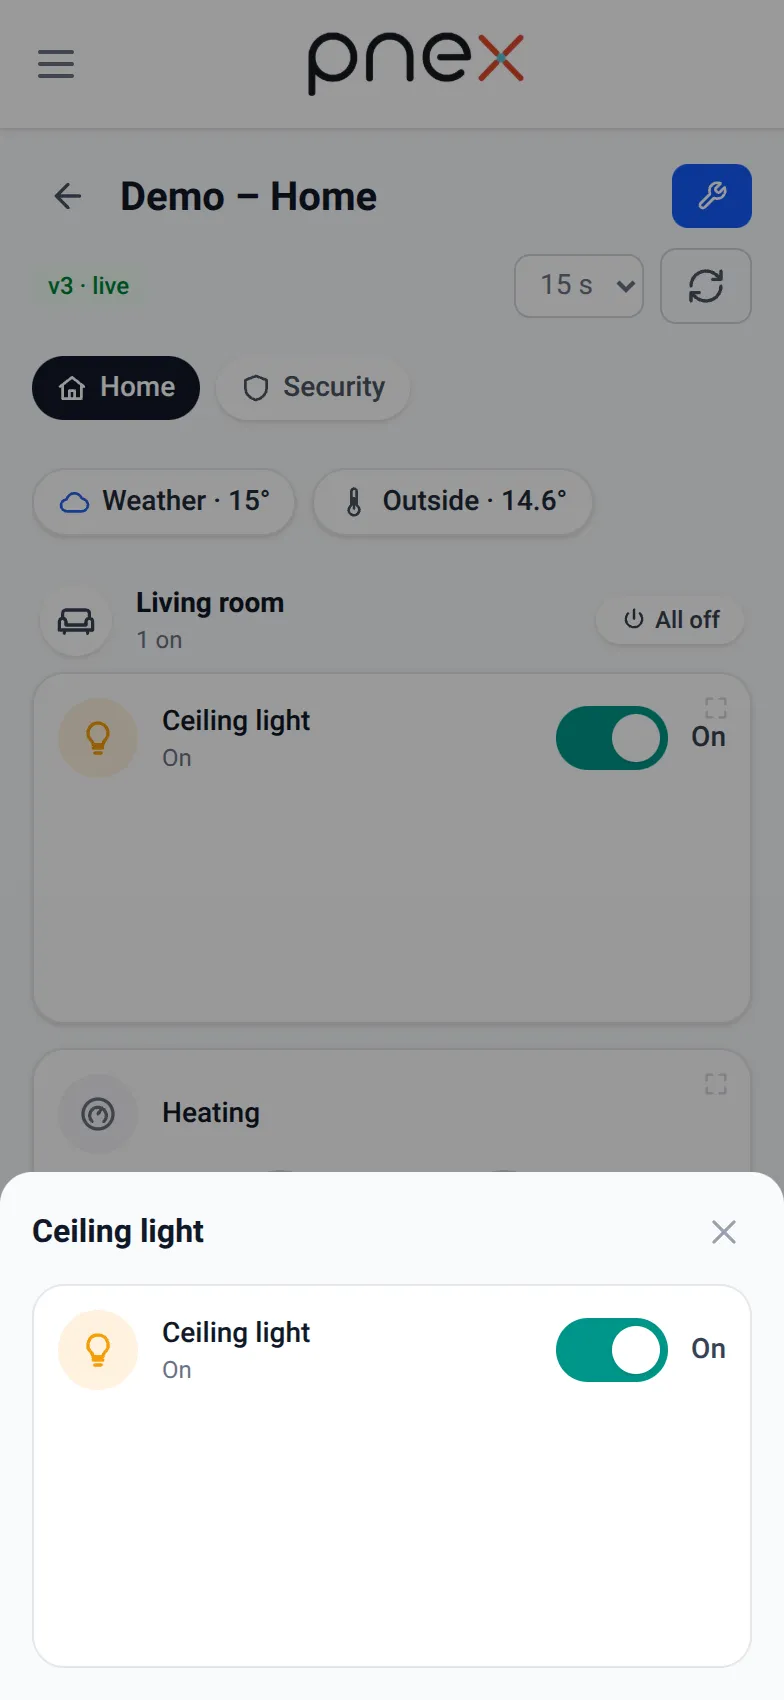
Open the dashboard on the phone (the PNeX app or the browser): Visualization → Dashboards → Home. Tap the Light card: the switch writes the control, the flow writes D4, the LED lights up, and the card shows the actual state read back from the board.
- Details and history opens a bottom sheet with the card and its last 24 hours.
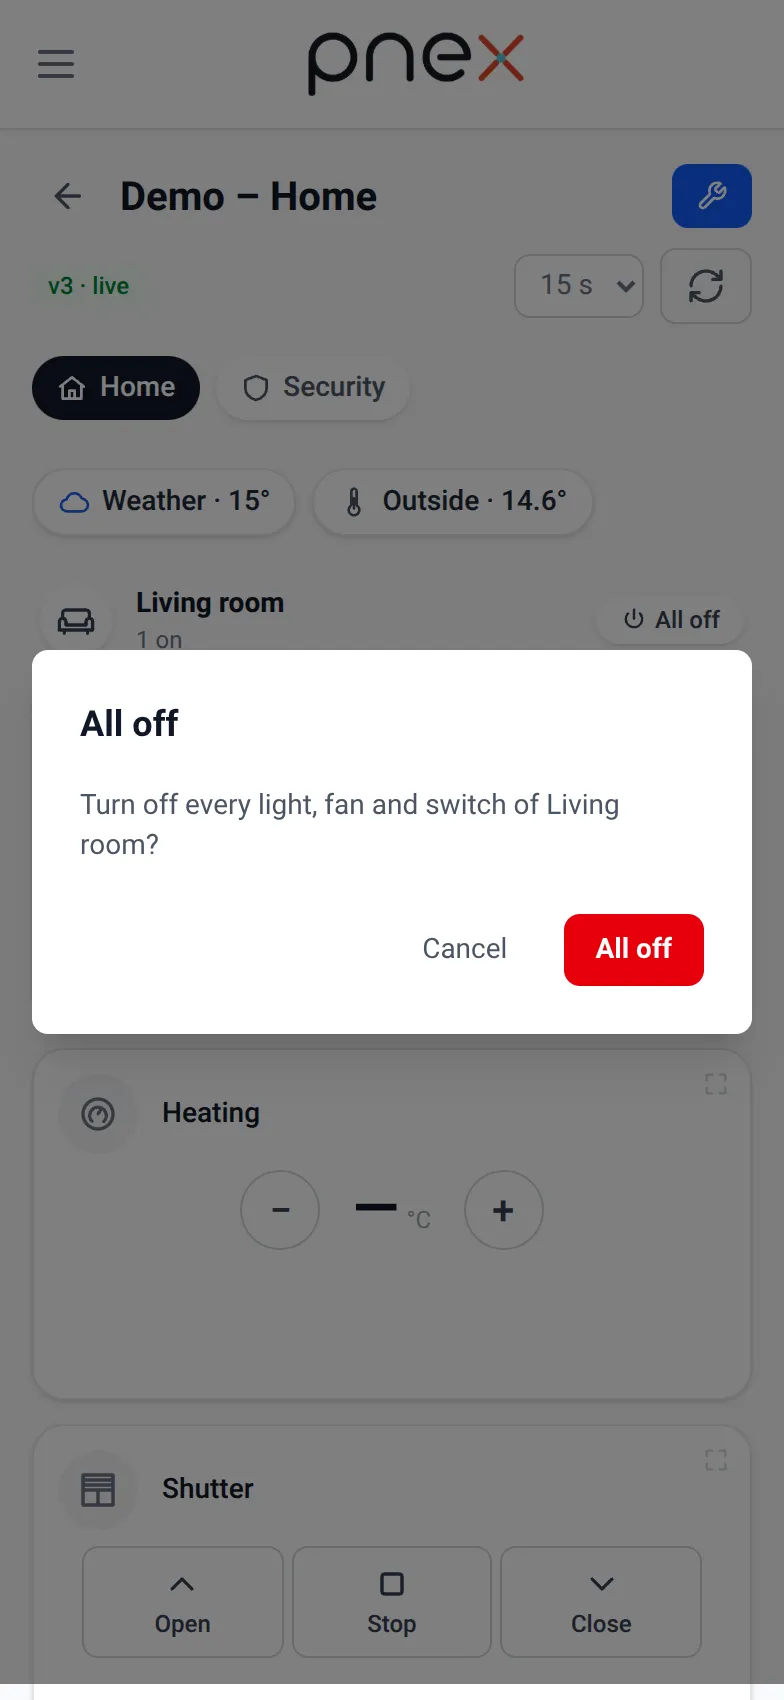
- The room header counts what is on and offers All off, which switches off every light, fan and switch of the room after a confirmation.
Screenshot coming soon
public/screenshots/en/home-light-on-device.webp — capture scenario: scripts/capture/run.mjs
Add the weather
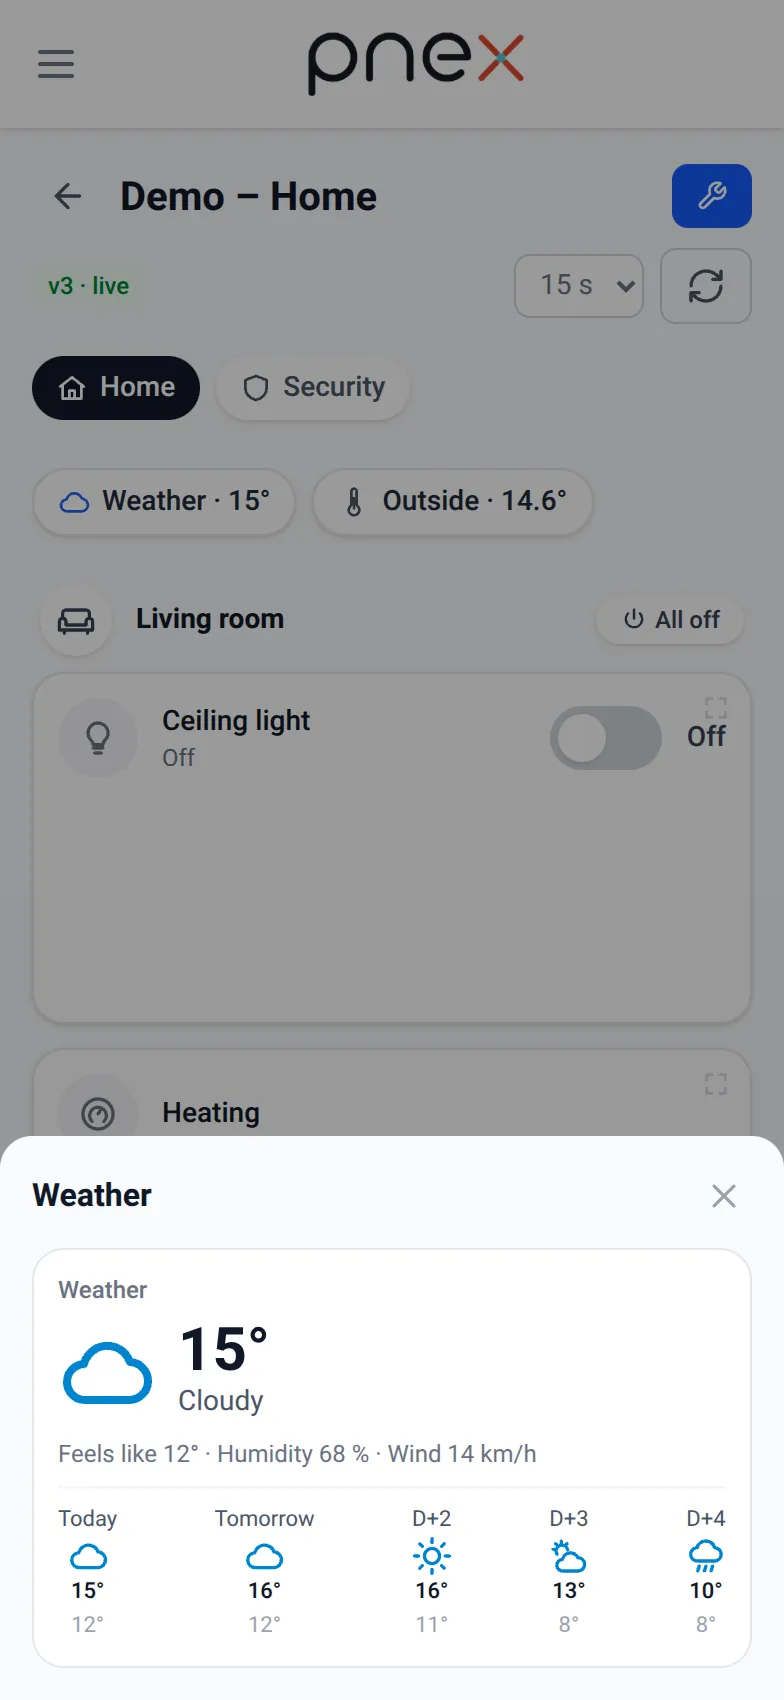
Create a flow with a Weather node (MET Norway, your latitude and longitude), wire
current and 7 days to two Memory write nodes (weather.now,
weather.daily), deploy, then add a Sensors → Weather card and pick those two keys.
See Home cards.
Where to go next
- One switch, many devices: tick the same control in a flow that writes several boards, or add a Scene card whose Trigger starts a sequence.
- Thermostat: a Thermostat card's Setpoint and Mode go into a flow with the room temperature and drive a relay — or an autonomous regulation card on the device.
- Everything you built is a flow: versioned, visible, and the only place where your home actually acts.
Before you start
Prerequisites
Finish these tutorials first.
Parts & services
What this tutorial needs.
Already covered by the prerequisites
- Register and flash your first board
ESP32 DevKit (WROOM-32) / NodeMCU v3 (ESP8266) / ESP32-C3 SuperMini · USB data cable (not charge-only) · 2.4 GHz Wi-Fi network · Chrome or Edge (Web Serial)
- Set up PNeX on a Raspberry Pi · depending on your choice
Raspberry Pi 5 (8 GB) / Raspberry Pi 4 (4 GB+) · Official Raspberry Pi USB-C power supply · microSD card, 32 GB, high endurance · USB 3 SSD · Raspberry Pi Imager
- Set up PNeX on a Linux VM · depending on your choice
Linux VM or server (Debian/Ubuntu)