

Set up PNeX on a Raspberry Pi
A Pi on your LAN running the whole PNeX stack, reachable at https://pnex.local
Easy 45 min
#serverFlash Raspberry Pi OS Lite 64-bit
In Raspberry Pi Imager, pick Raspberry Pi OS Lite (64-bit). In the advanced
settings, set the hostname to pnex, enable SSH and set your Wi-Fi or plug the Pi
into Ethernet.
32-bit Raspberry Pi OS is not supported.
Boot and connect
Insert the card, power the Pi, wait a minute, then:
You get a shell prompt on the Pi.
Run the installer
curl -fsSL https://raw.githubusercontent.com/Pnex/pnex-deploy/main/install.sh \
  | sudo bash -s -- --admin-user [email protected] --admin-password 'choose-a-strong-one'
The raspi profile is picked automatically. Full options are in
Raspberry Pi installation.
Open PNeX and trust the certificate
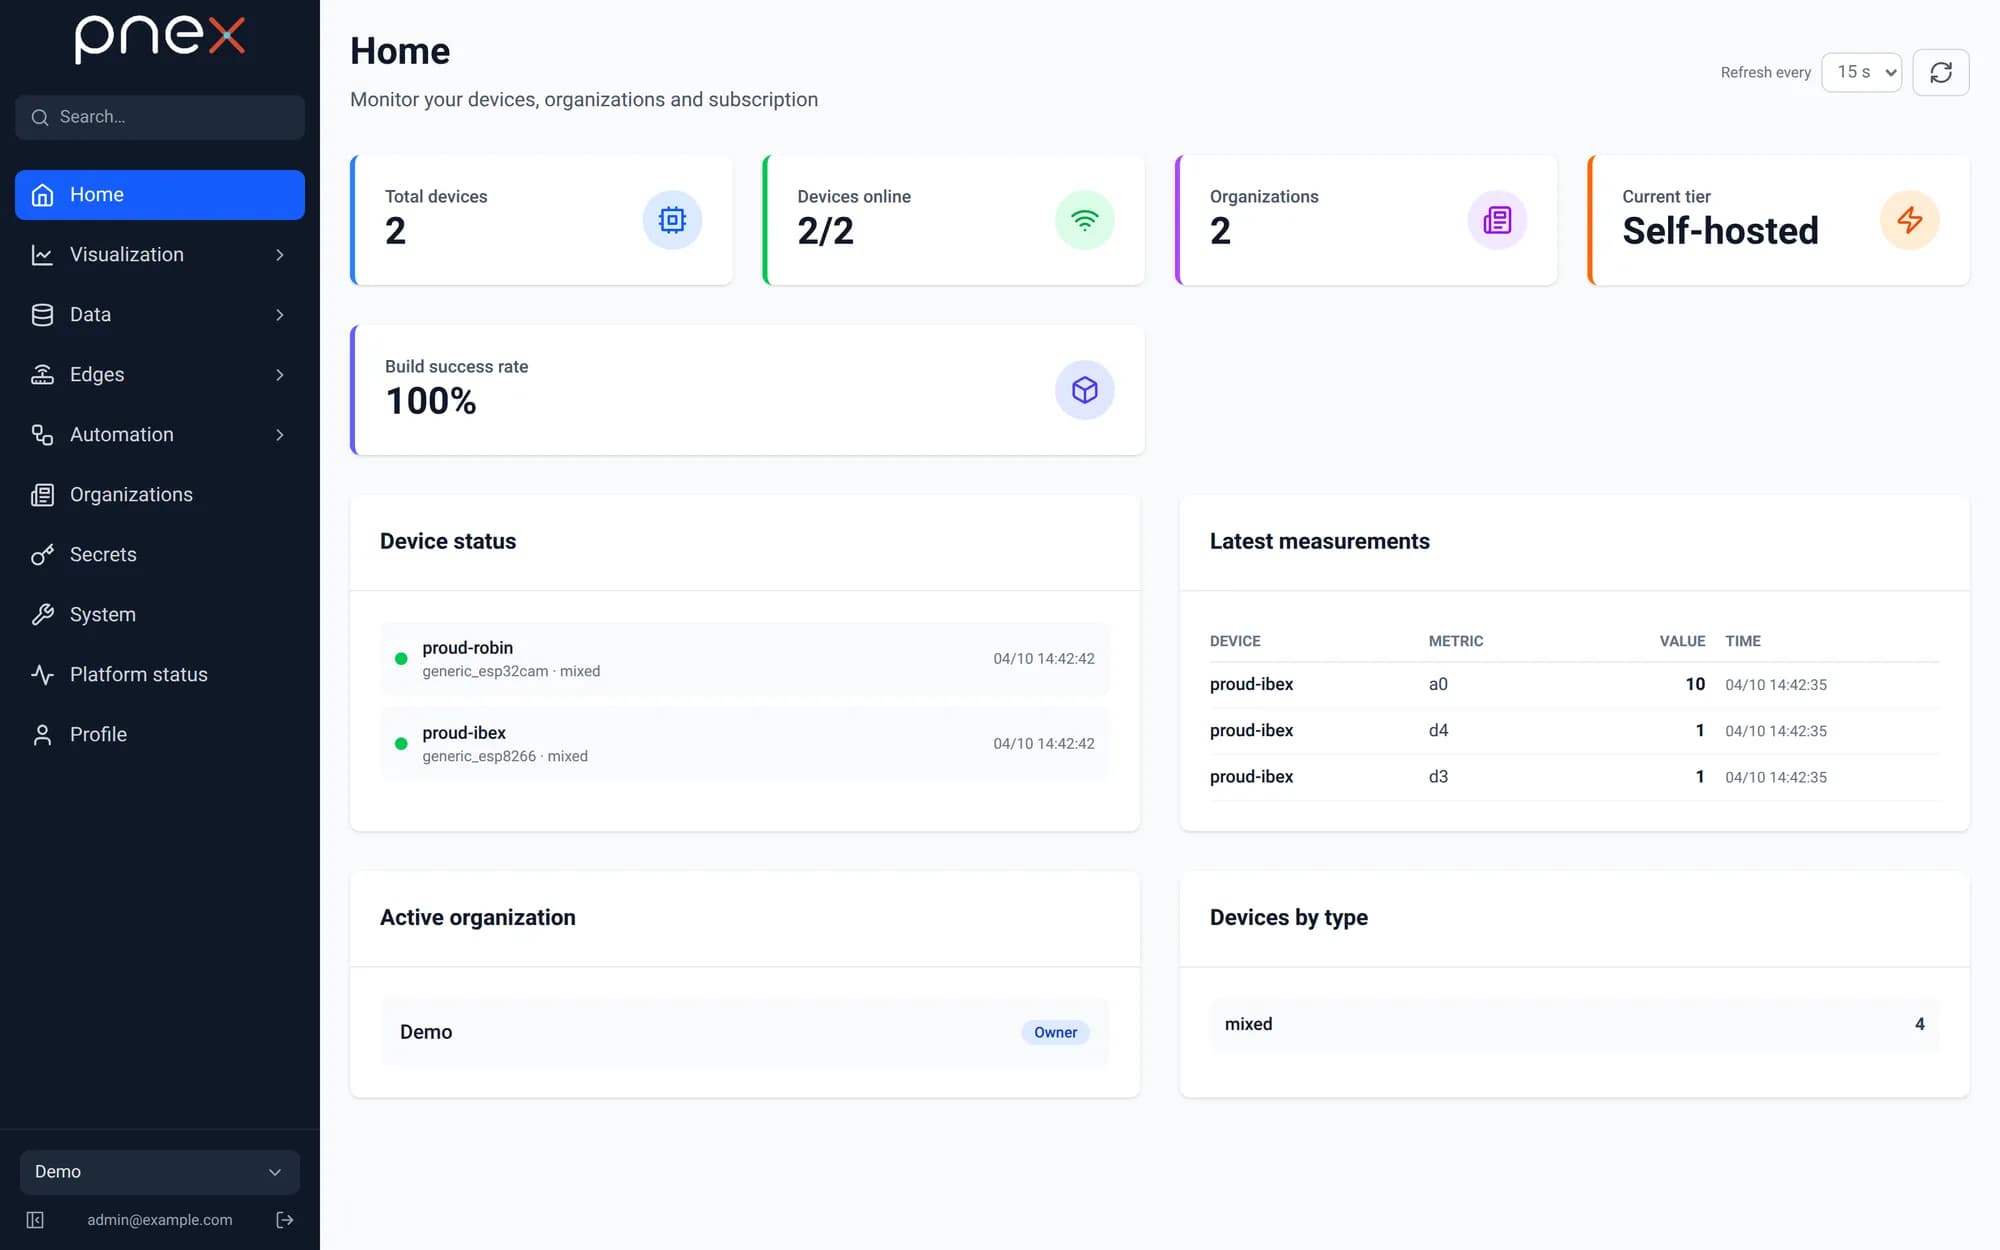
Open https://pnex.local/, trust the server's certificate authority once per
client device (how), and sign in.
The PNeX home page shows up and you are signed in as admin.
Before you start
Prerequisites
No prerequisite: this is a starting point.
Parts & services
What this tutorial needs.
What next?
These tutorials build on this one.
Temperature alerts with your own firmwareAn AM2301 sensor on an ESP32-C6-Zero, a few lines of C++ written in the browser, a Python-like function and an alert on your phone, all self-hostedGet alerts by email or on your phoneA notification channel PNeX flows can send to — email, ntfy or TelegramRegister and flash your first boardAn ESP board flashed from the browser, connected and reporting to PNeX