

Monitor a plant's soil moisture
A capacitive sensor on an ESP board, a live chart, and the data history
Wire the sensor
| Sensor | NodeMCU | ESP32 DevKit |
|---|---|---|
| VCC | 3V3 | 3V3 |
| GND | GND | GND |
| AOUT | A0 | GPIO34 |
Power the sensor from 3.3 V, not 5 V: the ADC input must stay below 3.3 V.
Declare the pin as analog input
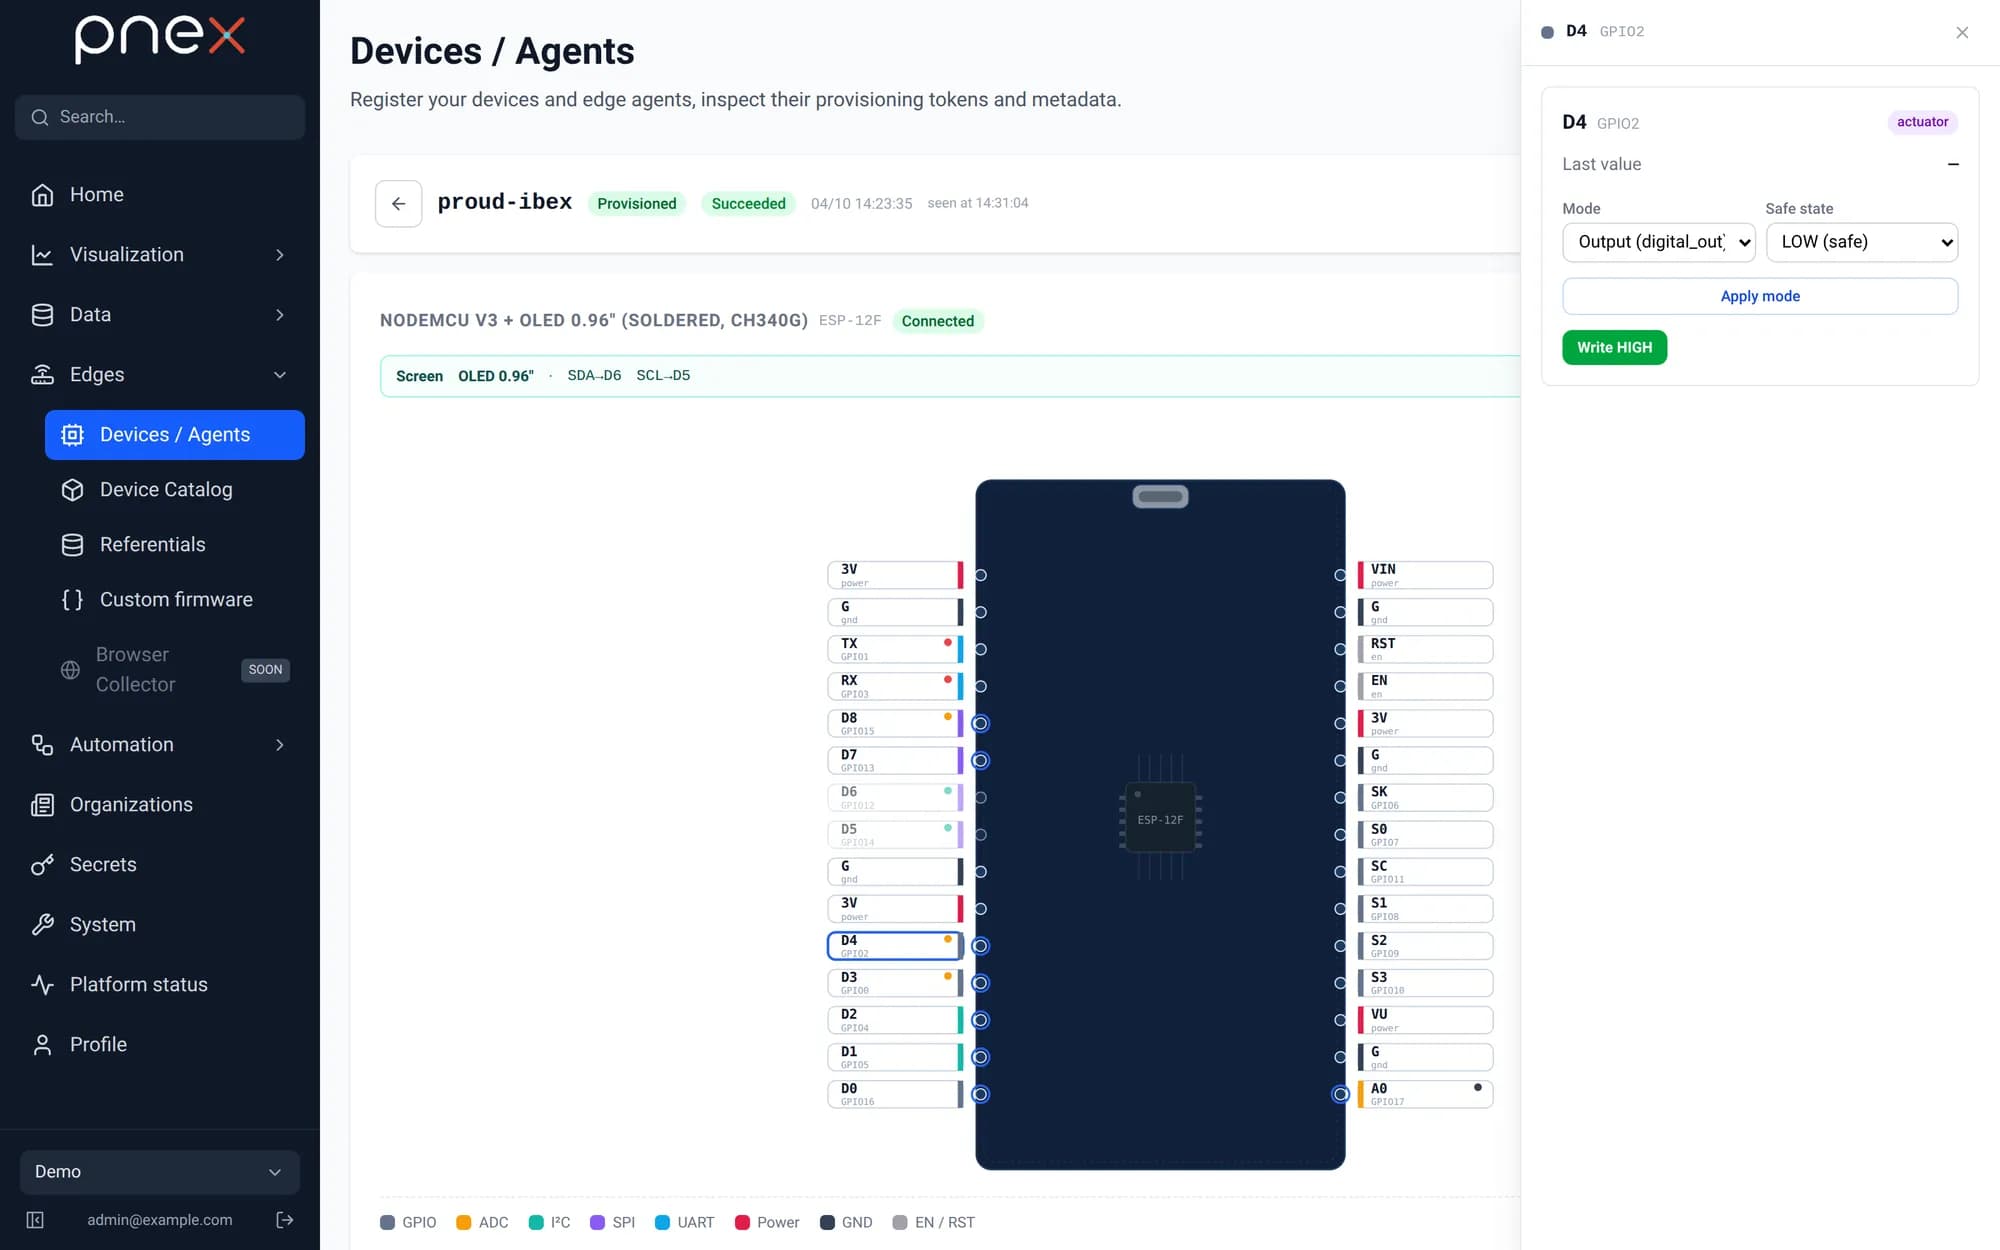
On the device page, click the pin in the pinout and set its mode to analog_in, then subscribe it so its values are sent.
Chart it

Open the telemetry quick charts for the device. Dry soil reads high, wet soil low: note both values, you will need them for alerts and watering.
Before you start
Prerequisites
Finish these tutorials first.
Recommended
Get alerts by email or on your phoneParts & services
What this tutorial needs.
Sensors
- 1×Capacitive soil moisture sensor v1.2Capacitive, not resistive: it does not corrode
- 1×DHT22 temperature & humidity sensoroptionalAdd air temperature and humidity
Power
- 1×USB charger, 5 V 2 ATo power the board next to the plant
Wiring
- 3×Dupont jumper wires (F-F, M-F)
Already covered by the prerequisites
- Register and flash your first board
ESP32 DevKit (WROOM-32) / NodeMCU v3 (ESP8266) / ESP32-C3 SuperMini · USB data cable (not charge-only) · 2.4 GHz Wi-Fi network · Chrome or Edge (Web Serial)
- Set up PNeX on a Raspberry Pi · depending on your choice
Raspberry Pi 5 (8 GB) / Raspberry Pi 4 (4 GB+) · Official Raspberry Pi USB-C power supply · microSD card, 32 GB, high endurance · USB 3 SSD · Raspberry Pi Imager
- Set up PNeX on a Linux VM · depending on your choice
Linux VM or server (Debian/Ubuntu)
What next?
These tutorials build on this one.