
Devices
Device registry, boards and pinout editor
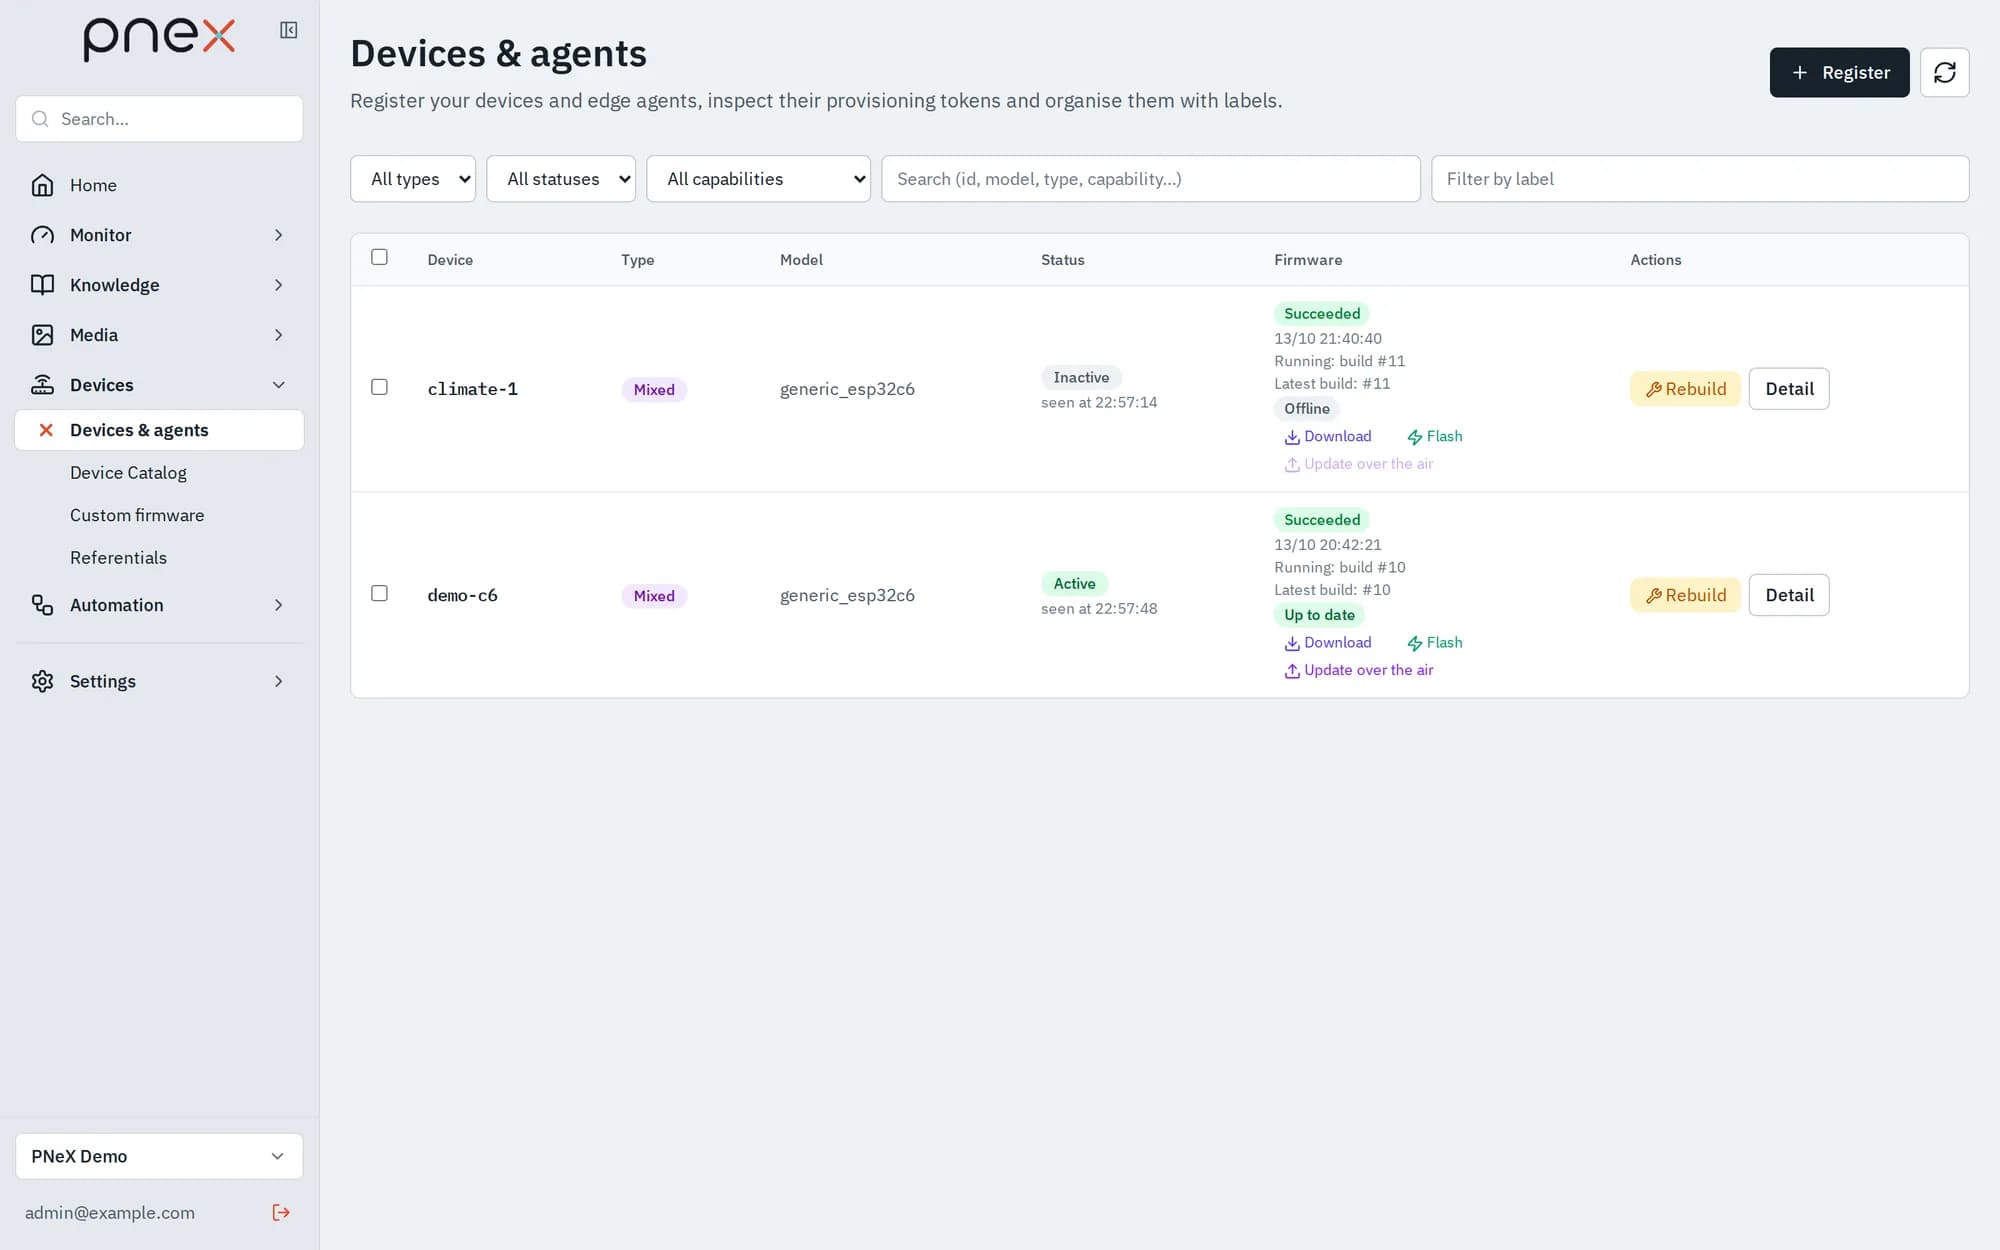
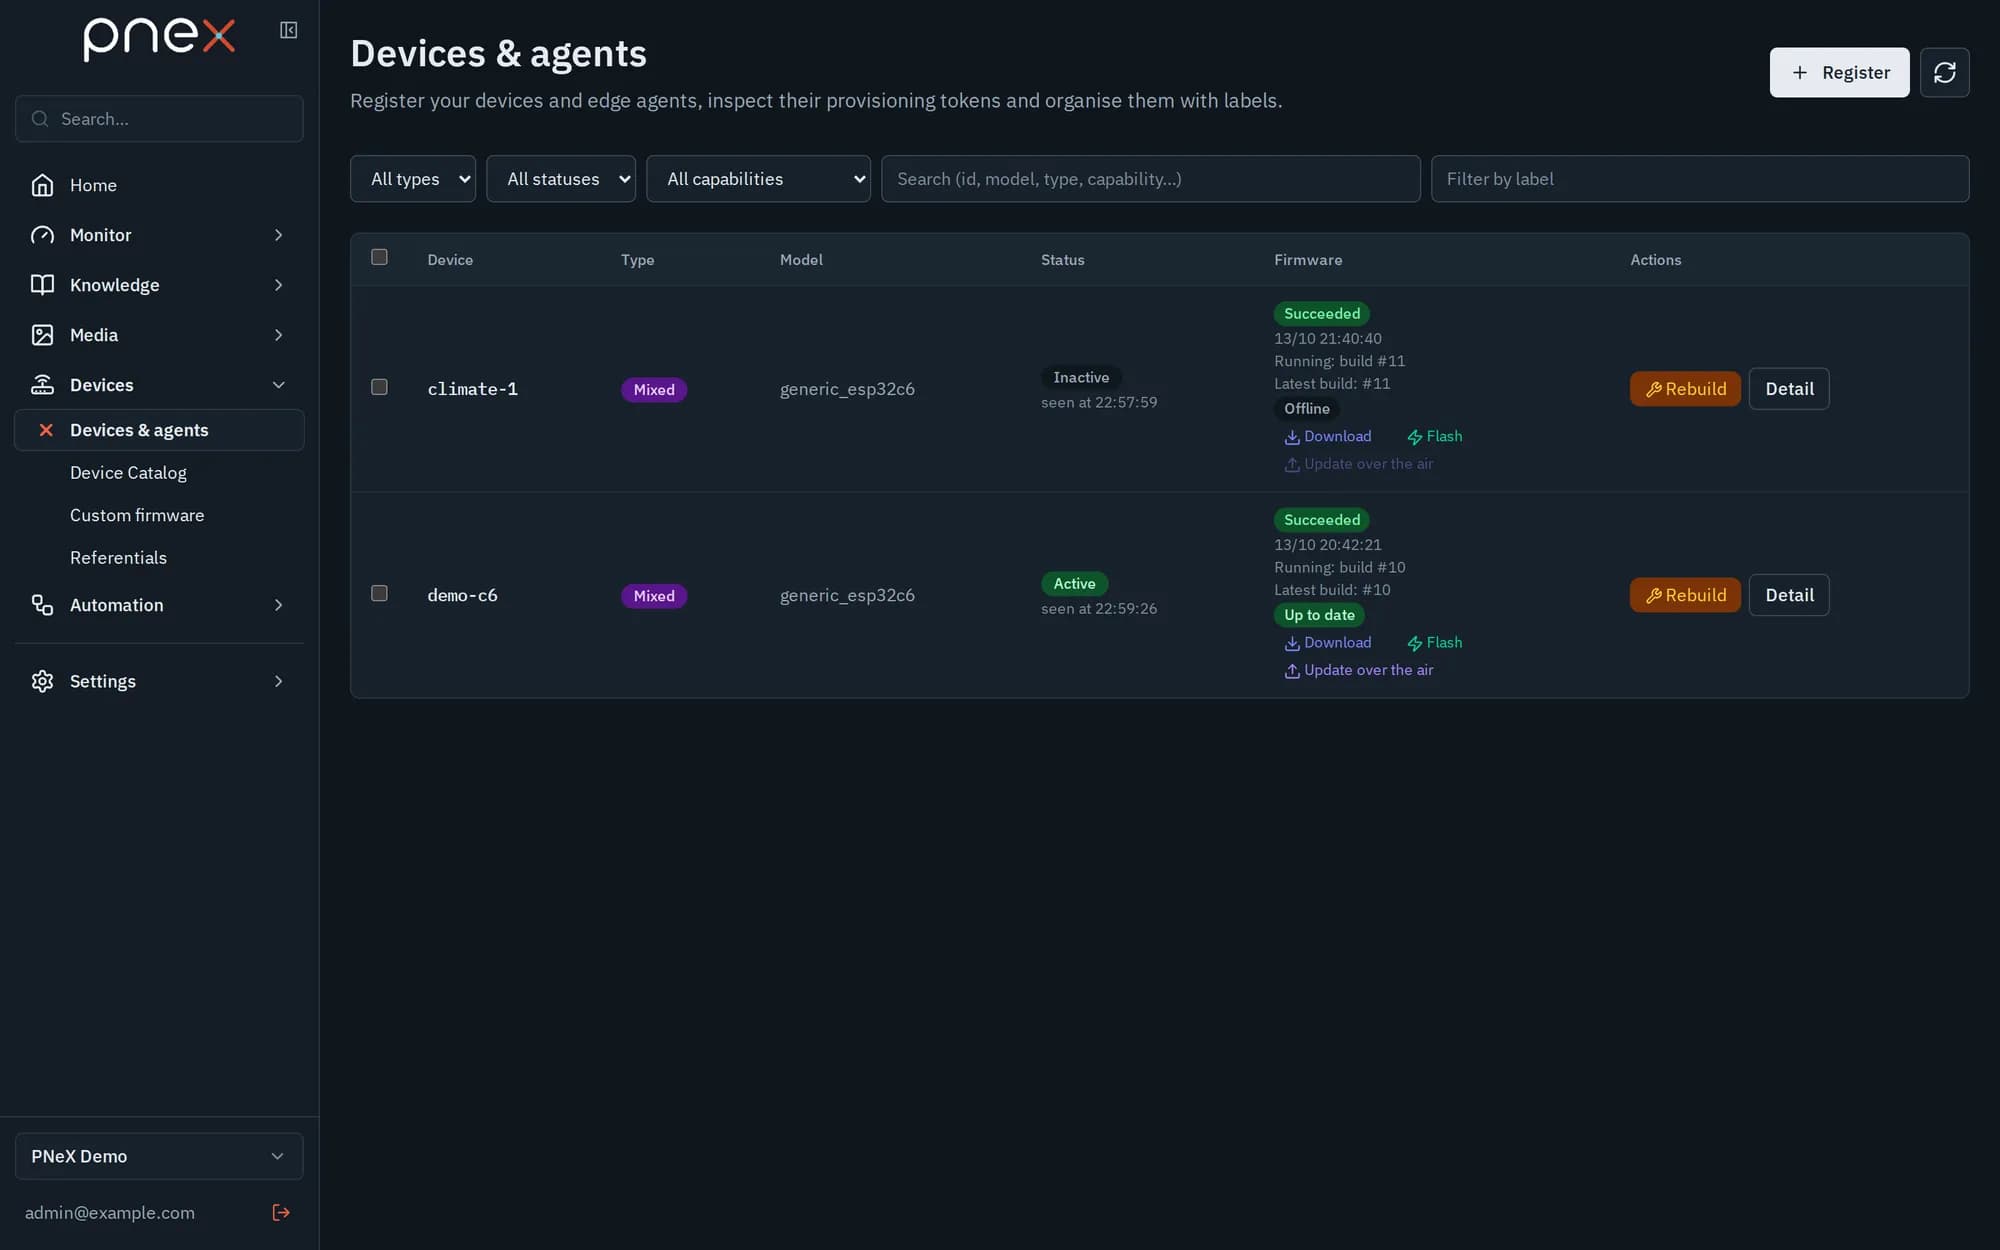
Devices › Devices / Agents is the registry of the organisation's boards and edge agents. Each device is an organisation-scoped record with an identity (token, encrypted-link key, X.509 certificate) and a board profile.
Catalog and wizard
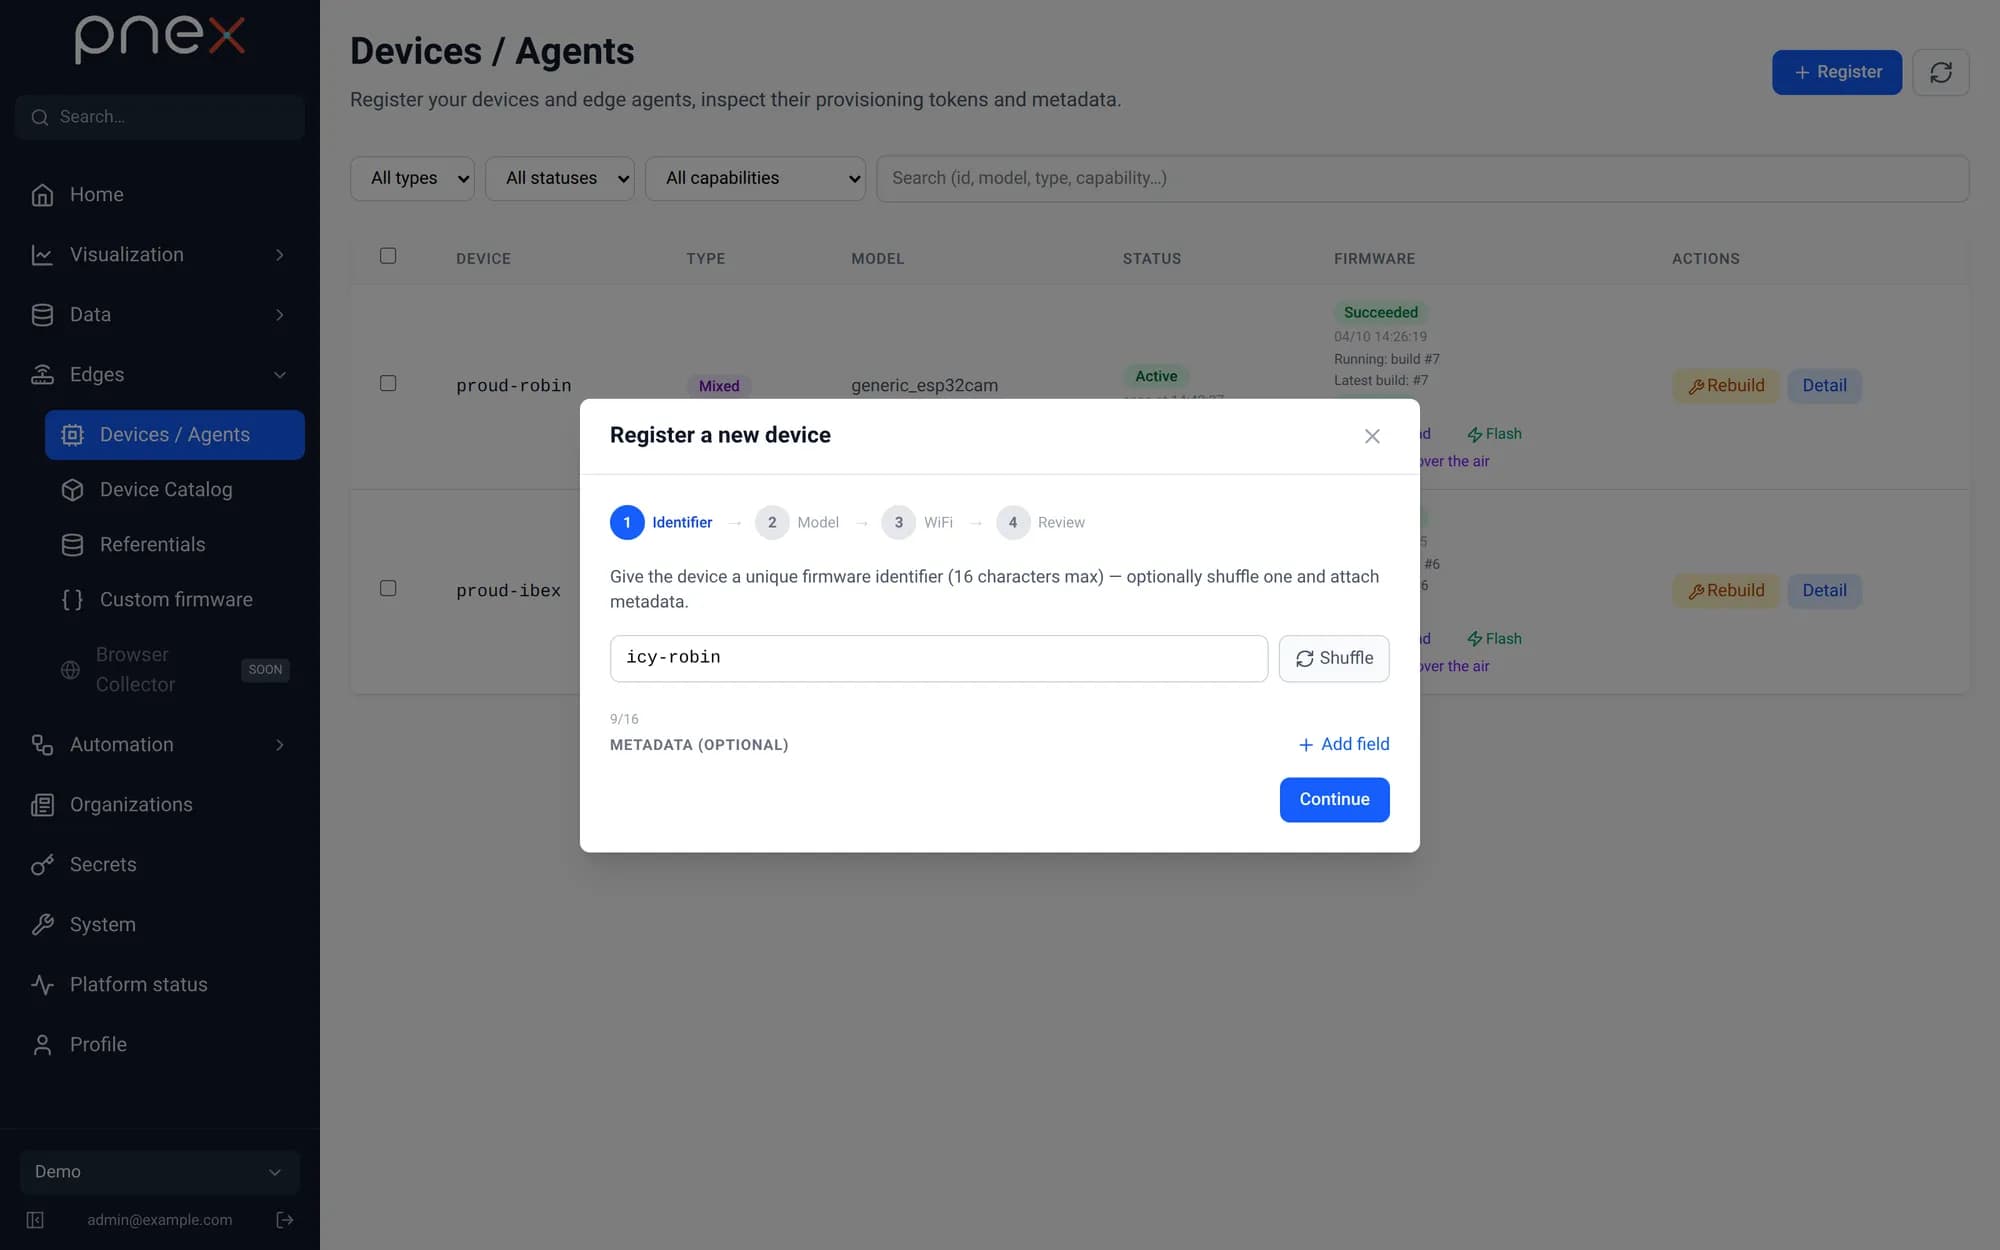
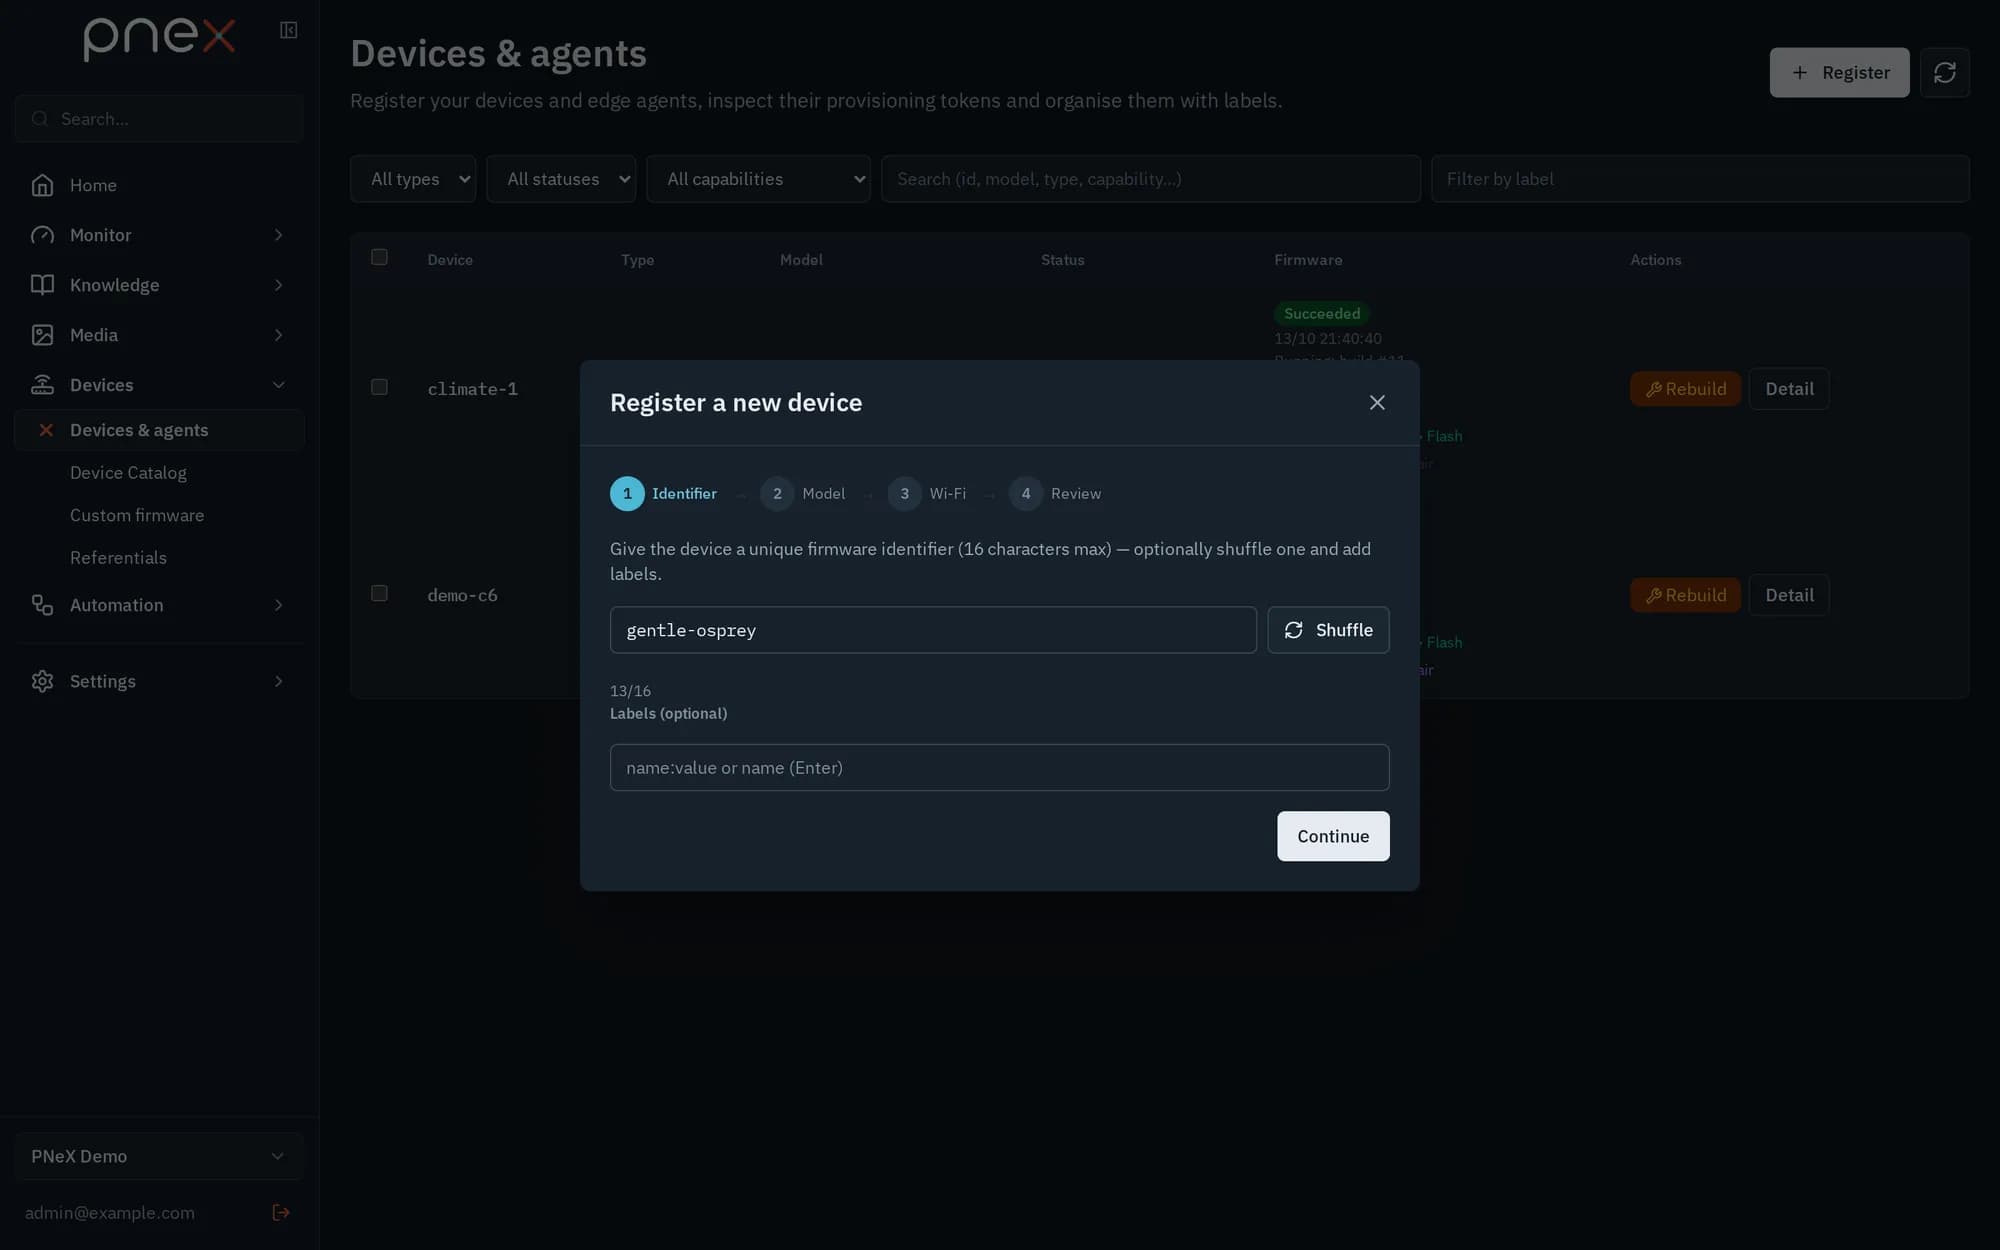
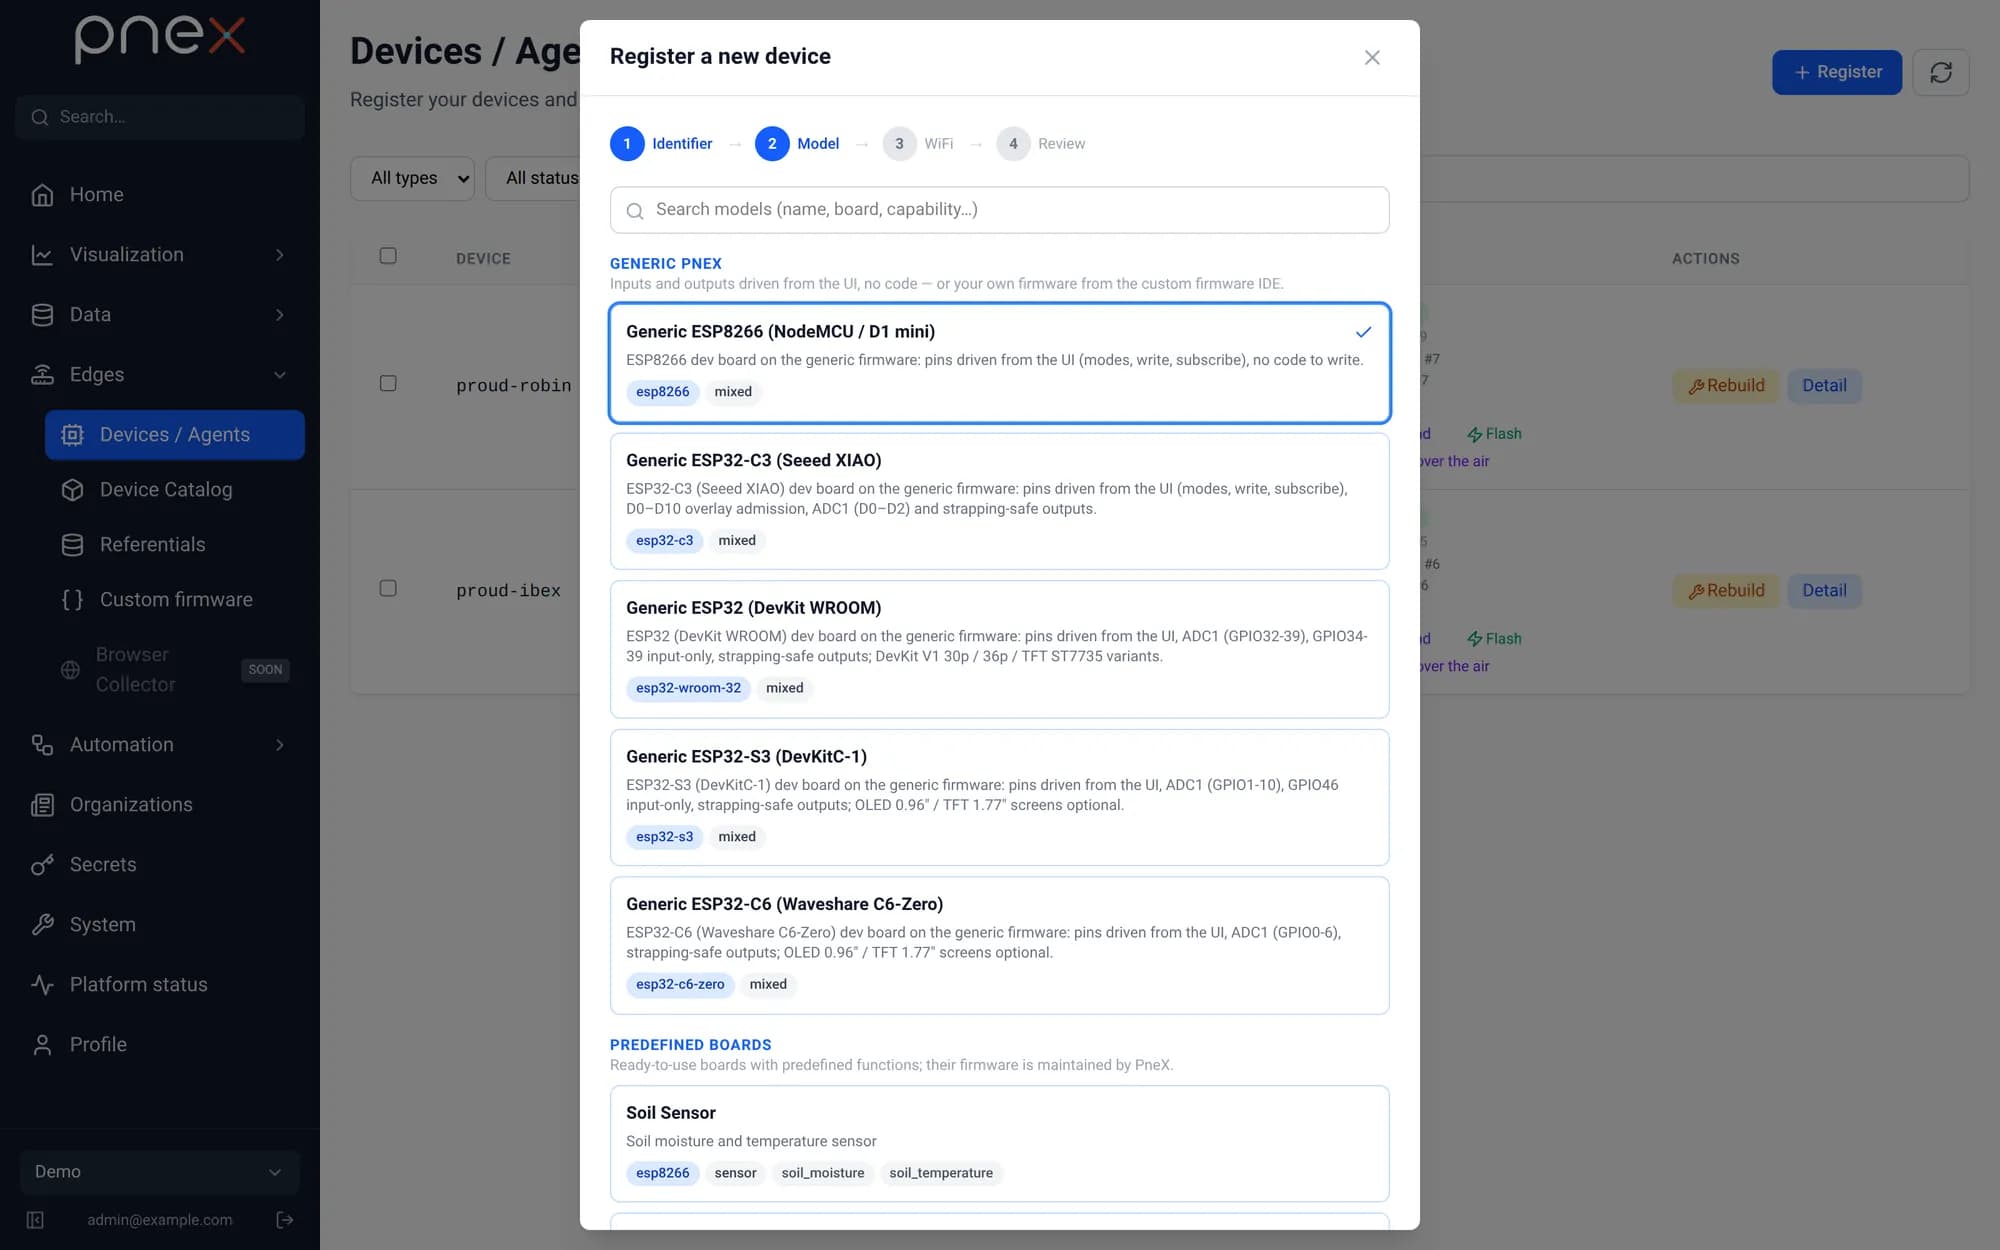
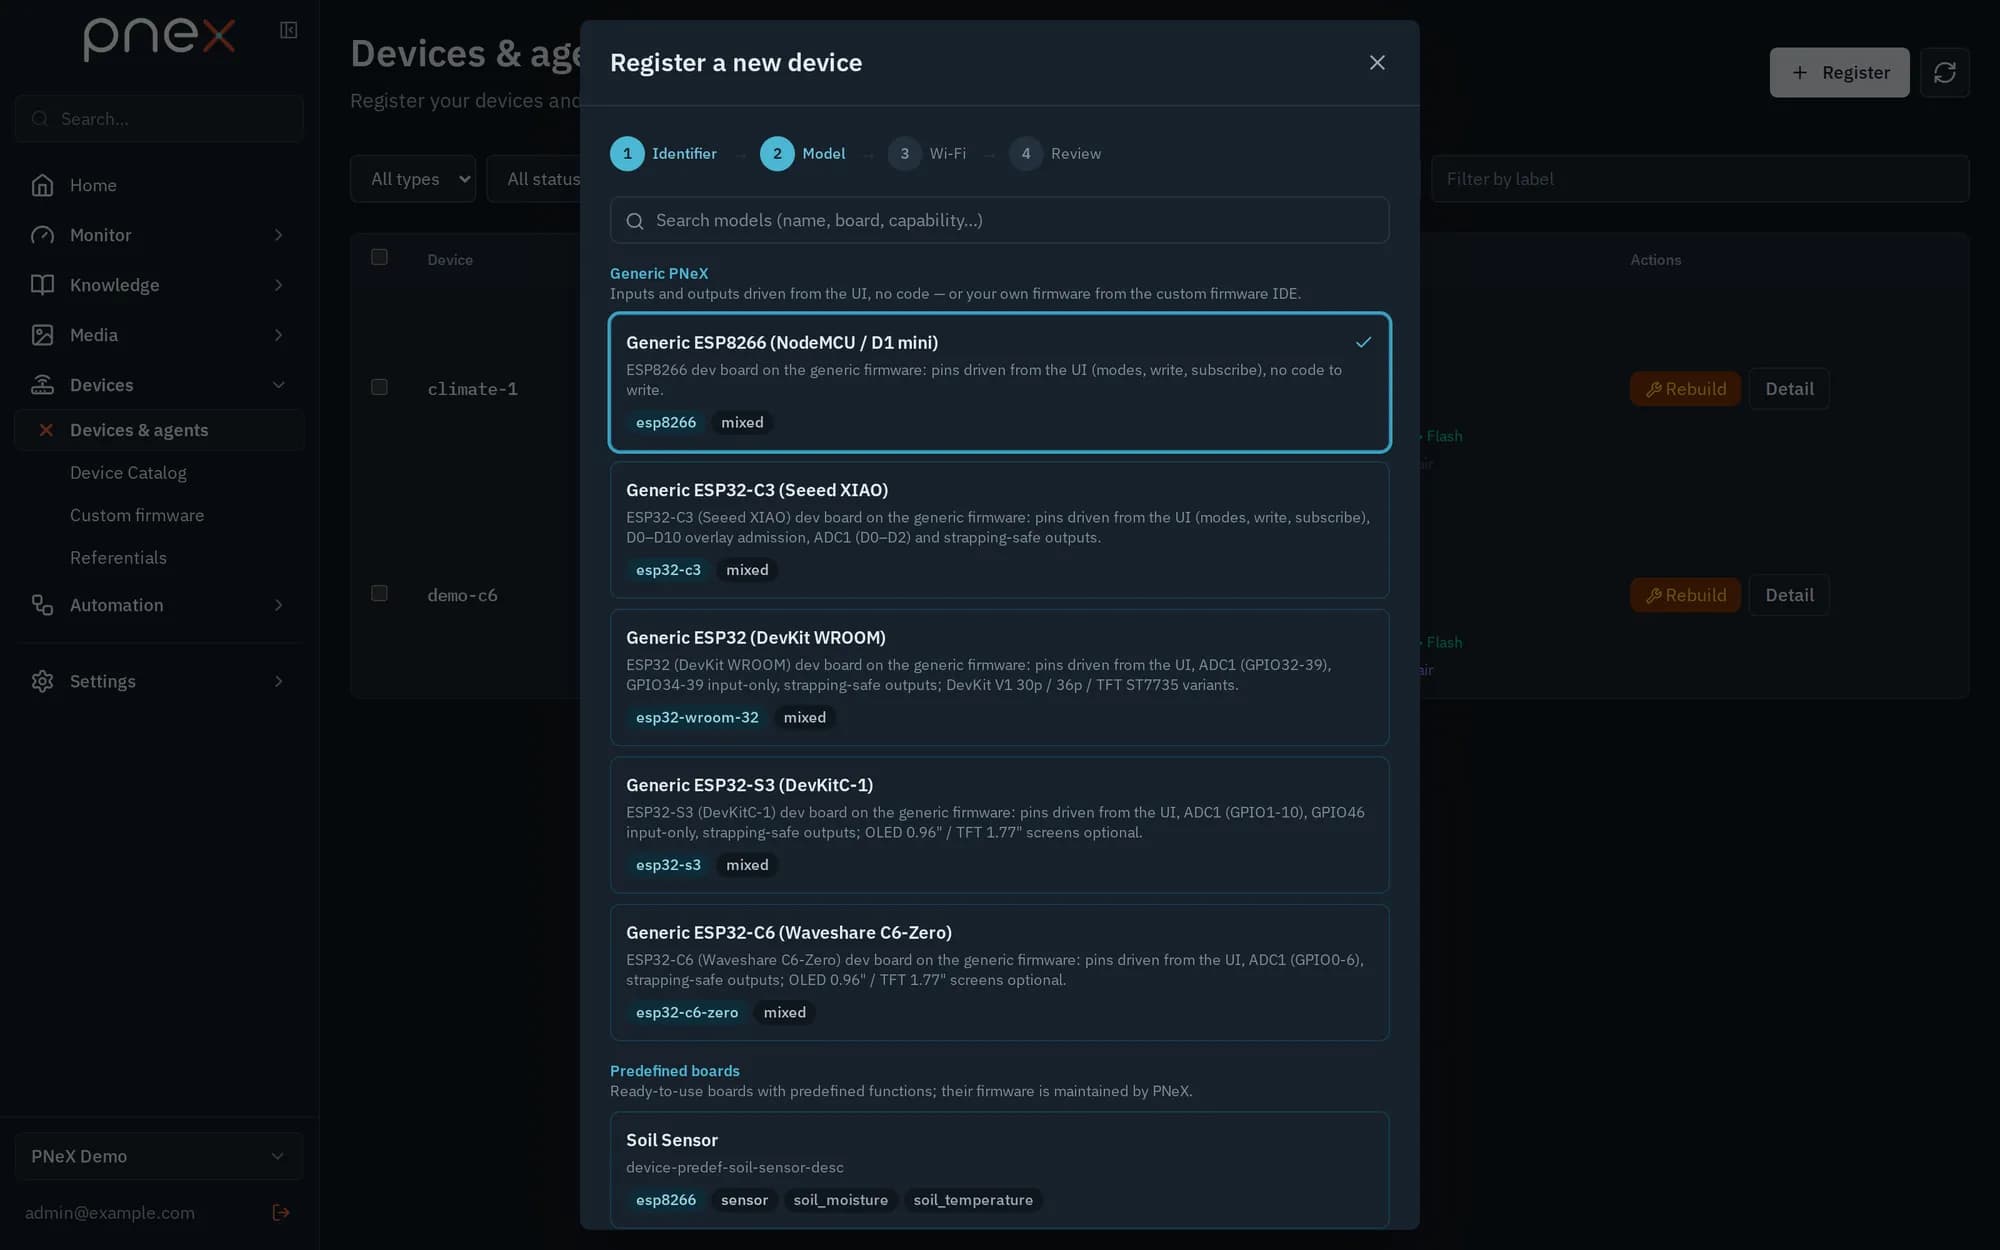
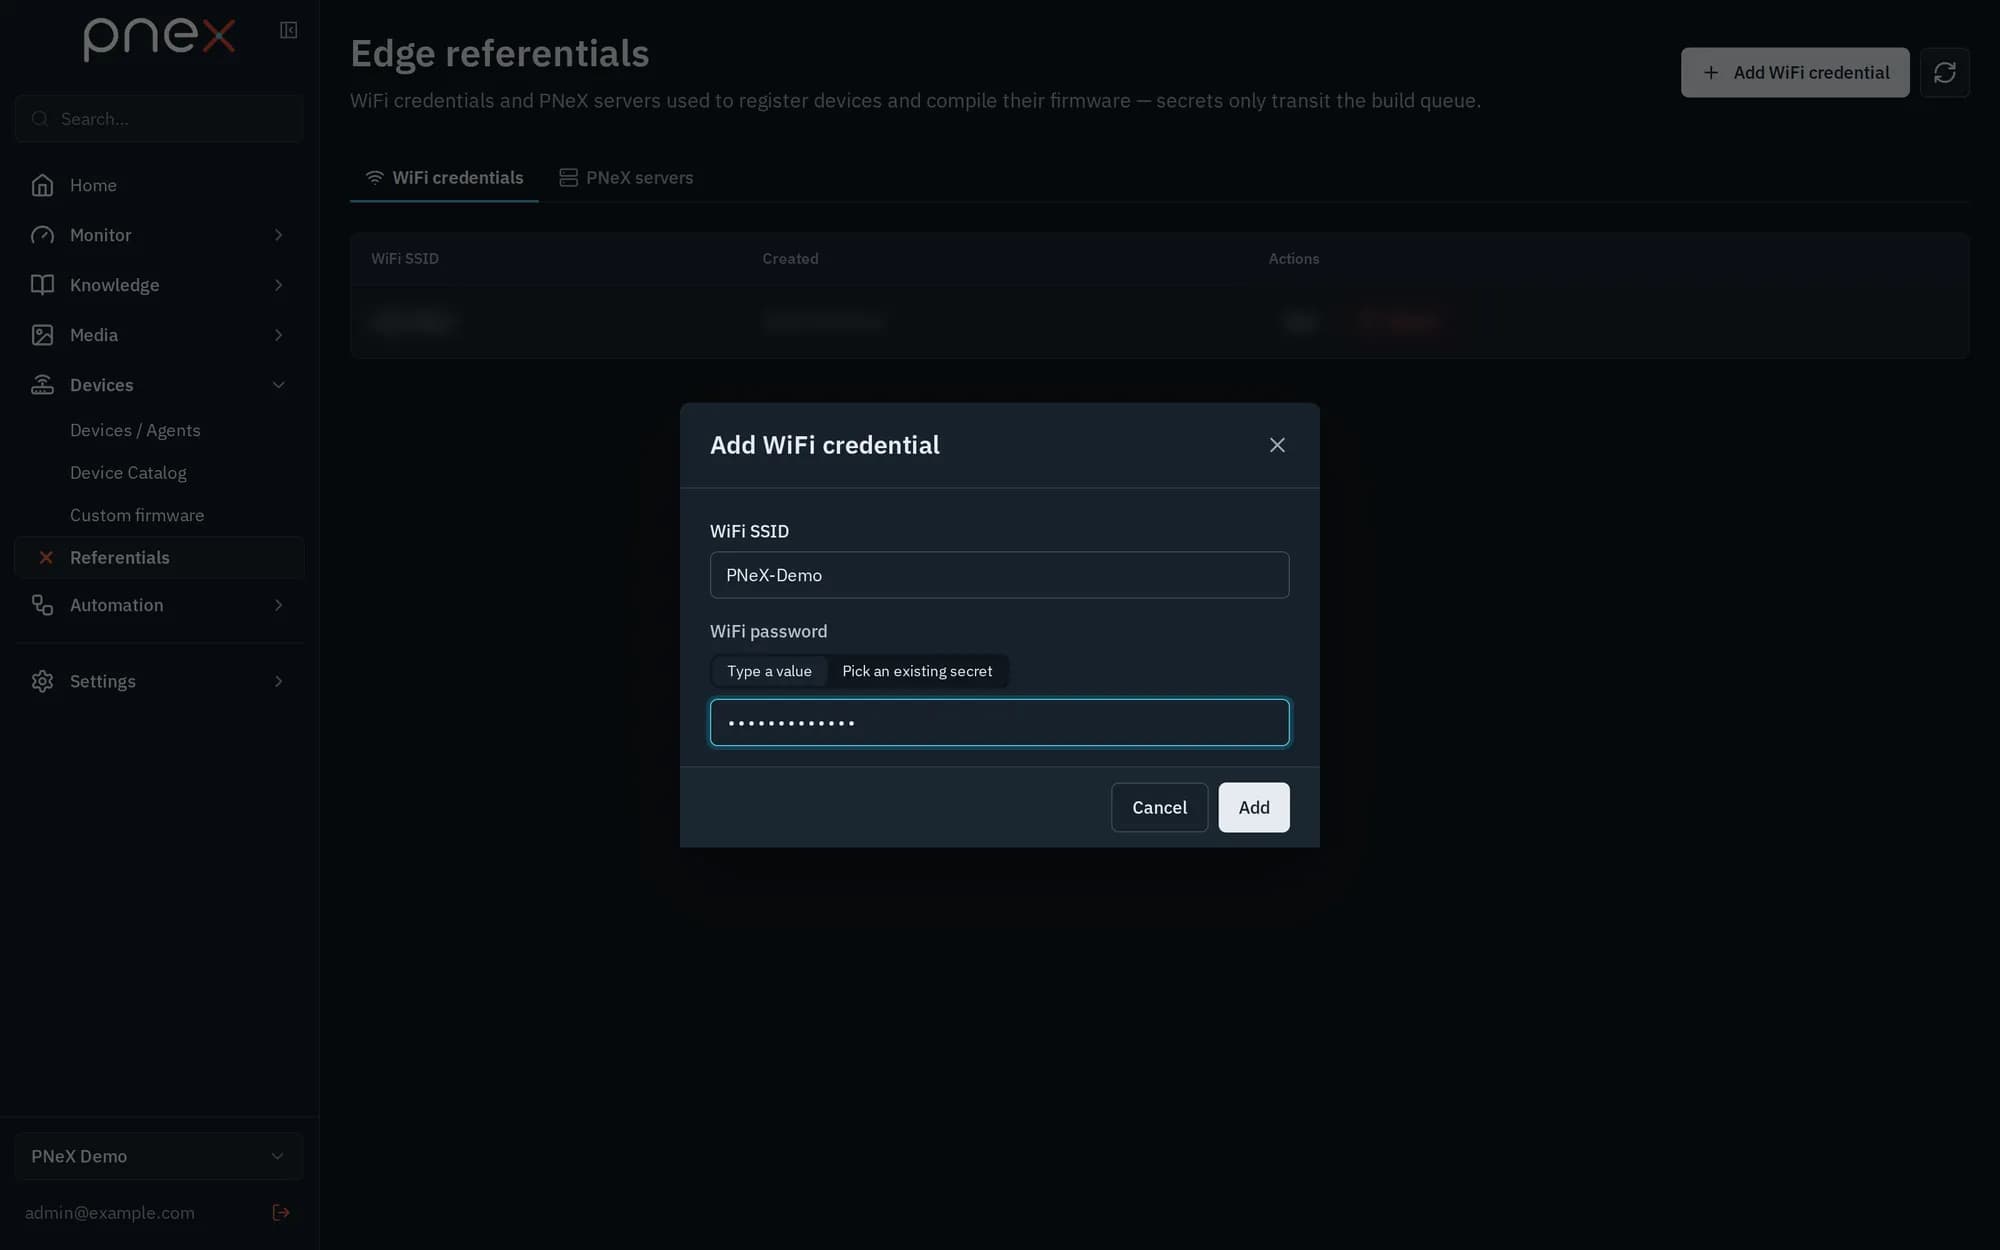
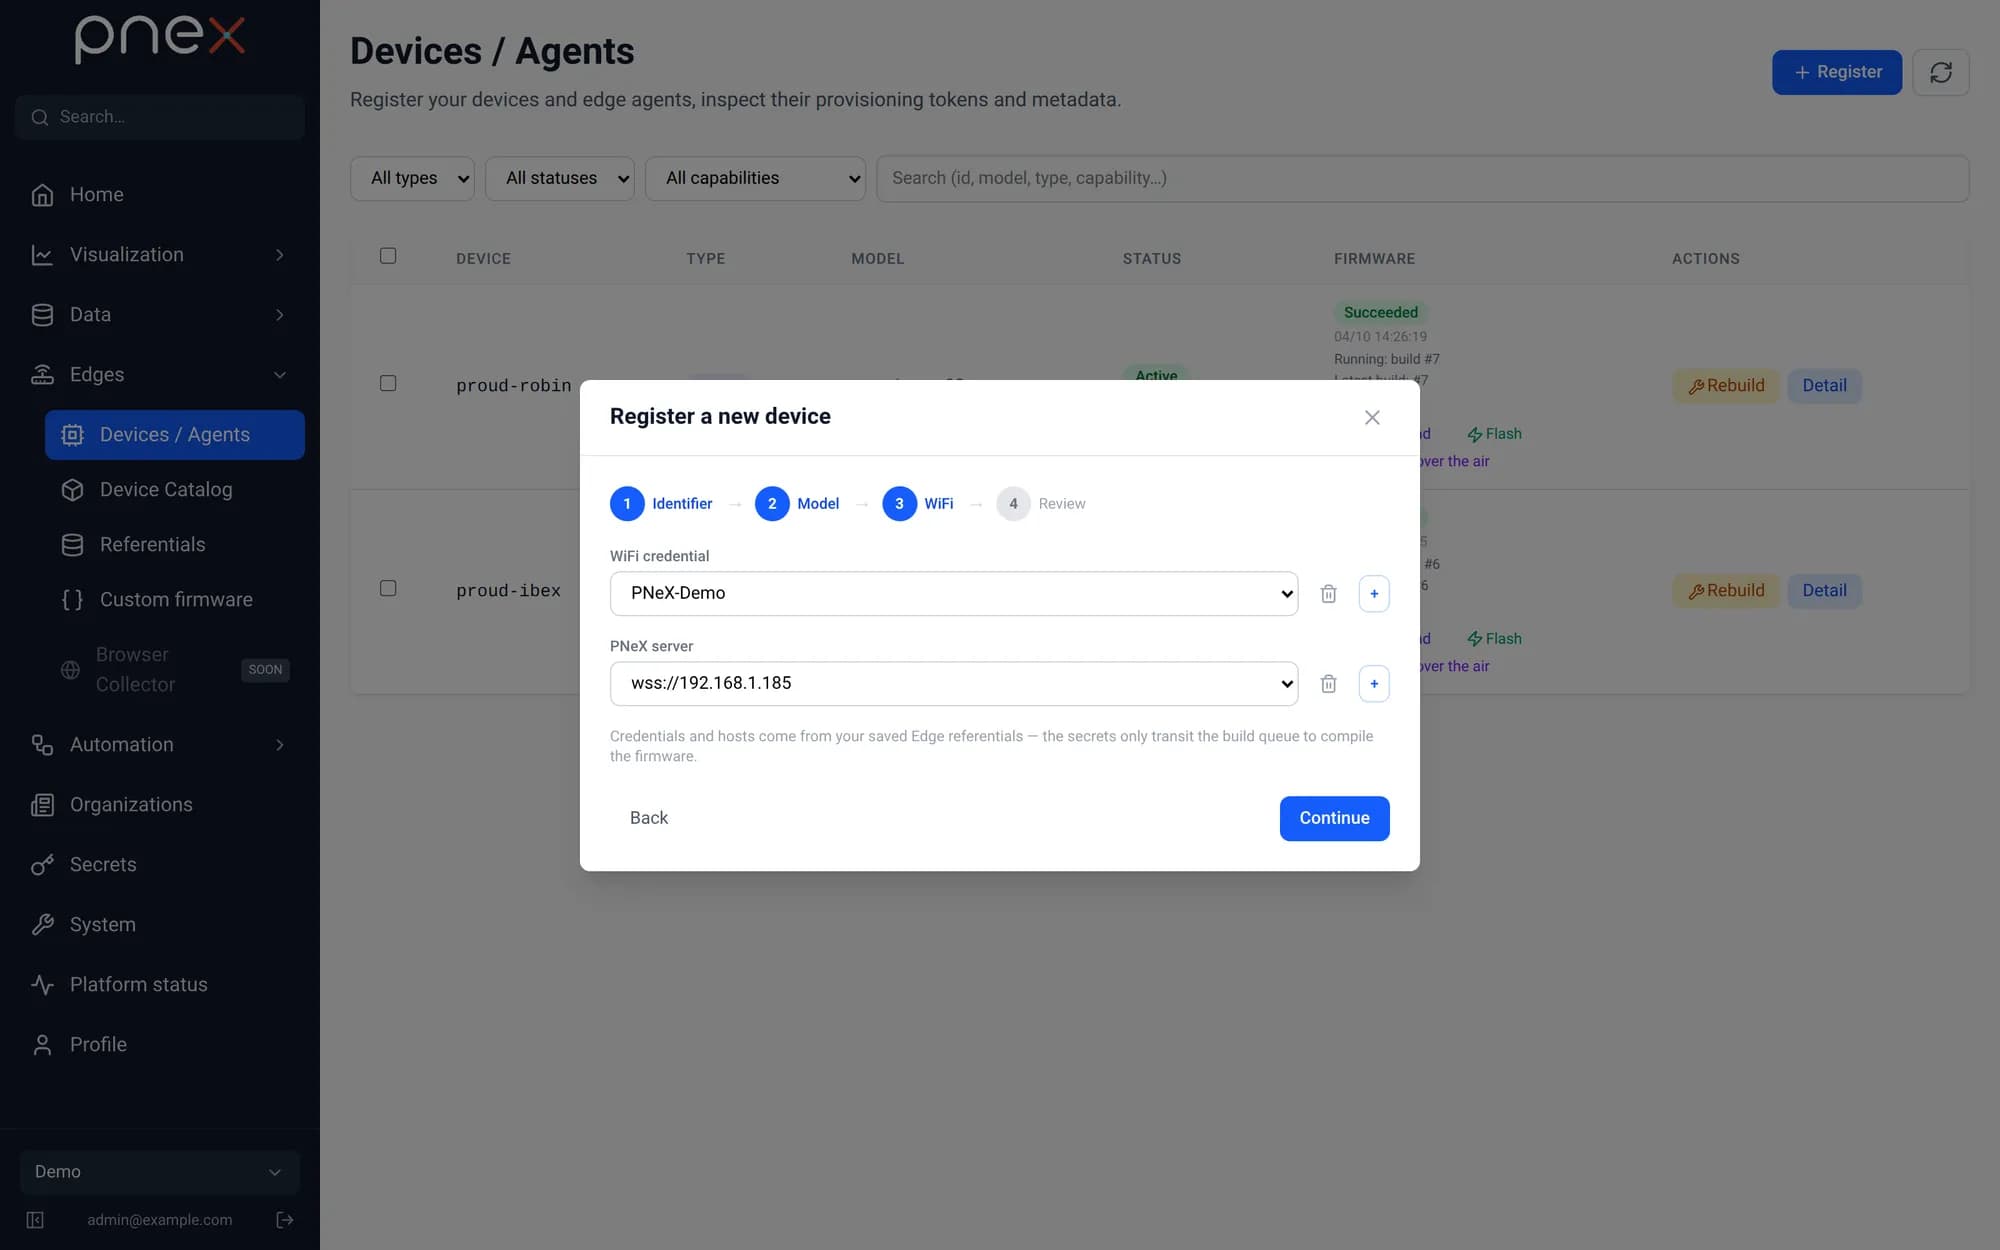
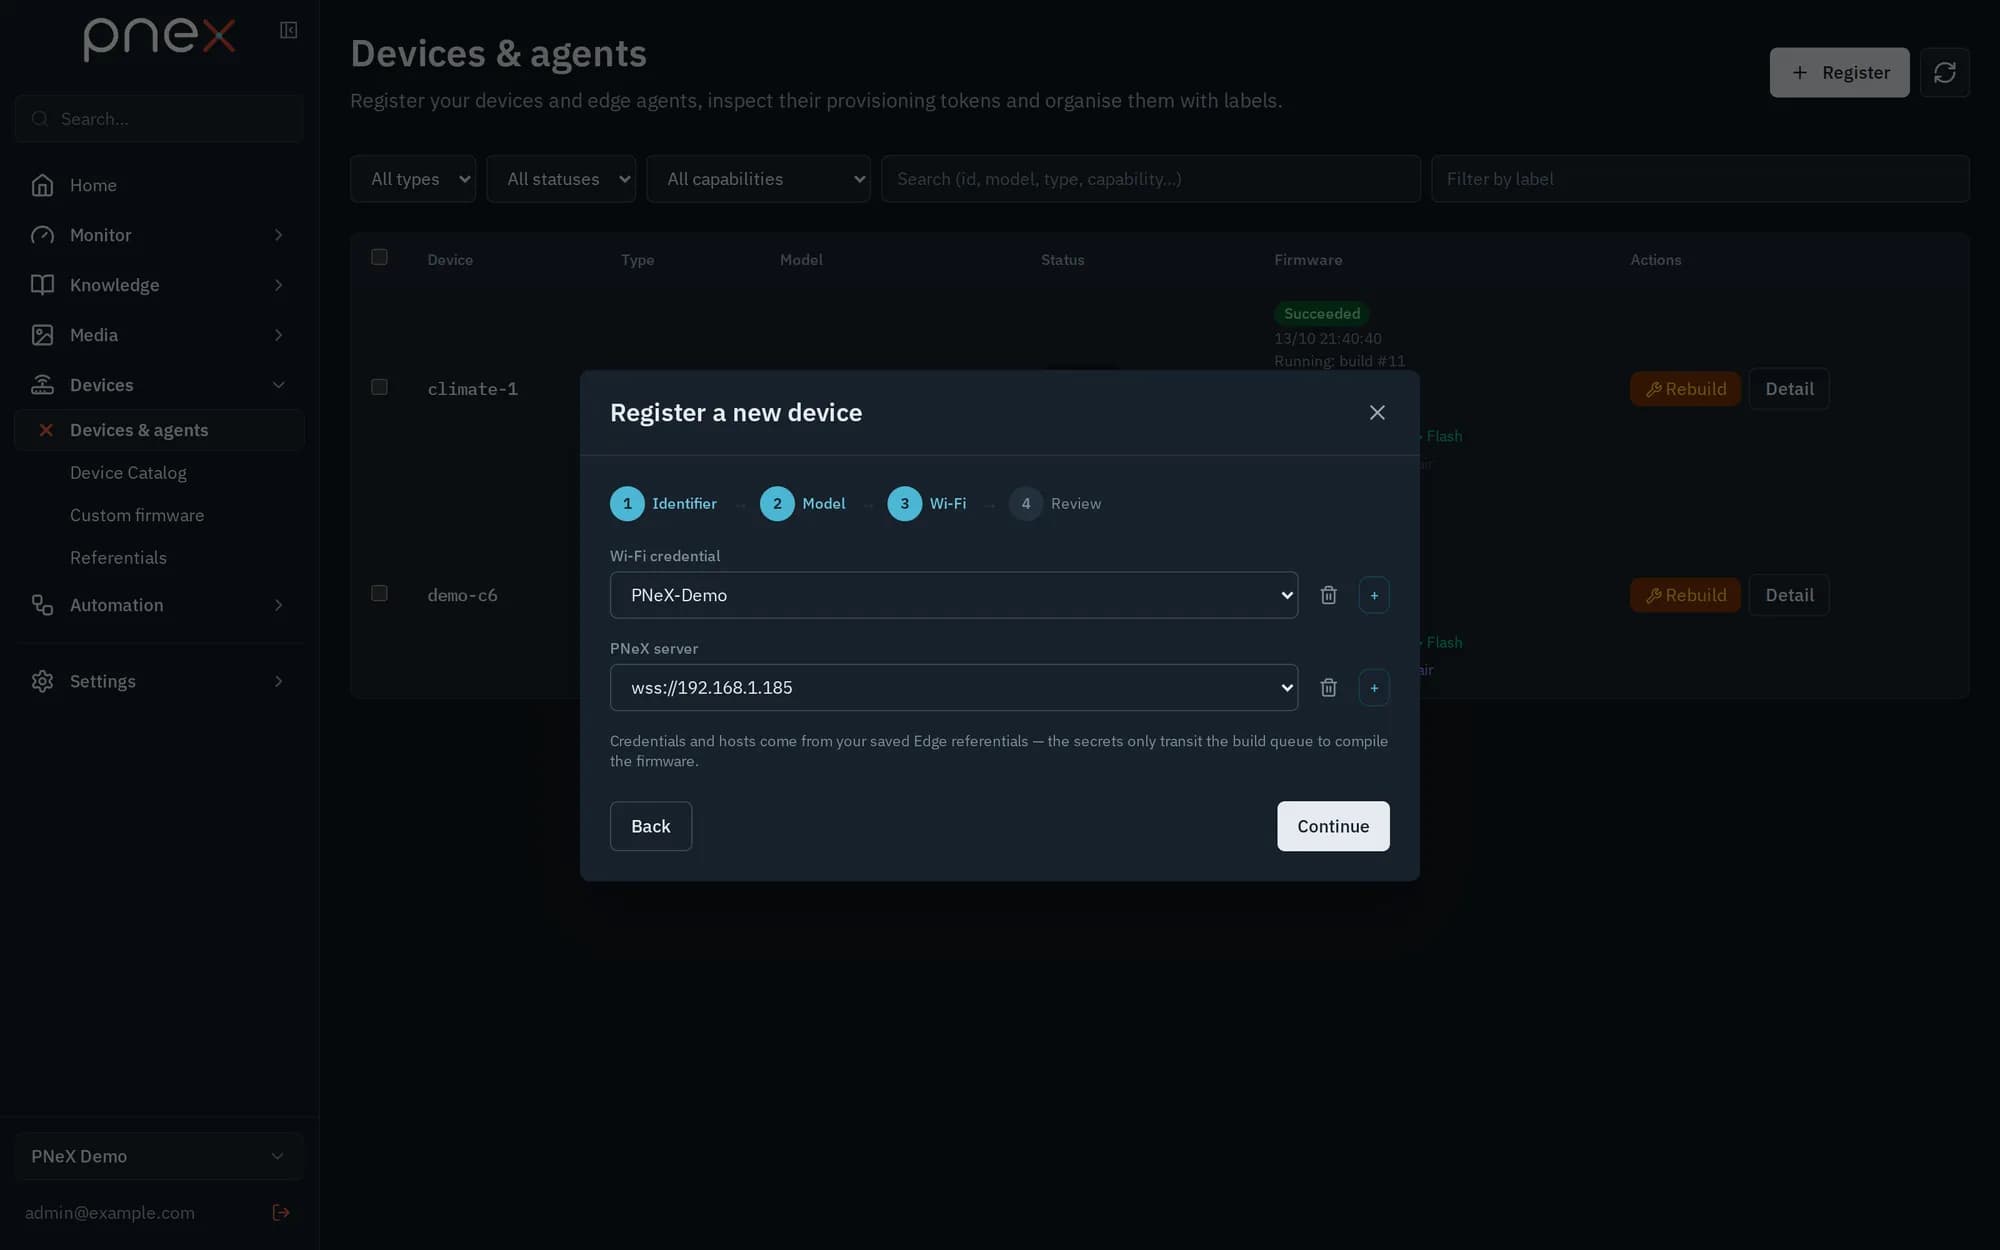
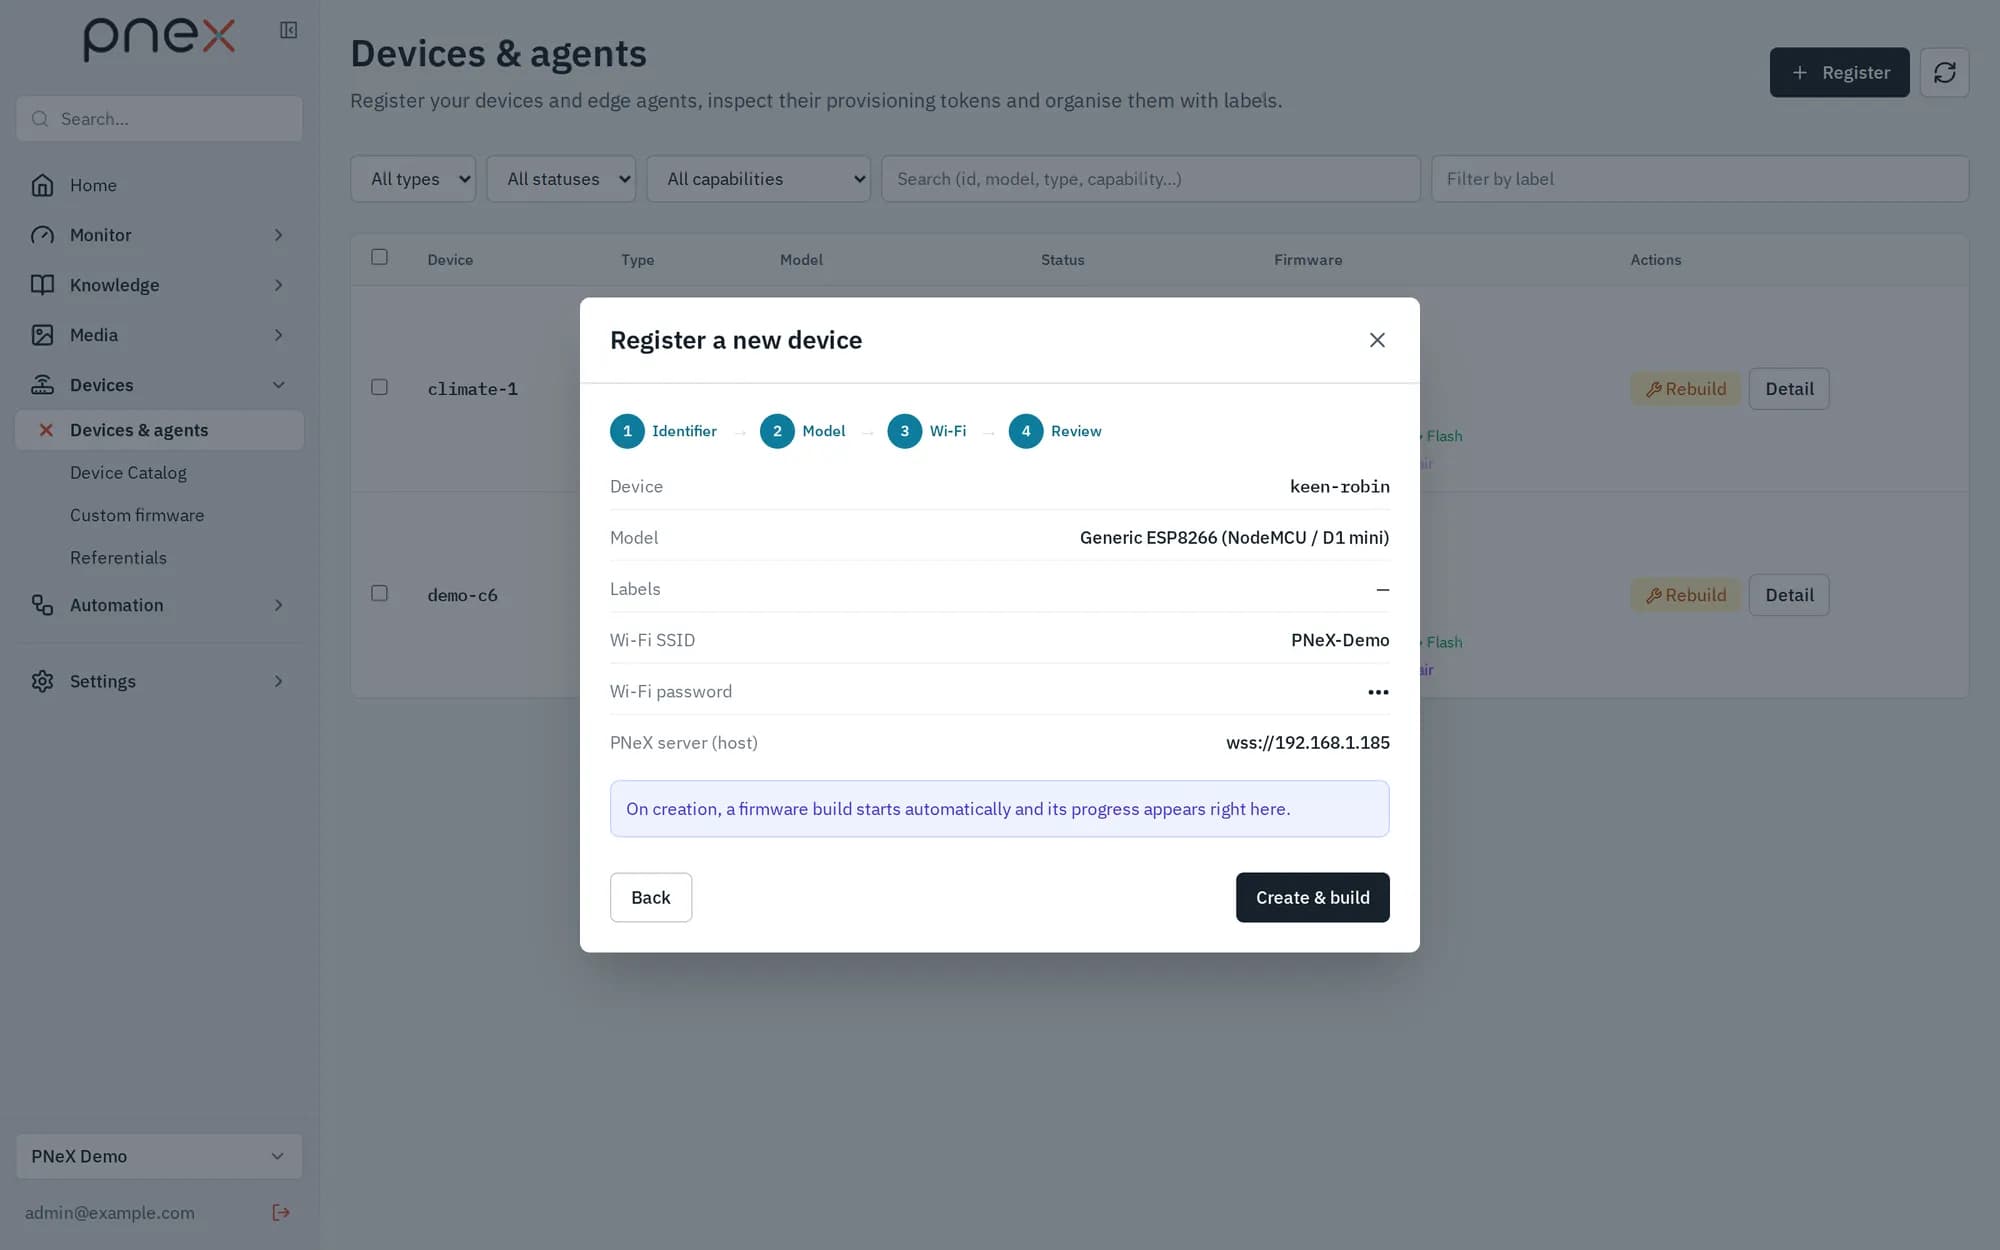
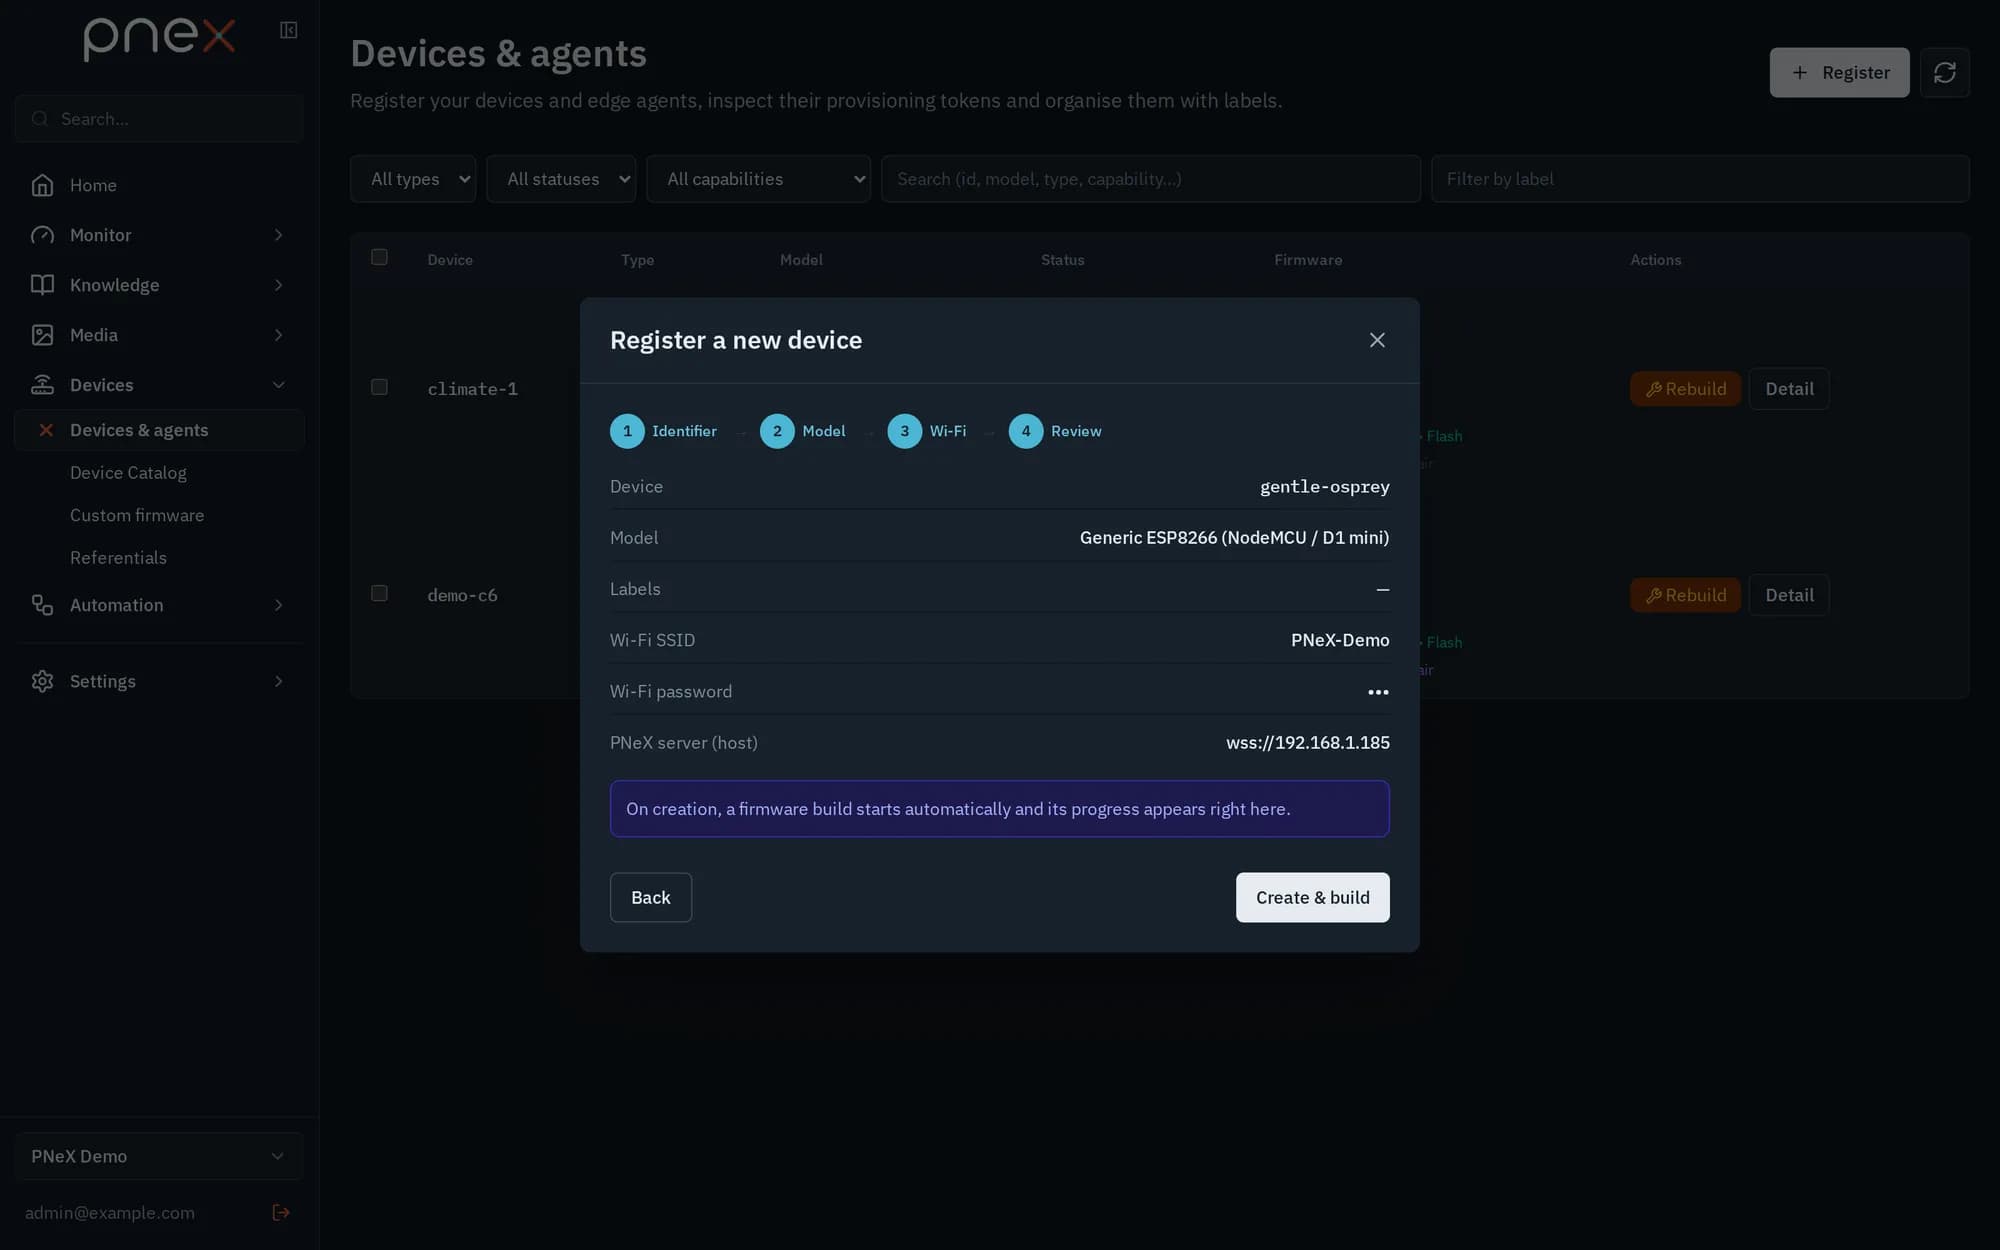
A global catalog of device models (browsable in Devices › Device Catalog) feeds the Register wizard, in four steps: Identifier (unique id, 16 characters max, optional labels) → Model (Generic PneX, Predefined boards or Agents, plus the Board variant when a model has several) → WiFi (a Wi-Fi credential and a PNeX server picked from Devices › Referentials) → Review, then Create & build. The build runs on the server: you can close the window.
The Wi-Fi password is never typed into a build: it always comes from the
organisation's referential (stored in the vault) and the worker decrypts it at
compile time. Through the API, a build starts with device_id,
wifi_credential_id and pnex_host.
Device detail
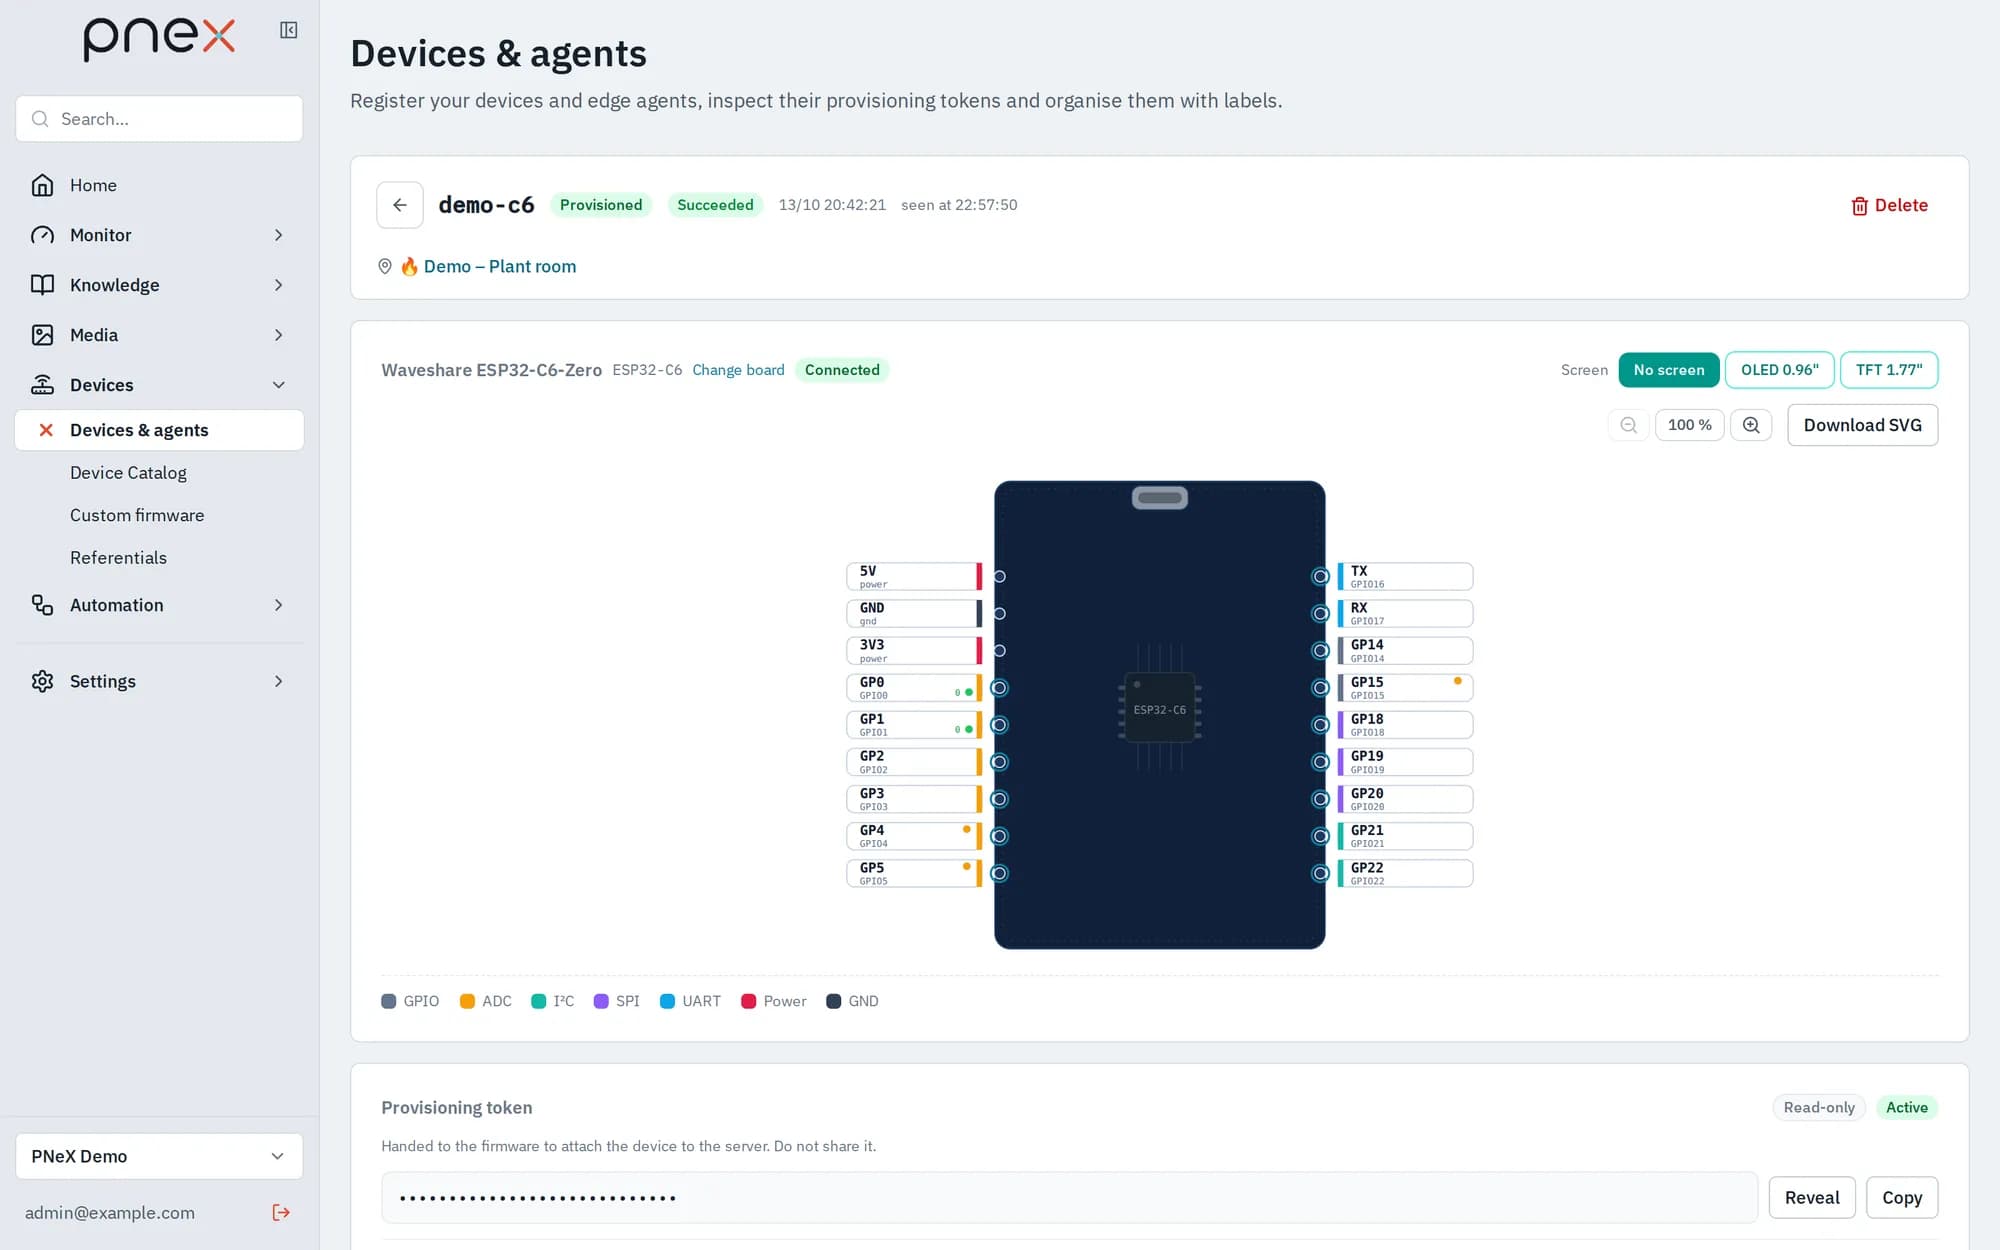
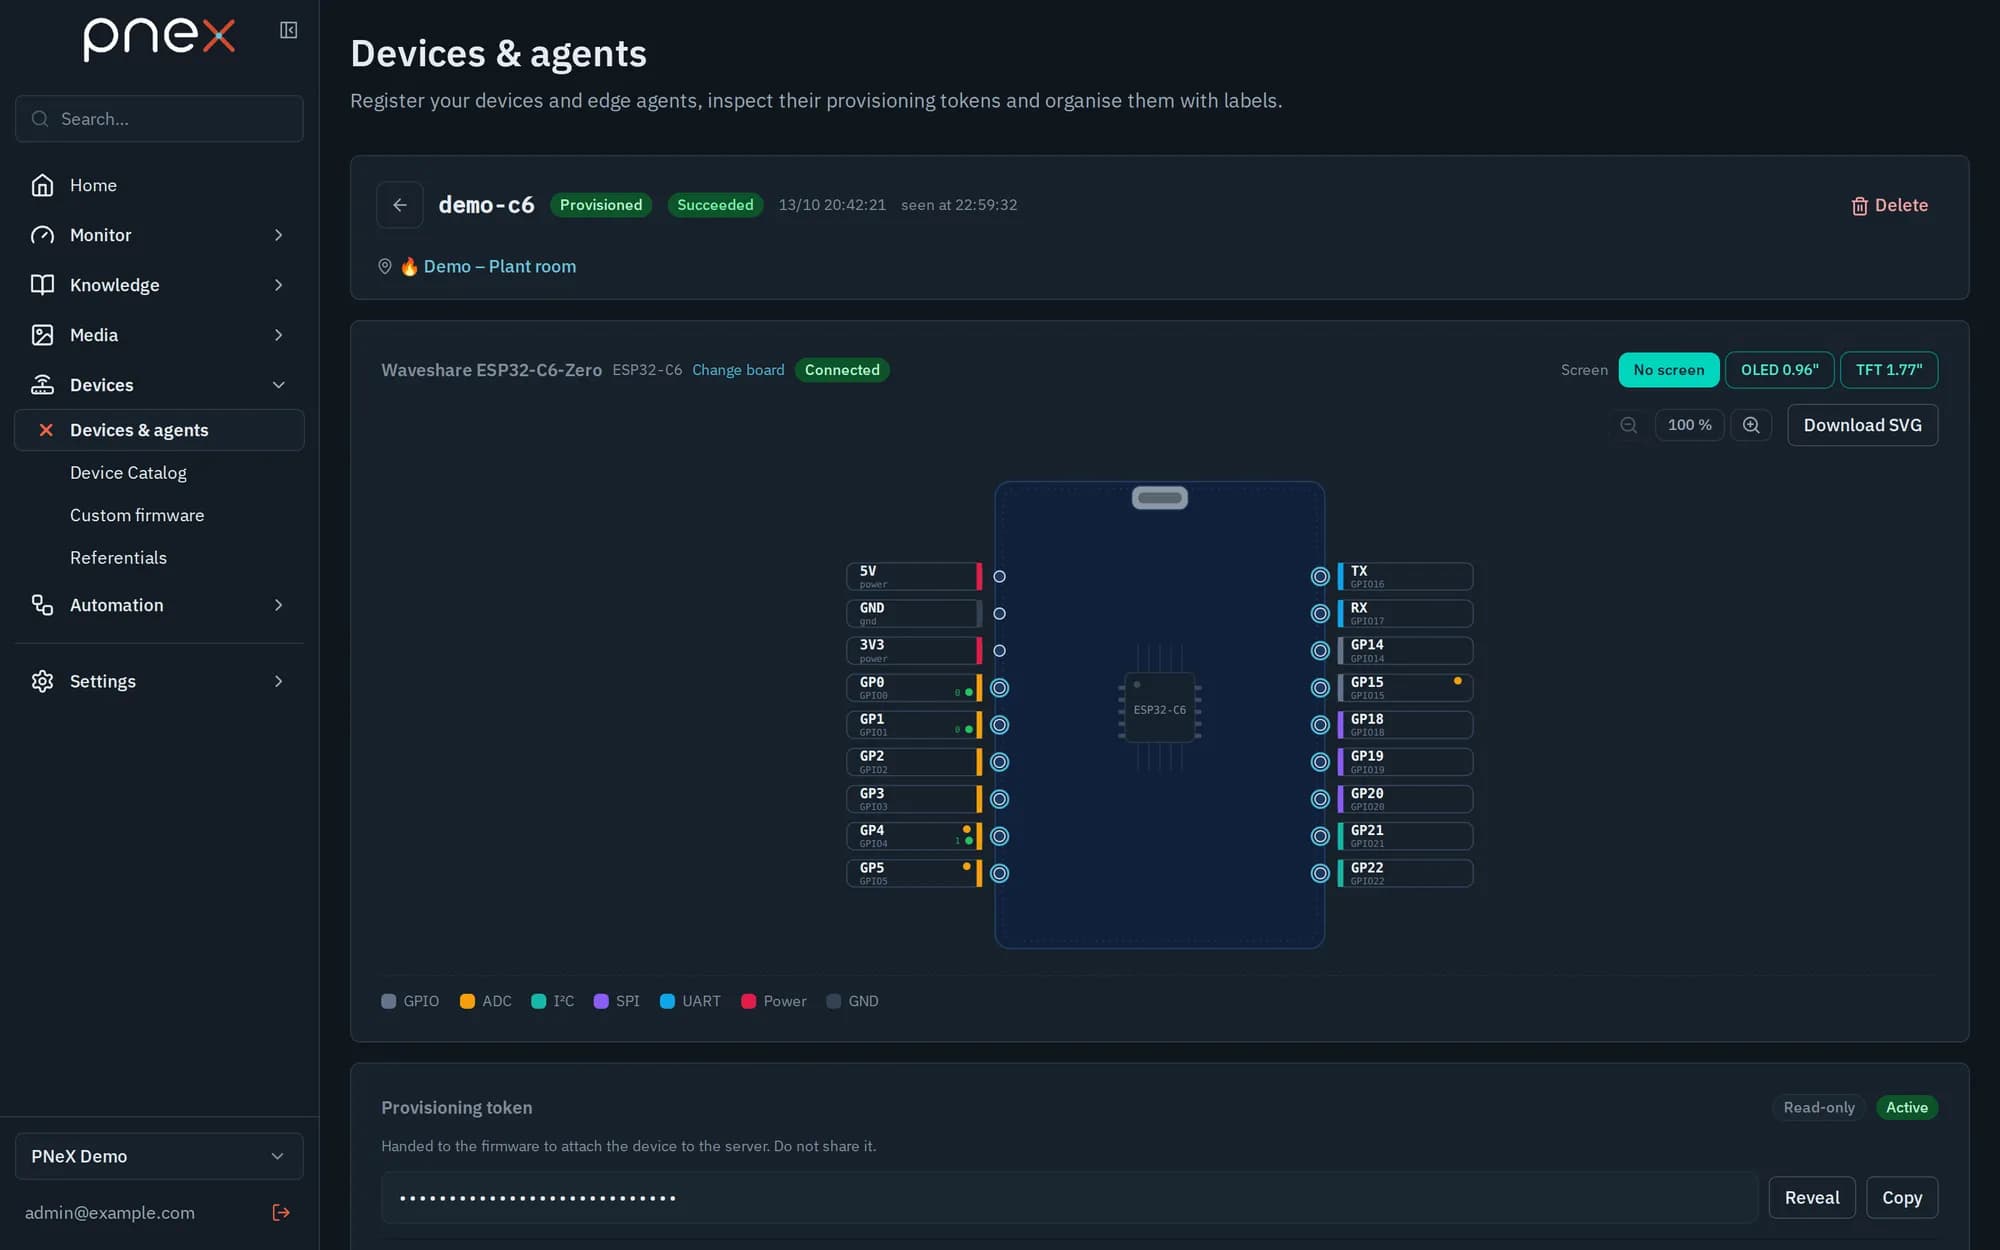
Detail on a row shows the capabilities, the provisioning token and encryption key (masked, Reveal to read them), the Labels card and the board pinout. Two links sit under the labels:
- Object page opens the device's object in Knowledge › Ontology: its relations to the other objects of the organisation (sites, equipment, cases…).
- Add to a case files the device into an investigation case (write roles).
Registered on the wrong variant (for example a NodeMCU with a soldered OLED registered as a plain NodeMCU)? Change board next to the board name picks the board actually wired among those with the same chip. Pin settings are kept; rebuild, then update the device.
Board profiles and the pinout editor
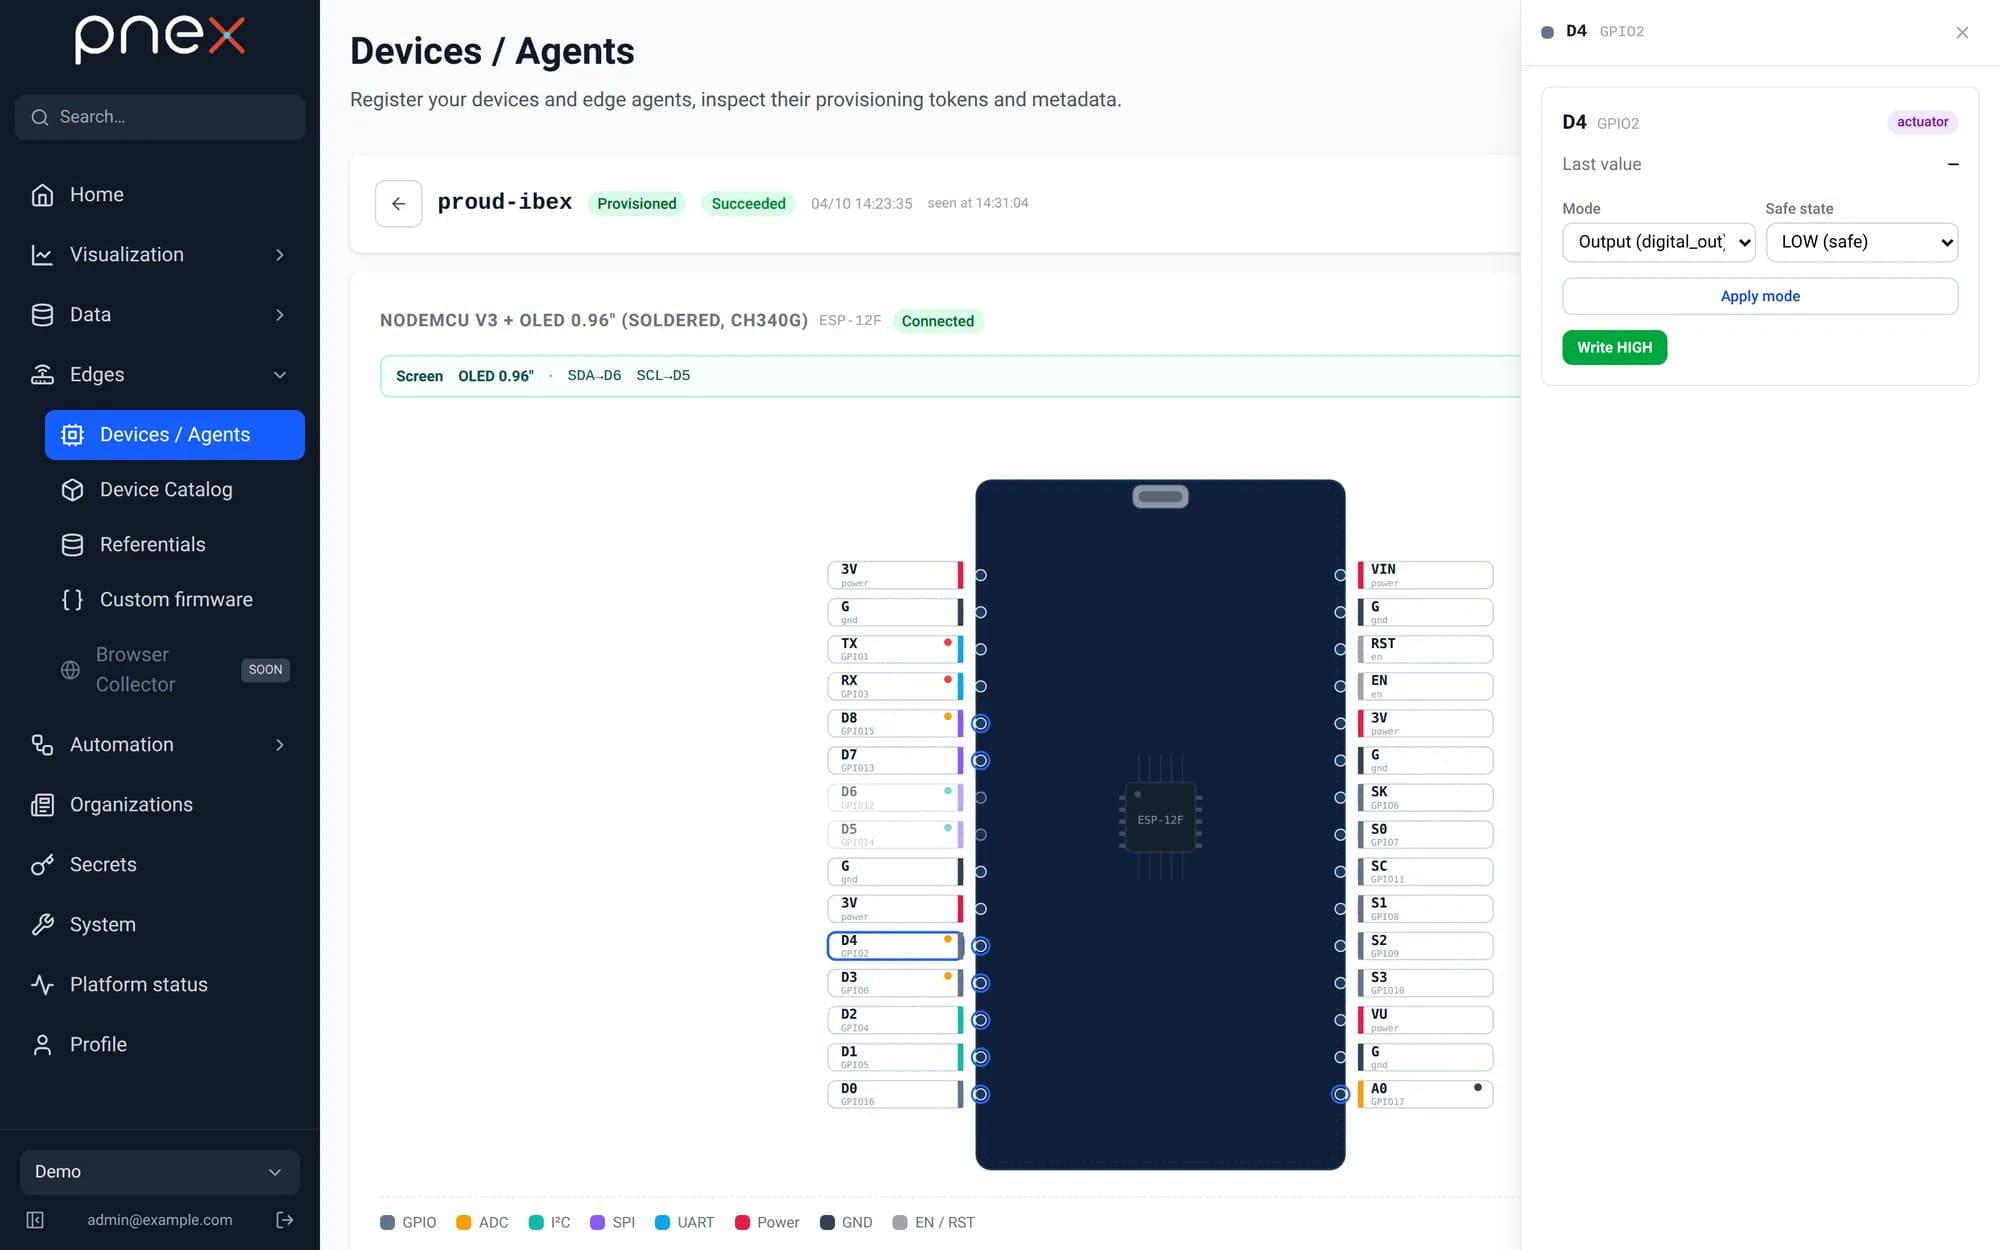
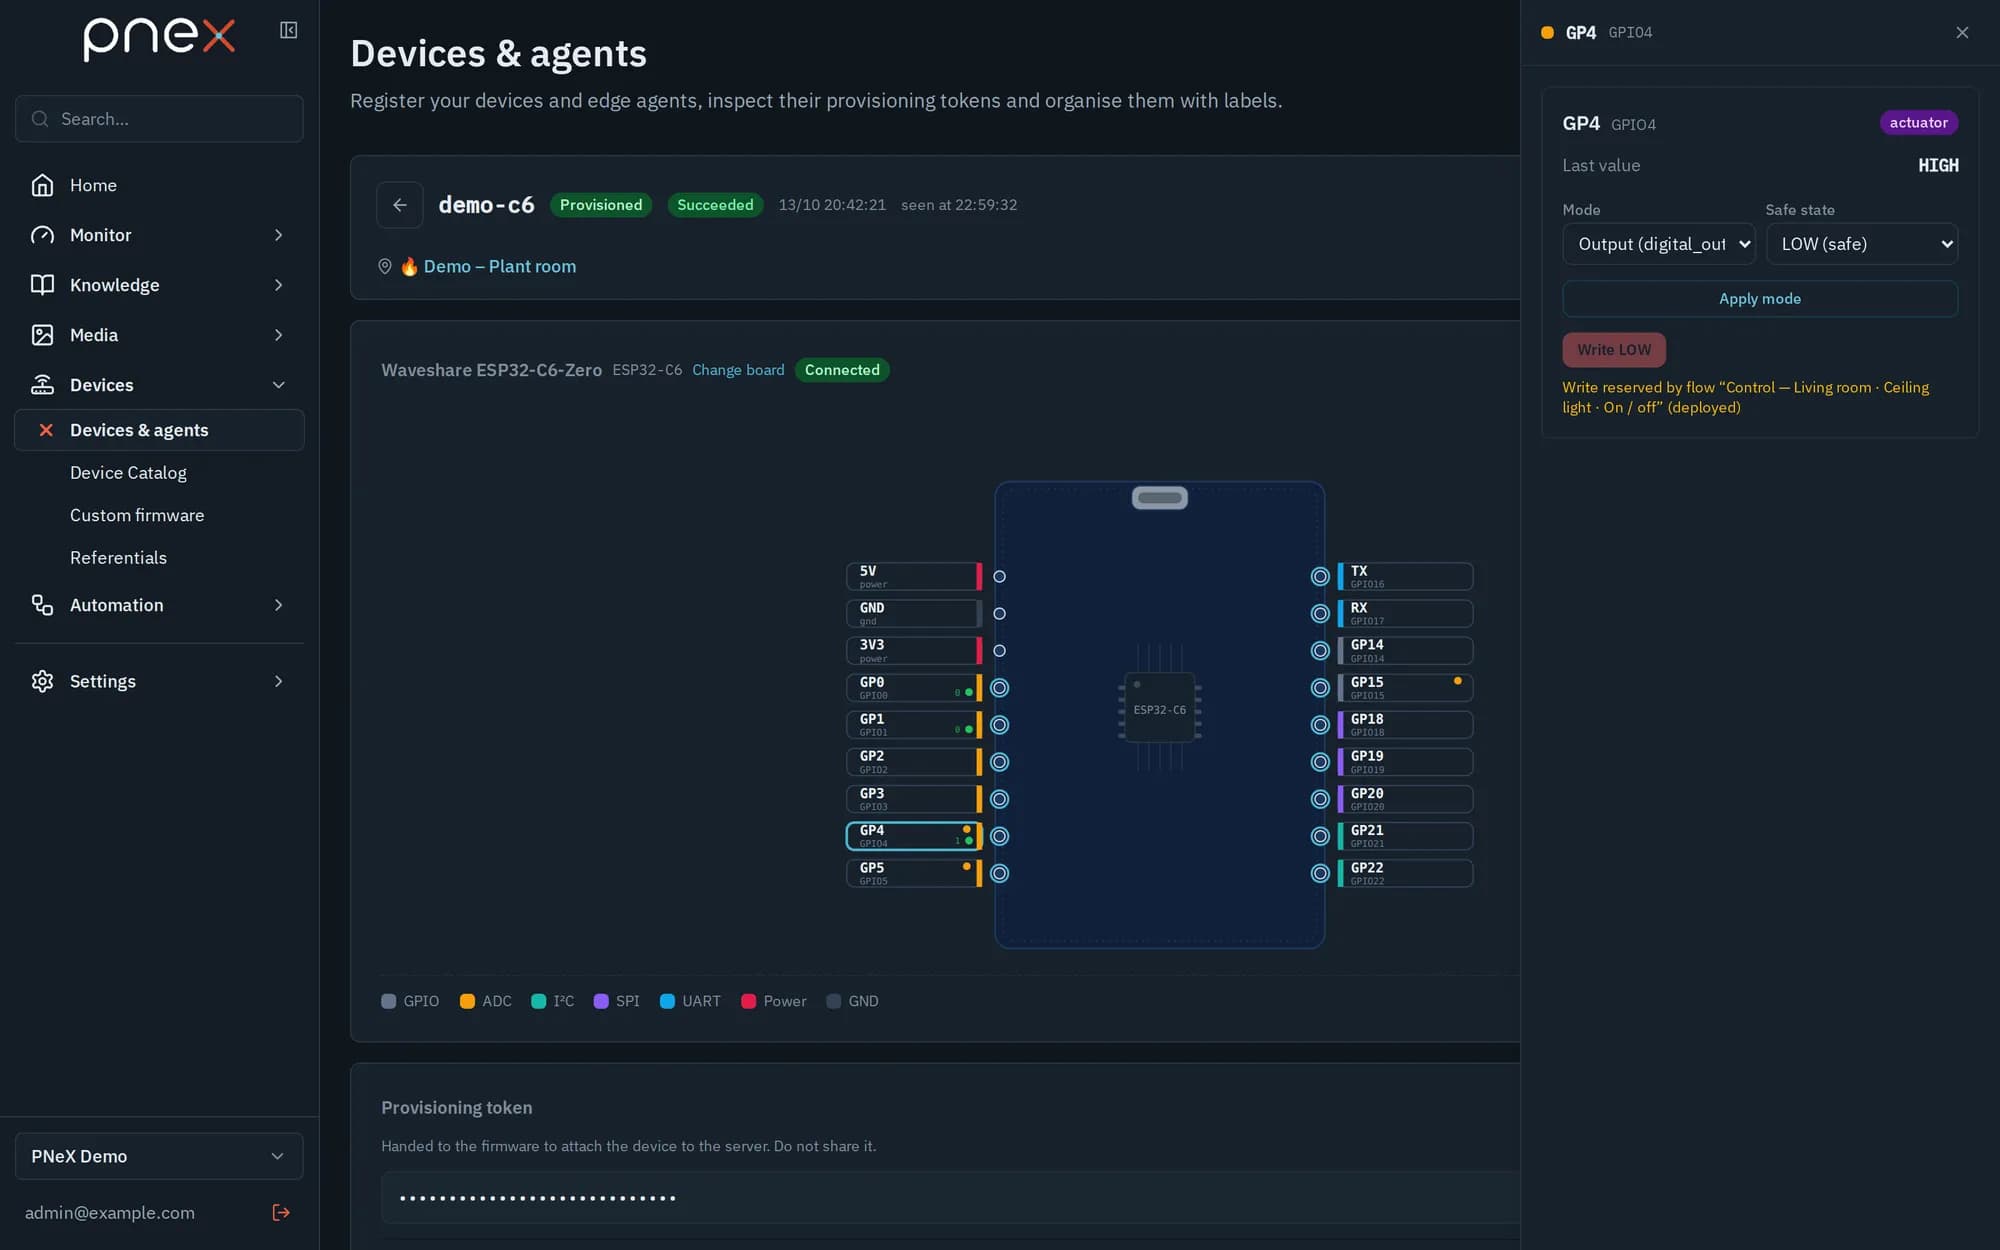
Each device references a board profile (MCU, chip capabilities, warnings, safe states). The pinout editor renders the board as an interactive SVG: per-pin mode, safe state, subscribe and write controls, PWM duty — a faithful wiring companion for the physical board (USB connector drawn at the top by convention).
Identity and transport
At registration, each device gets a token and a 32-byte shared key (the PSK of the Noise link); every build adds an X.509 client certificate issued by the organisation's CA. All three are compiled into the firmware.
The device connects to the device endpoint (port 4443 by default) over mutual TLS,
sends its token in the Authorization: Bearer header, opens the Noise link, then
announces itself on /ws/device and exchanges encrypted messages: announcement,
provision acknowledgment, set-mode, write, subscribe. A watchdog evicts zombie
connections; desired state is re-pushed on reconnect. A device that never becomes
active is diagnosed by its close code: see
Security → close codes.
Who writes a pin
Only you write a pin: by hand from the pinout editor, or through a flow you deployed (the Device (write) node). Each output pin has a single write source — a pin driven by a flow cannot be written from elsewhere. The server and the AI assistant never write on their own initiative, and critical regulation belongs on the device itself (see Flows).
Dashboards follow the same rule: a switch on a dashboard or on a phone never writes a pin. It writes a control, and the flow listening to it writes the pin — see the home automation tutorial.